
Behringer X-Touch Quickstart Guide
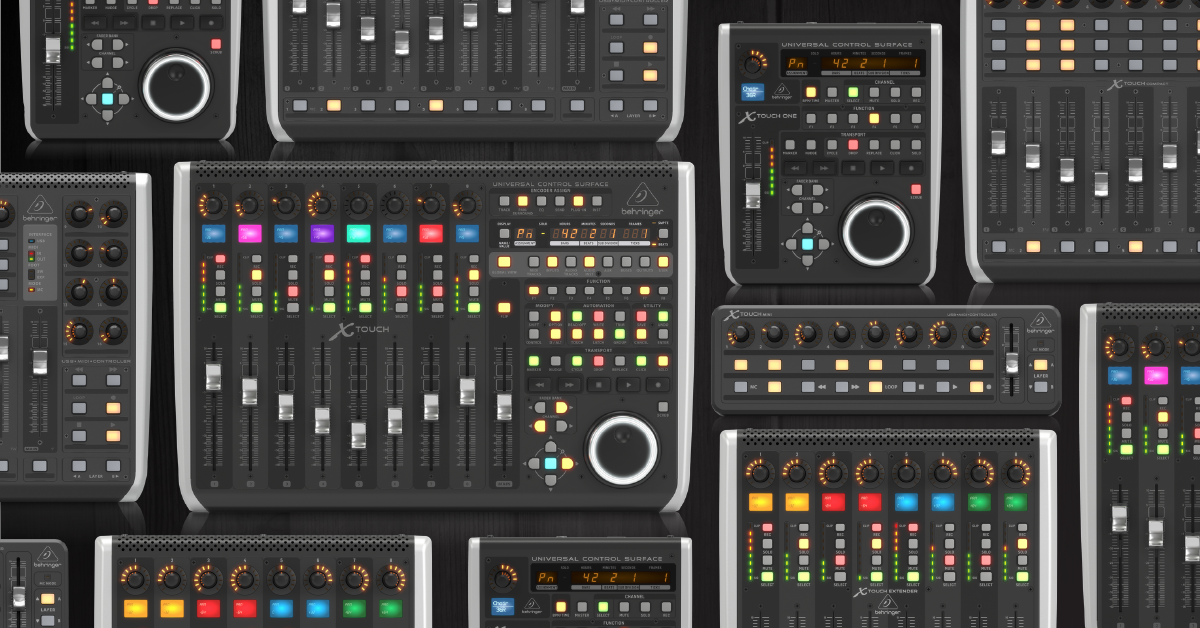
The Behringer X-Touch series of DAW controllers are a great addition to your workflow, for easy configuration and control. In this guide, you’ll learn how to set it up, change its operation mode, and configure it within a DAW. Follow the sections below to get started.
- Setup and connections
- X-Touch firmware update
- Change operation mode
- DAW controller setup guides
- X-Touch video playlist
Setup and connections
All X-Touch controllers can connect via USB. They are also class-compliant, which means you do not need to download or install any additional driver software to connect. X-Touch can also be connected to X32 and X-Air mixers.
Go to the X-Touch Compact product page on the Behringer website. Click Downloads. Download the X-Touch Compact Quick Start Guide for connection and configuration information you can use for every model of X-Touch.
Here are Behringer’s video guides to help you get started.
Cascading Multiple Units in Logic
Cascading X-Touch Devices
Connecting to X-Touch over Wi-Fi
Connecting X-Touch to X32
X-Touch firmware update
When you first use your X-Touch, you should check to see if there’s a firmware update available, to ensure compatibility.
Your X-Touch displays its firmware version briefly when you power it on.
If there is a newer version of the firmware available on your unit’s product page on the Behringer website, you should perform the update.
The X-Touch and X-Touch One are updated with a SysEx file. This procedure can be performed on PC or Mac.
X-Touch Compact and X-Touch Mini are updated via their Editor app which is only available for Windows PCs.
Visit your unit’s product page:
On the page, click Downloads.
See if there’s a firmware installer posted. If there is, compare its version number with the number installed on your hardware. If the installer is newer, download it and follow these instructions.
- Open your Downloads folder and decompress the .zip file:
- PC: Right-click the .zip file and select Extract all…. Select the location for the uncompressed version and click Extract.
- Mac: Double-click the .zip folder to decompress it.
- Open the decompressed X-Touch folder and follow the instructions included in the ReadMe.txt file.
Here’s Behringer’s firmware update tutorial video.
X-Touch How To: Firmware Update
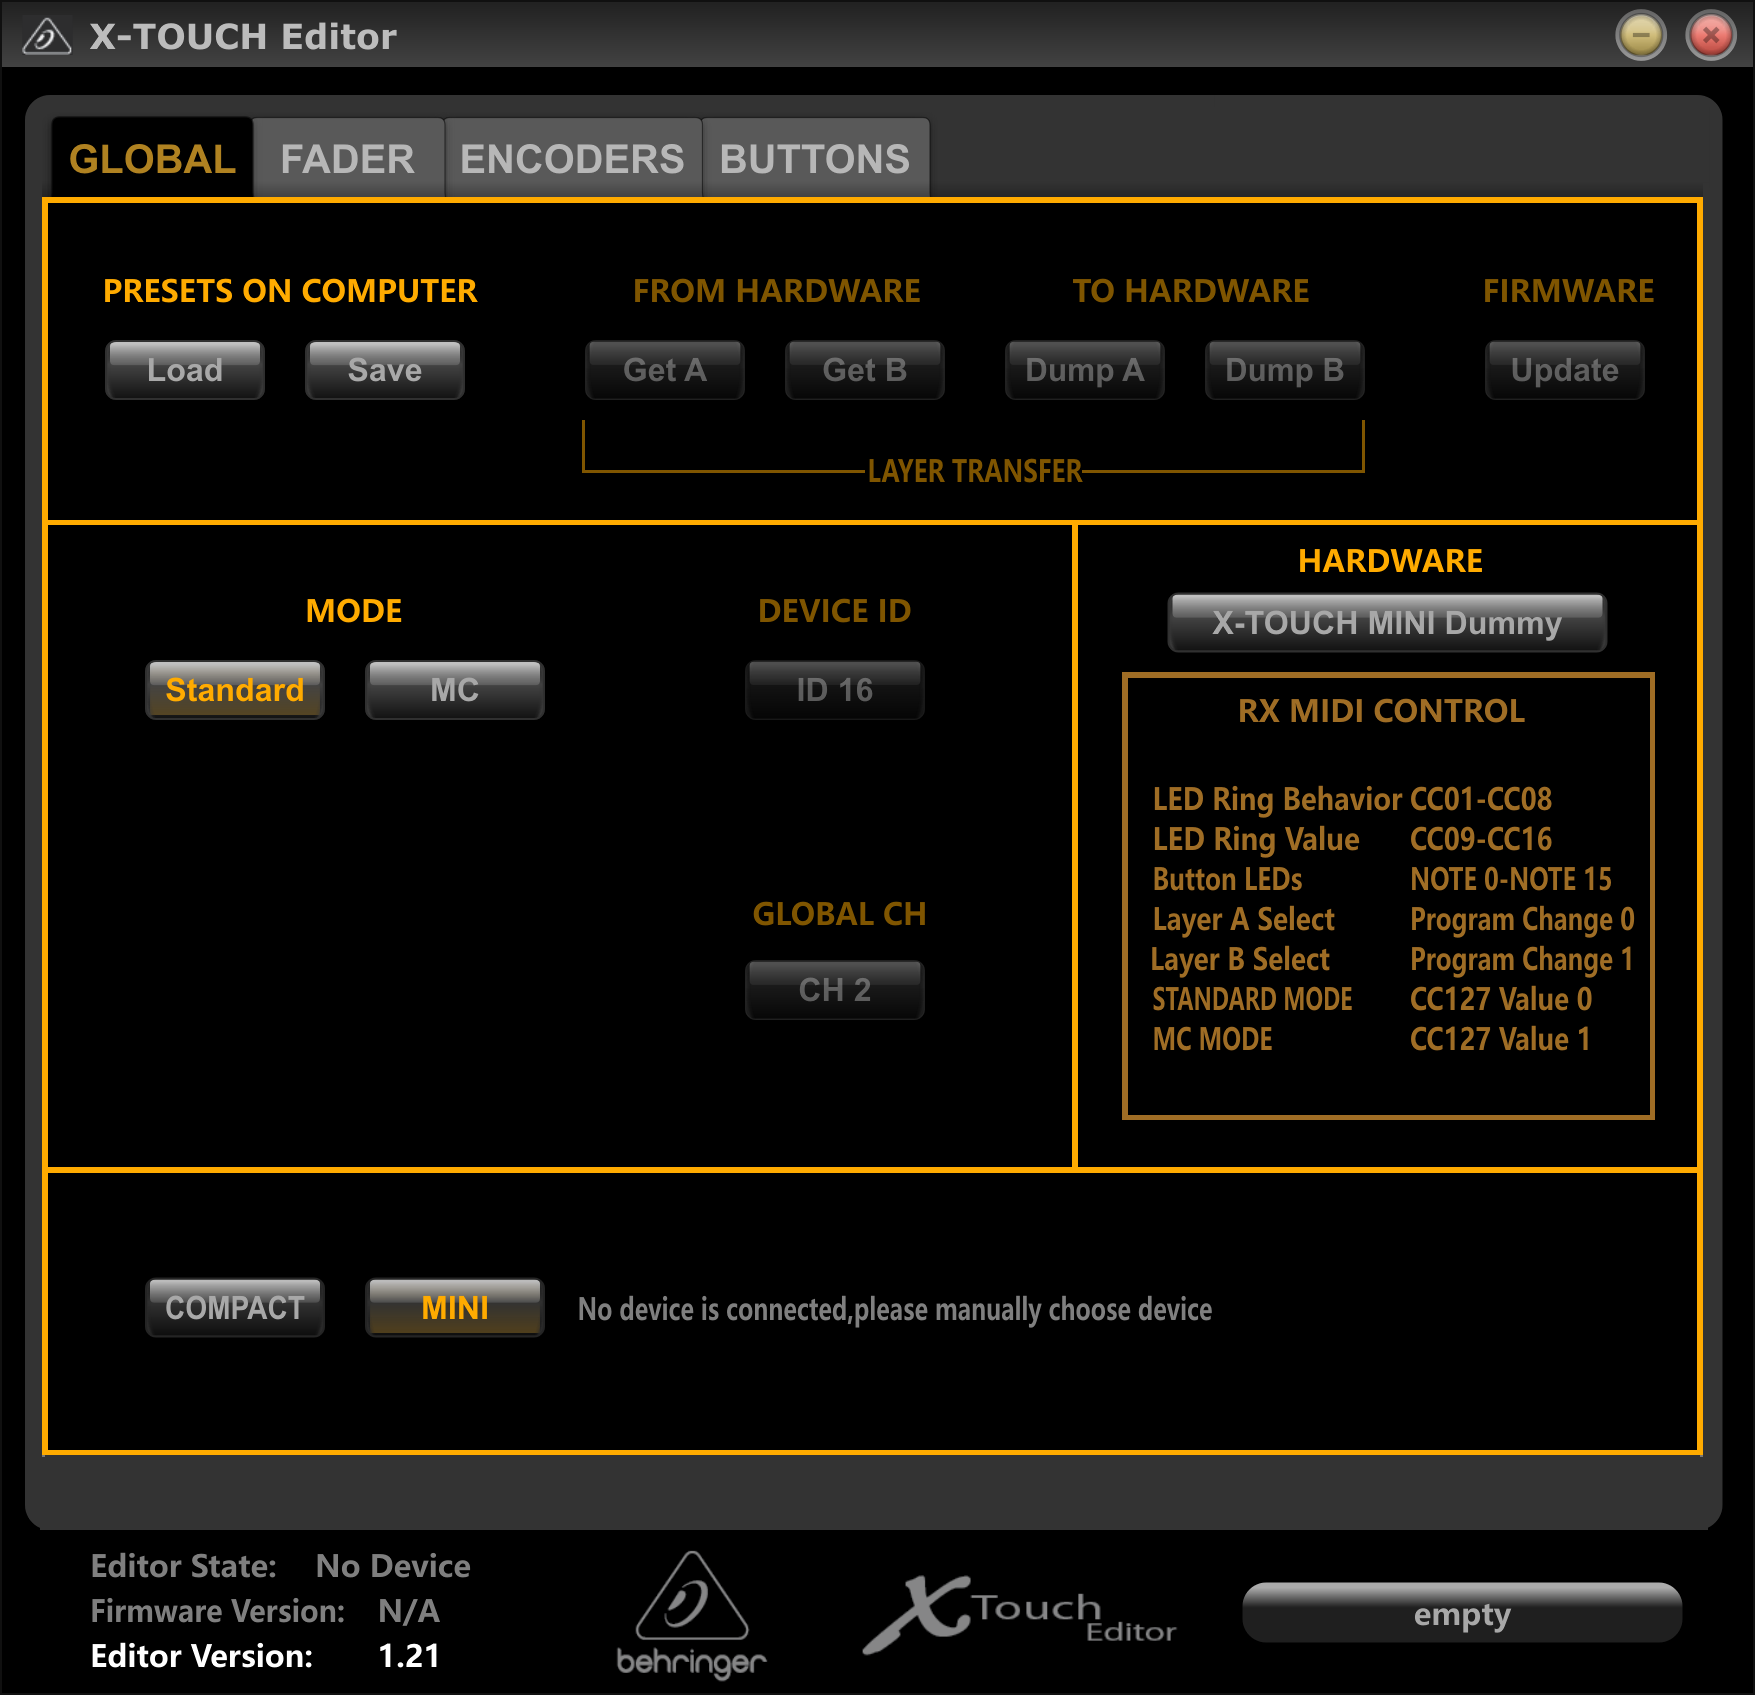
X-Touch Editor app for Compact and Mini.
Change operation mode
Each X-Touch device can be operated in a few different modes. Each mode works with DAW’s and has different features so make sure you use the right one for your DAW. Follow the steps below to select the applicable mode for your X-Touch controller.
X-Touch ONE
The X-Touch One can be configured for a specific DAW mode or one of the standard protocols (MC, HUI, or MIDI). We recommend selecting your DAW’s mode and then using the included overlay.
- Press and hold the encoder knob while powering on the device.
- (optional) While already powered on, hold down the Stop button and press the encoder.
- Rotate the encoder to browse DAW modes and then press it to select the default mode.
- (optional) Immediately after, rotate and press the encoder to adjust and set the LCD contrast and LED brightness.
X-Touch COMPACT and X-Touch MINI
Both the X-Touch Compact and X-Touch Mini will operate in standard or MC mode. The Mackie Control protocol/controller personality is preferred for DAW control, but the Standard mode works well as a generic MIDI controller and with MIDI learn.
- Press and hold down the MC button in the bottom left corner while powering on the device.
- Continue holding the MC button until the MC MODE LED lights up, indicating the unit is in MC mode.
- (optional) Return to the standard operating mode by repeating the above steps (MC MODE LED will turn off).
X-Touch or X-Touch EXTENDER
The X-Touch and X-Touch Extender can be connected and configured via USB, MIDI, or local network. All you need to do is select the operation mode and connection type, and then configure your DAW settings. When connecting multiple X-Touch or Extenders to each other, set their operation mode to Mackie Control XT so that they synchronize with each other.
- Press and hold the Channel 1 SELECT button while powering on the device.
- Select the mode and connection type:
- Rotate encoder 1 to select the operation mode.
- Rotate encoder 2 to select the connection type (USB, MIDI, or Network).
- (optional) Use encoders 3 to 7 for network setup.
- Rotate encoder 8 to adjust the display contrast.
- Press the Channel 1 SELECT button to save and continue.
DAW controller setup guides
Related Articles
When you need help, Sweetwater has the answers!
Our knowledge base contains over 28,000 expertly written tech articles that will give you answers and help you get the most out of your gear. Our pro musicians and gear experts update content daily to keep you informed and on your way. Best of all, it’s totally FREE, and it’s just another reason that you get more at Sweetwater.com.


Offer applies only to single-receipt qualifying purchases. Select manufacturers may require that only the manufacturer’s products qualify towards the minimum purchase amount needed to be eligible for promotional financing. Otherwise, an invoice that meets the minimum purchase amount and contains at least one qualifying manufacturer product is eligible for promotional financing. No interest will be charged on promo purchase balance, and equal monthly payments are required on promo purchase until it is paid in full. The payments equal the amount financed divided by the number of months in the promo period, rounded up to the next whole dollar. These payments may be higher than the payments that would be required if this purchase was a non-promo purchase. During the last month(s) of the promo period the required monthly payment may be reduced due to the prior months’ rounding. Regular account terms apply to non-promo purchases. New Accounts as of 07/31/2025: Purchase APR is 34.99%. Penalty APR is 39.99%. Min Interest Charge is $2. Existing cardholders: See your credit card agreement terms. Subject to credit approval.
Offer applies only to single-receipt qualifying purchases. No interest will be charged on the promo balance if you pay it off, in full, within the promo period. If you do not, interest will be charged on the promo balance from the purchase date. The required minimum monthly payments may or may not pay off the promo balance before the end of the promo period, depending on purchase amount, promo length and payment allocation. Regular account terms apply to non-promo purchases and, after promo period ends, to the promo balance. New Accounts as of 07/31/2025: Purchase APR is 34.99%. Penalty APR is 39.99%. Min Interest Charge is $2. Existing cardholders: See your credit card agreement terms. Subject to credit approval.
The estimated required monthly payment shown which excludes taxes and delivery equals the amount financed divided by the number of months in the promo period, rounded up to the next cent. During the last month(s) of the promo period the required monthly payment may be reduced due to this rounding. These payments apply only with the financing offer shown. If you make these payments by the due date each month, you should pay off this amount financed within the promo period, if it is the only balance you are paying off. If you have other balances on your account, this payment will be added to any other minimum monthly payments.
Applies only to select items from this manufacturer. Ask your Sweetwater Sales Engineer for more details.