
How to Set Up a DAW Controller in Bitwig Studio
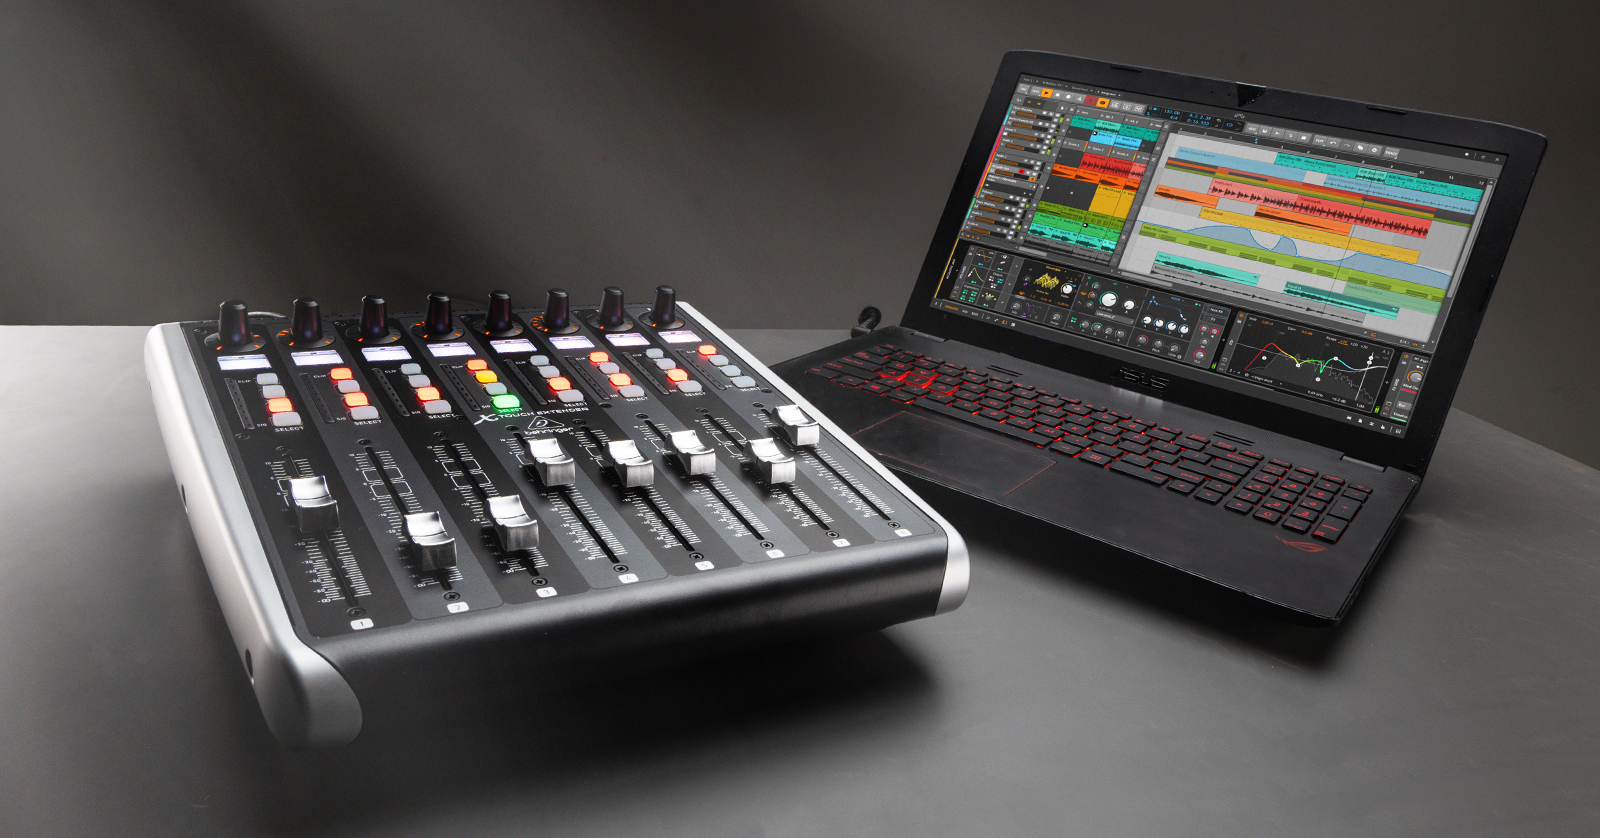
If you want to use a DAW controller or control surface within Bitwig Studio, you first must update the MIDI settings. It’s straightforward to update MIDI settings in Bitwig, so in this guide, we will show you how to get up and running with your DAW controller in no time. Follow the instructions below to get started.
Install the Driver
Before you launch Bitwig Studio, you must download and install your DAW controller’s driver so it can communicate correctly with your computer. Visit our guide on DAW Controller downloads to learn more!
If this is the first time you’re using a DAW controller, we recommend visiting our DAW Controller Getting Started guide for more information on how they work.
Update the MIDI Settings
After you have installed your DAW controller’s driver, you must launch Bitwig and update its MIDI settings.
- Create a new project. Click on the Bitwig icon located at the top center of the window.
- Select Settings, then choose Controllers.
- Click Add Controller, select the manufacturer and product from the dropdown menu, then click Add.
- If your DAW controller isn’t listed, select Generic as the manufacturer, then choose Controller in the Product dropdown menu.
- Set your DAW controller as the MIDI Input and MIDI Output device.
When you need help, Sweetwater has the answers!
Our knowledge base contains over 28,000 expertly written tech articles that will give you answers and help you get the most out of your gear. Our pro musicians and gear experts update content daily to keep you informed and on your way. Best of all, it’s totally FREE, and it’s just another reason that you get more at Sweetwater.com.

