
Getting Started with DAW Controllers
In this guide, you will learn what a DAW controller is and how to connect it to your computer. Once you’re done, follow out DAW Controller Setup Guides to configure a controller with your DAW. Follow each of the sections below to get started.
What is a DAW controller?
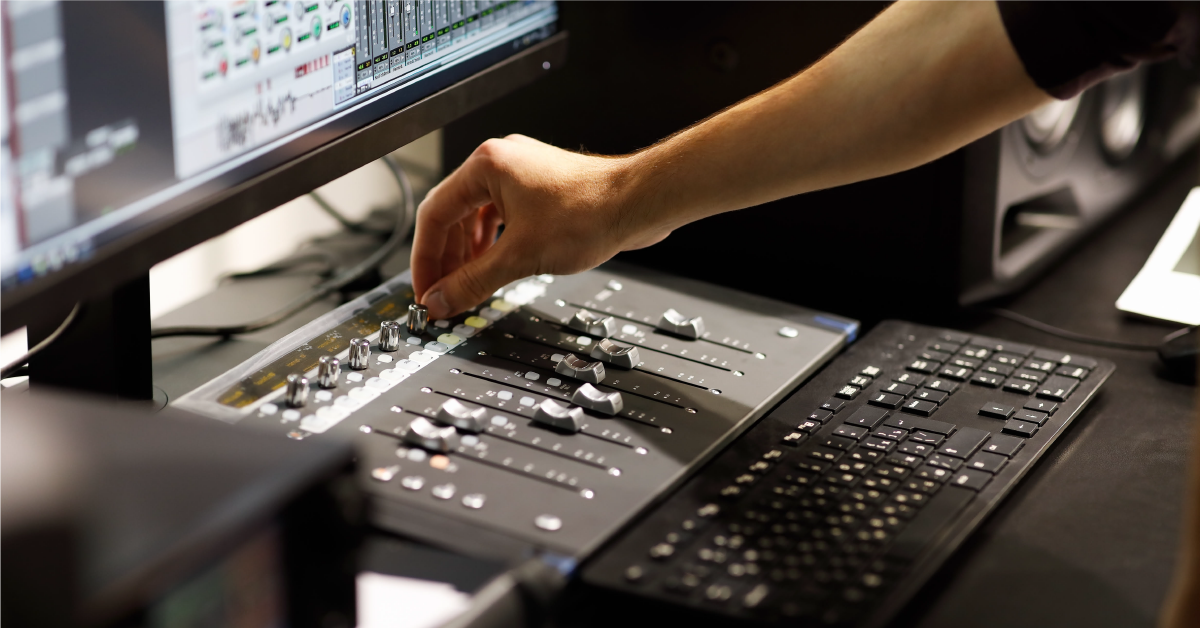
DAW controllers are MIDI devices that enable control over DAW’s such as Pro Tools or Ableton Live. Rather than use a mouse and keyboard to find and click each command, a DAW controller allows you to operate a DAW via dedicated control surface’s buttons, faders, encoders, or knobs. There are many different types of DAW controllers, like keyboards or mixers, but most of them have similar controls: channels, transport, navigation, and automation.

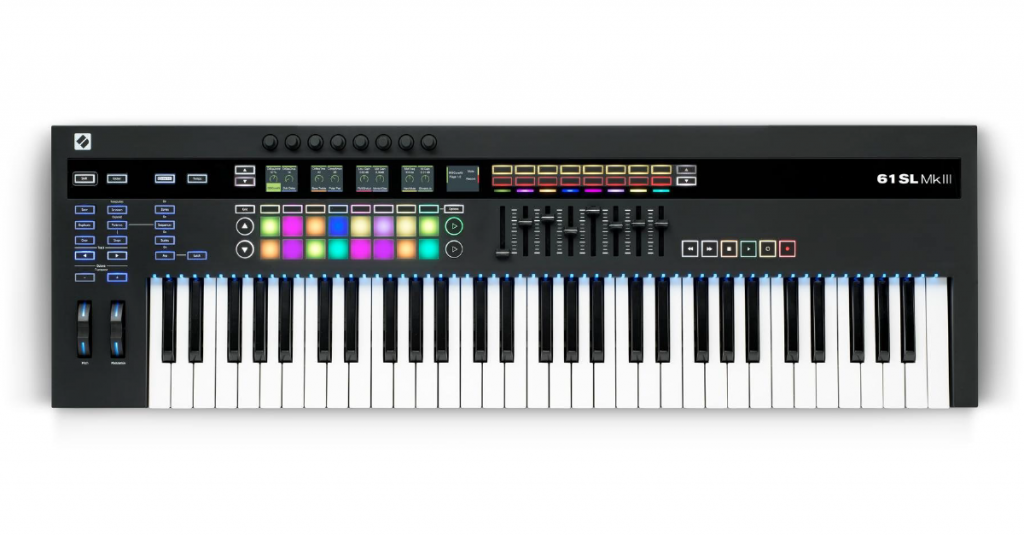
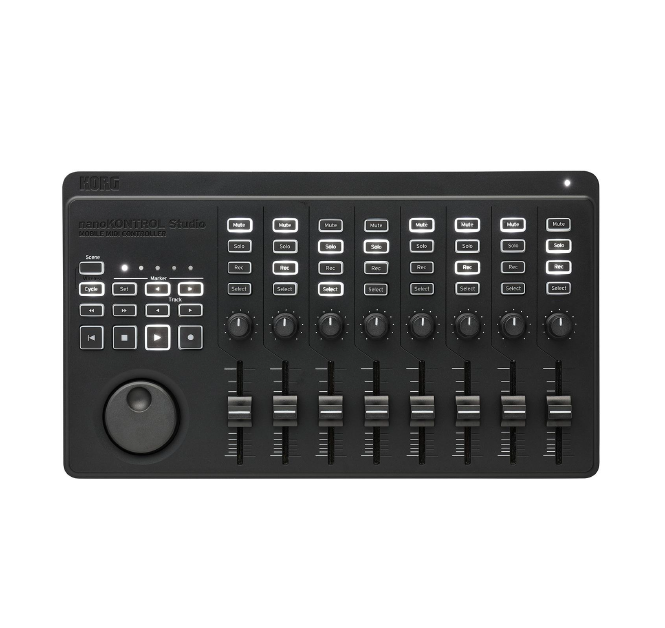
Examples of different DAW controllers.
What is a MIDI CC message?
DAW controllers mainly use numbered MIDI CC messages (keyboards use MIDI notes). The CC# in MIDI CC stands for “continuous controller,” and its number determines which DAW parameter or function it controls. When you move a fader or turn an encoder, the hardware sends a MIDI message to the DAW and tells it what to do. For example, adjusting a fader on your DAW controller will simultaneously adjust the corresponding DAW fader in the same way. That’s how they work, but they also need to communicate with the same control surface protocol as your DAW. Learn more in our Essential MIDI Guide.
Common DAW controller features
Channels
- Level
- Pan
- Solo
- Mute
- Record Arm
Transport
- Play
- Stop
- Fast Forward
- Rewind
- Record
- Loop
Navigation
- Track Scroll
- Timeline Scroll
- Horizontal Zoom
- Vertical Zoom
- Scrub/Nudge
Automation
- Touch
- Latch
- Trim
- Write
- Read
- Off
DAW controller personalities
In order for DAW control to work, both the DAW software and hardware controller must be configured with each other. Check that the DAW controller is designed for the DAW or has a supported controller identity. MCU(Mackie Control Universal), HUI(Human User Interface), and EUCON(Extended User Control) are common, but many controllers have their own unique setup instructions. Learn more in our control surface buying guide.
- MCU (Mackie Control Universal): Pro Tools, Cubase, Studio One, Live, Digital Performer, Reason, FL Studio, Bitwig Studio
- HUI (Human User Interface): Pro Tools, Cubase, Studio One, Digital Performer
- EUCON (Extended User Control): Pro Tools, Cubase, Logic Pro X, Digital Performer, Nuendo
- Other/Native: Some controllers are unique and control certain DAW’s with little to no additional configuration. Others have their own software for specific control features. Check your controller’s user manual for specific compatibility information.
Connecting DAW controllers
Now that you know what DAW controllers are and how they work, next you need to learn how to set one up in your DAW. We’ve detailed everything below, but check your DAW controller’s user manual for specific instructions and more information about your device.
USB vs. MIDI connections
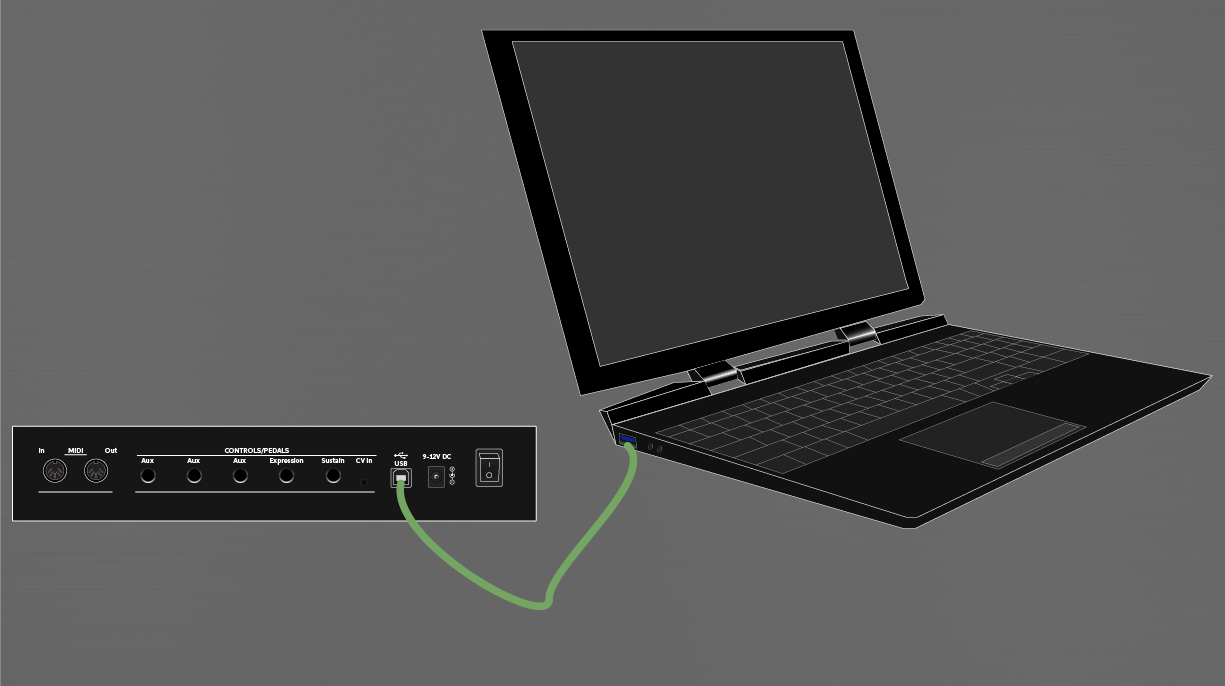
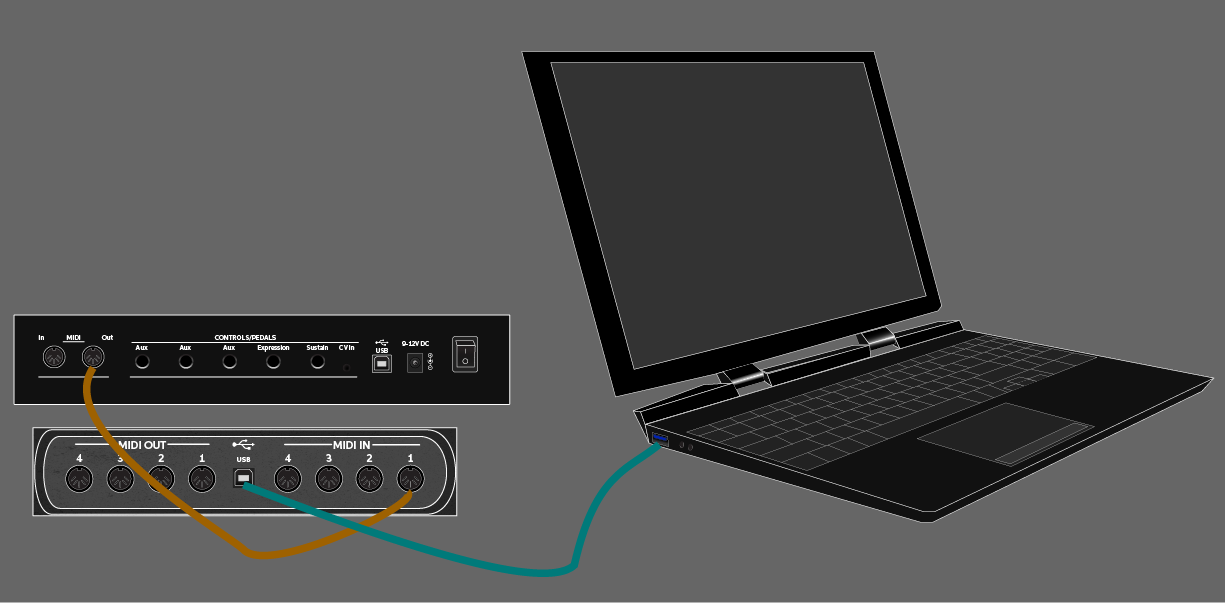
Most DAW controllers will connect to your computer via USB; either directly to the computer or through a powered hub. Some DAW controllers can communicate their MIDI CC messages via 5-pin MIDI ports. Depending on your configuration, you may be able to connect via the MIDI cables instead of the controller’s USB port.
Connecting a DAW controller via USB
Some DAW controllers are class compliant and use the built-in audio class drivers, but others have their own third-party driver software that must be installed before connecting. To set up a DAW controller with your computer, install the drivers and any other required software before connecting the controller. Check your controller’s user manual for more information about system requirements and driver software. If underpowered by their USB port or hub, bus powered DAW controllers may not operate correctly.
- If required, download and install the controller’s software.
- Required driver software
- Controller editor software
- Sequencer or virtual instrument software
- Connect the MIDI controller via USB: either directly to the computer or a powered USB hub.
- Configure the DAW with the MIDI controller.
- Select the correct MIDI controller mode.
- Select the correct DAW settings.
After connecting the DAW controller, continue to configure the DAW settings.
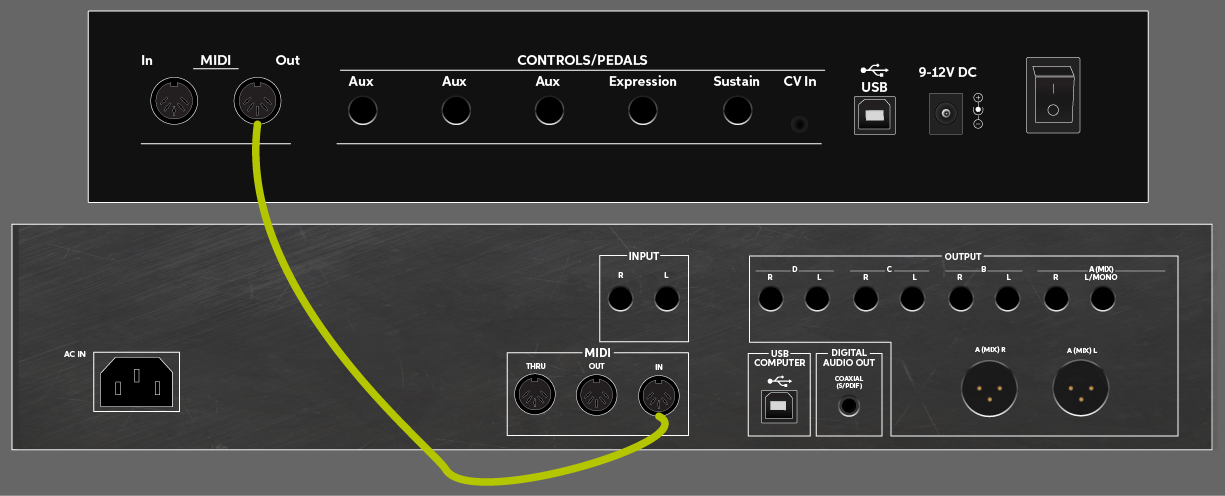
Connecting a DAW controller with MIDI cables
When connecting a DAW controller via MIDI cables, double check and route the correct MIDI Output port(s) to the correct Input port(s). Remember, the DAW controller will now use the ports of the MIDI device it’s connected to instead of its own USB personality.
- If required, download and install the MIDI controller’s software.
- Controller editor software
- Sequencer or virtual instrument software
- Connect the DAW controller to your MIDI interface/device via its MIDI ports.
- Configure the DAW with the MIDI controller.
- Select a compatible DAW controller mode.
- Select the correct DAW MIDI port settings.
After connecting the DAW controller, continue to configure the DAW settings.
DAW controller setup guides
Click any of the setup guides below to configure the DAW settings for your controller surface. Before you do, check to see if your controller requires any driver or software installation to connect.
- How to set up a MIDI controller in Pro Tools
- How to Set Up a DAW Controller in Cubase
- How to Set Up a DAW Controller in Studio One
- How to Set Up a DAW Controller in Fender Studio Pro
- How to Set Up a DAW Controller in Live
- How to Set Up a DAW Controller in FL Studio
- How to Set Up a DAW Controller in Reason
- How to Set Up a DAW Controller in Digital Performer
- How to Set Up a DAW Controller in Bitwig Studio
When you need help, Sweetwater has the answers!
Our knowledge base contains over 28,000 expertly written tech articles that will give you answers and help you get the most out of your gear. Our pro musicians and gear experts update content daily to keep you informed and on your way. Best of all, it’s totally FREE, and it’s just another reason that you get more at Sweetwater.com.


Offer applies only to single-receipt qualifying purchases. Select manufacturers may require that only the manufacturer’s products qualify towards the minimum purchase amount needed to be eligible for promotional financing. Otherwise, an invoice that meets the minimum purchase amount and contains at least one qualifying manufacturer product is eligible for promotional financing. No interest will be charged on promo purchase balance, and equal monthly payments are required on promo purchase until it is paid in full. The payments equal the amount financed divided by the number of months in the promo period, rounded up to the next whole dollar. These payments may be higher than the payments that would be required if this purchase was a non-promo purchase. During the last month(s) of the promo period the required monthly payment may be reduced due to the prior months’ rounding. Regular account terms apply to non-promo purchases. New Accounts as of 07/31/2025: Purchase APR is 34.99%. Penalty APR is 39.99%. Min Interest Charge is $2. Existing cardholders: See your credit card agreement terms. Subject to credit approval.
Offer applies only to single-receipt qualifying purchases. No interest will be charged on the promo balance if you pay it off, in full, within the promo period. If you do not, interest will be charged on the promo balance from the purchase date. The required minimum monthly payments may or may not pay off the promo balance before the end of the promo period, depending on purchase amount, promo length and payment allocation. Regular account terms apply to non-promo purchases and, after promo period ends, to the promo balance. New Accounts as of 07/31/2025: Purchase APR is 34.99%. Penalty APR is 39.99%. Min Interest Charge is $2. Existing cardholders: See your credit card agreement terms. Subject to credit approval.
The estimated required monthly payment shown which excludes taxes and delivery equals the amount financed divided by the number of months in the promo period, rounded up to the next cent. During the last month(s) of the promo period the required monthly payment may be reduced due to this rounding. These payments apply only with the financing offer shown. If you make these payments by the due date each month, you should pay off this amount financed within the promo period, if it is the only balance you are paying off. If you have other balances on your account, this payment will be added to any other minimum monthly payments.
Applies only to select items from this manufacturer. Ask your Sweetwater Sales Engineer for more details.