
Novation Launch Control XL 3 Quickstart Guide
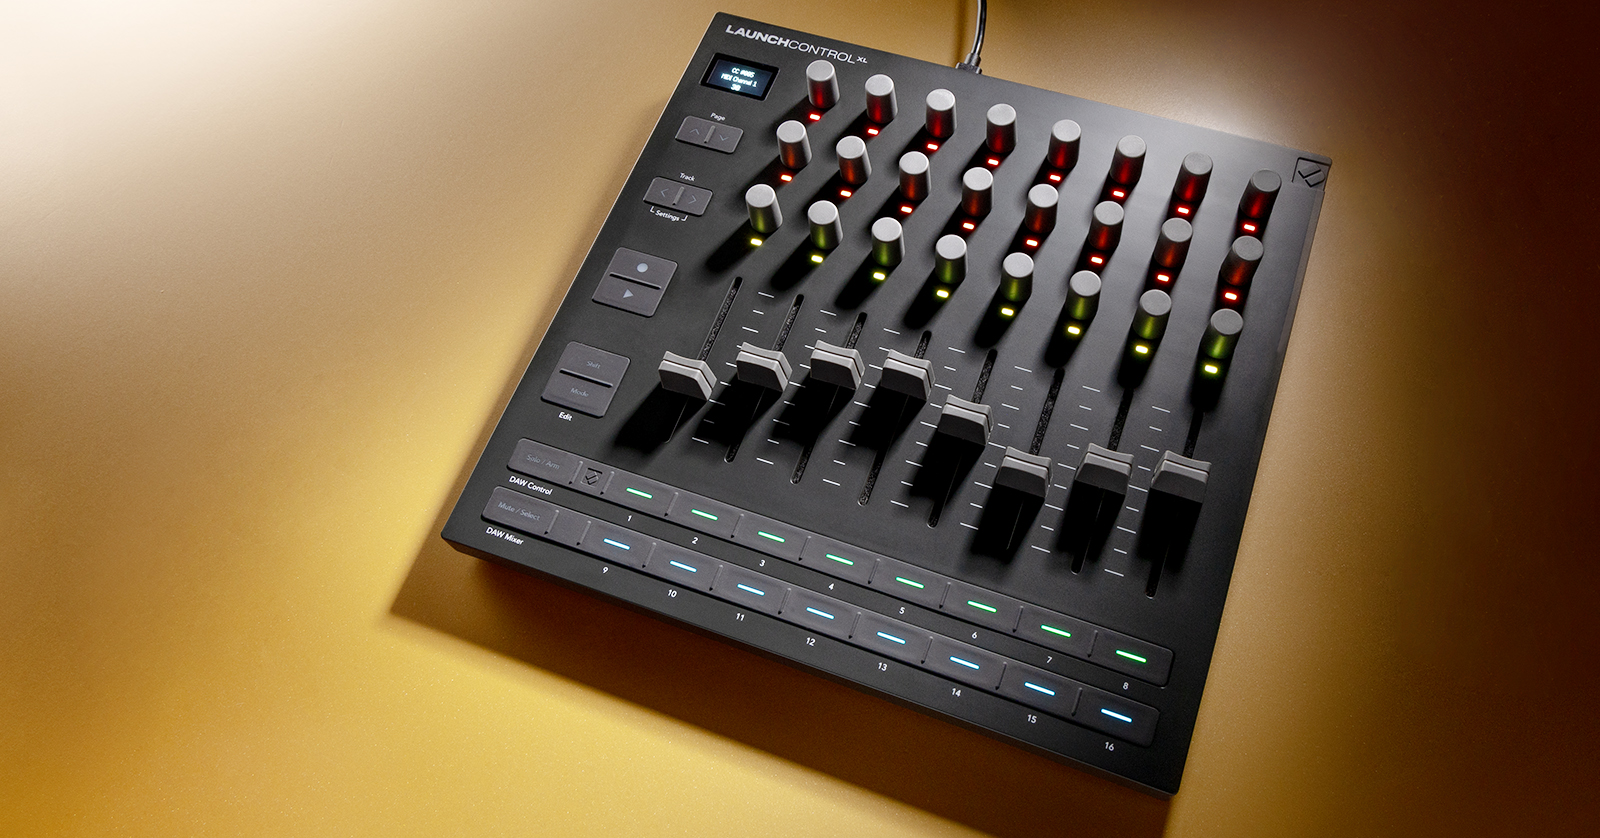
The Novation Launch Control XLv3 is a great hybrid MIDI control surface for synth rigs and for recording. In this guide, we will show you how to register, set up, and use the Launch Control XL 3 for the first time. Follow the sections below to get started. This article only scratches the surface, so check out the User Guide to learn more!
- Register the Novation Launch Control XL 3
- Launch Control XL 3 Firmware Update
- Setup and Connections
- Navigating the Hardware
- How to Use the Launch Control XL 3
Register the Novation Launch Control XL 3
Before using the Launch Control XL 3, you first need to register it with Novation. Upon registration, you can access free plug-ins, virtual instruments, and Ableton Live Lite. You can register the device via Easy Start (which requires internet access), or you can manually fill out the information.
Easy Start
- Connect the device to your computer. It will show up as an external storage device.
- Double-click Click Here To Get Started.url, click Get Started, and follow the on-screen instructions.
- Upon registration, you will receive licenses for Ableton Live Lite and Klevgrand, Baby Audio, and Output plug-ins. You can download the software at any time from your Novation account home page.
Disable Easy Start
Easy Start is enabled by default, so every time you connect it to a computer, the Launch Control XL 3 will pop up as an external storage device. You can turn this feature off within the Bootloader menu, which is accessed when you first power the device on.
- Press and hold both Page buttons and connect the device to your computer until it powers on.
- Once the device is powered on, let go of the Pagebuttons and press the Record button. This turns Easy Start on and off.
Manual
- If you don’t want to use Easy Start and you prefer to register later, then go to the Novation product registration page and log in to your Novation account.
- If you don’t have an account, then you can create one here.
- Enter the serial number located at the bottom of the unit, then click Set serial number.
- Follow the on-screen instructions to complete the registration.
- Upon registration, you will receive licenses for Ableton Live Lite and Klevgrand, Baby Audio, and Output plug-ins. You can download the software at any time from your Novation account home page.
Launch Control XL 3 Firmware Update
IMPORTANT! If you want to use the browser based version of Components, it must be a MIDI-compatible browser such as Chrome, Opera, Firefox, or Microsoft Edge.
After registering the Launch Control XL 3, you need to ensure its firmware is current. Checking and updating the firmware is done via the Novation Components app.
- Go to the Novation download page. Locate and install the latest Novation USB MIDI driver.
- Connect the Launch Control XL 3 to your computer, go to the Components webpage, click Login, and enter your Novation account credentials.
- Make sure MIDI is enabled in your MIDI-compatible browser’s settings.
- If you want to use the standalone Components app instead, then go to the Components webpage, click … at the top right, and select Install App.
- Follow the on-screen instructions to complete the firmware update.

Click the image to visit Novation Components.
Setup and Connections
The Novation Launch Control XL 3 has four physical connections: USB-C 2.0, MIDI In, and two MIDI Outs (you can use MIDI Out 2 as a MIDI Thru connection). While the connections are straightforward, here are some tips and tricks to get you up and running.
- If you’re on Windows, then install the latest driver before connecting the device to your computer via USB.
- If you want to use the Launch Control XL 3 outside of a DAW, then you must use custom MIDI modes. The custom mode you choose depends on the operation and connection you plan to use. Check out the User Guide to learn more.
- Custom modes are created in Novation Components.
- You can assign different features to different MIDI channels.
- You can use the Launch Control XL 3 in any software with MIDI capability, including nonmusical software! Check out the software manufacturer’s manual to learn more about MIDI control capability.
- The device is bus powered, meaning no additional power is required. If you plan to use it with a MIDI setup not connected to your computer, then you must use a USB 5V power supply with at least 25 watts and 500mA.
Navigating the Hardware
Once you have everything set up and connected, it’s important to know how to navigate the device. The faders, encoders, and 16 pads are software dependent, and they also depend on what mode you’re in.
- When the Launch Control is connected, the page buttons let you navigate the different pages of the device. Depending on the page, different knobs and buttons will illuminate.
- Use the < and > Track buttons to navigate through tracks in your DAW project.
- Press and hold both buttons simultaneously to access the device’s settings.
- Press the Mode button to switch between the various modes of the Launch Control XL 3. These modes are DAW mixer, DAW control, Default mode, and 15 Custom modes.
How to Use the Launch Control XL 3
The Launch Control XL 3 can be used in many major DAWs. In most cases, the Launch Control will integrate seamlessly in your DAW. However, there may be a time when you will need to install special scripts for full integration.
- Controlling and navigating with the Launch Control XL 3 will vary by DAW, so consult the Novation Launch Control XL 3 User Guide for in-depth information on using it with your DAW.
Novation Launch Control XL 3 MIDI Control Surface Overview
Related Articles
When you need help, Sweetwater has the answers!
Our knowledge base contains over 28,000 expertly written tech articles that will give you answers and help you get the most out of your gear. Our pro musicians and gear experts update content daily to keep you informed and on your way. Best of all, it’s totally FREE, and it’s just another reason that you get more at Sweetwater.com.

