
Yamaha MODX M Setup Guide
The Yamaha MODX M is a powerful synthesizer perfect for your studio and live rigs. In this article, you’ll learn about the Yamaha registration process and how to set up and connect the MODX M for the first time. Follow the sections below to get started.
Register the MODX M
Before setting up your MODX M, you’ll first need to register the synth with Yamaha. After registering the MODX M, you’ll get access to free sound libraries and a free Cubase AI license. Follow these steps to go through the Yamaha product registration process.
- Log in to your Yamaha account. If you haven’t created one yet, then visit the account sign-in page, click “Click here to Sign Up,” and fill out the Yamaha registration form.
- From your account page, navigate to Product Registration, and then click “Register My Product.”
- Fill out the required information, including the serial number located on the back of the unit, and click “Complete Registration.”
- Once you’ve gone through the Yamaha product registration process, you’ll gain access to Cubase AI.
Activate Cubase AI
Your Yamaha MODX M is bundled with a free license to Steinberg’s Cubase AI. You must create a MySteinberg account and use the included download access codes to activate the software. Check out our “Steinberg Software Activation Instructions” article to learn how to activate your copy of Cubase AI!
Firmware Update
The MODX M will receive firmware updates periodically, which typically add new sounds and address any issues present in the current version. Check out our “MODX M Firmware Update Guide” to learn how to update the firmware on your Yamaha MODX M.
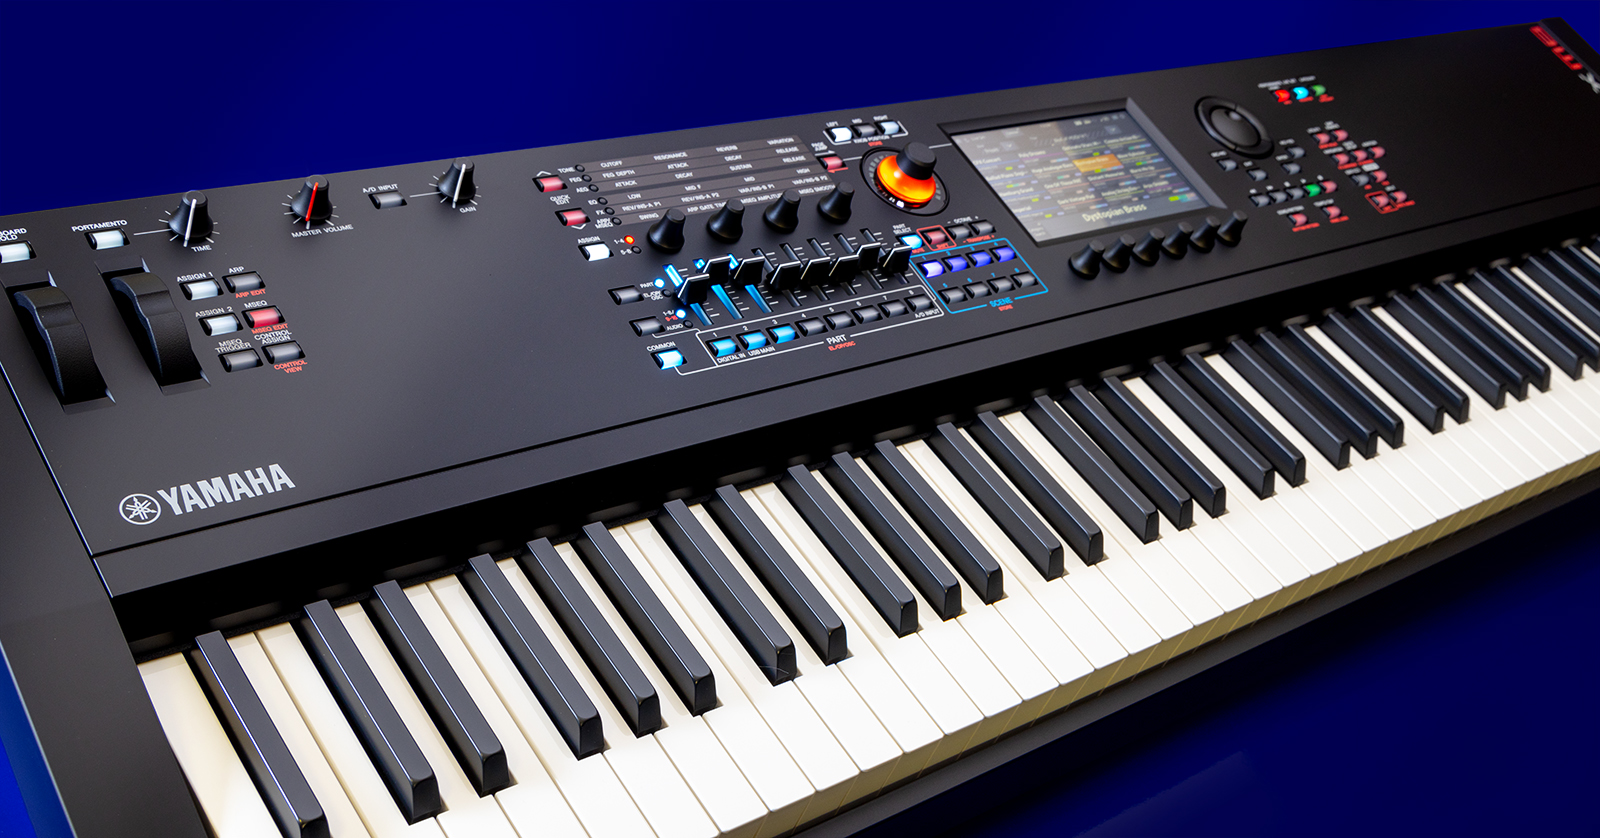
MODX M Setup & Connections
There are plenty of connections on the MODX M that make it an excellent centerpiece for your rig. Setting up is easy, which means less time setting up and more time playing.
A/D
IMPORTANT! The MODX M does not have or support phantom power, so you cannot connect condenser microphones.
You can connect analog gear such as microphones, media players, and instruments to your MODX M. You can then control its input, output, panning, and effects chain. The audio signal is then sent out along with the selected performance.
- With the MODX M turned off and its volume down, connect your gear to the A/D Inputs.
- When you connect a dynamic microphone, use an XLR to 1/4-inch cable and connect to the A/D L (Mono) input.
- Turn on the connected device (if necessary) and then turn on the MODX M.
- Press “UTILITY,”select “Settings,” and then choose “Audio I/O.”
- Select the A/D input for the connected device.
- Set the A/D to Mic when a microphone is connected and to Line when a media device, synth, or other high-gain instrument is connected.
- If you’re not sure what to switch it to, then check out our article about the difference between mic, instrument, line, and speaker levels.
- After you have set the A/D input, press the A/D button, start performing, and use the A/D Gain knob to adjust the level.
- Press the PERFORMANCE (Home) button and choose the performance you wish to use.

Audio I/O setup
MIDI
You can connect multiple MIDI devices to the MODX M using the 5-pin MIDI port. From DAW control to triggering only specific zones of the MODX M, the MIDI connectivity features are vast. This article only scratches the surface, so check out the Yamaha MODX M Quick Guide and Operation Manual to learn more about MIDI connectivity.

MIDI Setup
Computer
A great thing about the Yamaha MODX M is that it sends and receives MIDI over USB and acts as a 10-input/4-output audio interface at a 44.1kHz sample rate. These features make it the perfect centerpiece for your studio.
- Before you connect the MODX M to your computer, then you must download the driver beforehand for the synth to operate correctly.
- The MODX M can transmit four mono (or two stereo) audio channels through USB.
- Before using the MODX M as a MIDI device on your computer, you must enable it in the Utility settings.
- Press “Utility,” choose “Settings,” and then select “MIDI I/O.” Next, select “MIDI IN/OUT” and pick “USB.” Last, set the MIDI Send and Receive to USB [TO HOST].
- The keyboard supports MIDI 2.0 functionality, which means you can use newer MIDI devices that run on MIDI 2.0. However, you must enable it first to use it.
- Press “Utility,” choose “Settings,” and then select “Advance.” Locate “USB Driver Mode,” turn the Legacy setting to Off, and then connect your MIDI 2.0 device to the MODX M.
Driver installation for MacOS
The MODX M driver requires special permissions to be set up with macOS. If you have a Mac with Apple silicon, the first step requires booting your Mac into Recovery mode and making a change to the Security Policy. Once the change has been made, you can install the driver.
- Go to the Yamaha Steinberg USB Driver download page and download the latest version of the driver.
- Read the installation information and follow the instructions.
- Learn more in the Steinberg document macOS: Yamaha Steinberg USB/Thunderbolt Driver and TOOLS installation.
- Learn more in our Sweetcare article Enabling Kernel Extensions on Mac with Apple silicon.
iOS Device
The MODX M can connect to any iOS device. When connected, you can use the Soundmondo app to upload your saved performances and download free content. You can also record it using an iOS recording app such as Cubasis.
- Download and install the Soundmondo iOS app.
- Connect a USB cable from the MODX M USB HOST port to an official Apple Lightning to USB Camera Adapter connected to your iOS device.
- If your iOS device uses a USB-C connection, use the Apple USB-C Digital AV Multiport Adapter.
- Launch Soundmondo to pair the devices. If the devices are properly connected, then a green and white plus sign will appear on the app.
- When you use the MODX M with a remote DAW, check out the DAW manufacturer’s user manual to learn how to connect to the device.
Connecting iOS devices
You must change the driver mode on the MODX M for your iOS device to function correctly.
- Press Utility, navigate to Settings, and then change the USB Driver Mode to Generic.
Calibrate the MODX M Touchscreen
While the touchscreen will work right out of the box, it’s best to calibrate the touchscreen to get the best response possible. It’s also the first step in troubleshooting “ghost pressing” or touch inaccuracy. The process is straightforward, too.
- Press “Utility,” select “System,” and then press “Calibrate Touch Panel.”

System Utility settings
Related Articles
When you need help, Sweetwater has the answers!
Our knowledge base contains over 28,000 expertly written tech articles that will give you answers and help you get the most out of your gear. Our pro musicians and gear experts update content daily to keep you informed and on your way. Best of all, it’s totally FREE, and it’s just another reason that you get more at Sweetwater.com.


Offer applies only to single-receipt qualifying purchases. Select manufacturers may require that only the manufacturer’s products qualify towards the minimum purchase amount needed to be eligible for promotional financing. Otherwise, an invoice that meets the minimum purchase amount and contains at least one qualifying manufacturer product is eligible for promotional financing. No interest will be charged on promo purchase balance, and equal monthly payments are required on promo purchase until it is paid in full. The payments equal the amount financed divided by the number of months in the promo period, rounded up to the next whole dollar. These payments may be higher than the payments that would be required if this purchase was a non-promo purchase. During the last month(s) of the promo period the required monthly payment may be reduced due to the prior months’ rounding. Regular account terms apply to non-promo purchases. New Accounts as of 07/31/2025: Purchase APR is 34.99%. Penalty APR is 39.99%. Min Interest Charge is $2. Existing cardholders: See your credit card agreement terms. Subject to credit approval.
Offer applies only to single-receipt qualifying purchases. No interest will be charged on the promo balance if you pay it off, in full, within the promo period. If you do not, interest will be charged on the promo balance from the purchase date. The required minimum monthly payments may or may not pay off the promo balance before the end of the promo period, depending on purchase amount, promo length and payment allocation. Regular account terms apply to non-promo purchases and, after promo period ends, to the promo balance. New Accounts as of 07/31/2025: Purchase APR is 34.99%. Penalty APR is 39.99%. Min Interest Charge is $2. Existing cardholders: See your credit card agreement terms. Subject to credit approval.
The estimated required monthly payment shown which excludes taxes and delivery equals the amount financed divided by the number of months in the promo period, rounded up to the next cent. During the last month(s) of the promo period the required monthly payment may be reduced due to this rounding. These payments apply only with the financing offer shown. If you make these payments by the due date each month, you should pay off this amount financed within the promo period, if it is the only balance you are paying off. If you have other balances on your account, this payment will be added to any other minimum monthly payments.
Applies only to select items from this manufacturer. Ask your Sweetwater Sales Engineer for more details.