
Yamaha MODX M Parts, Performances, and Live Sets
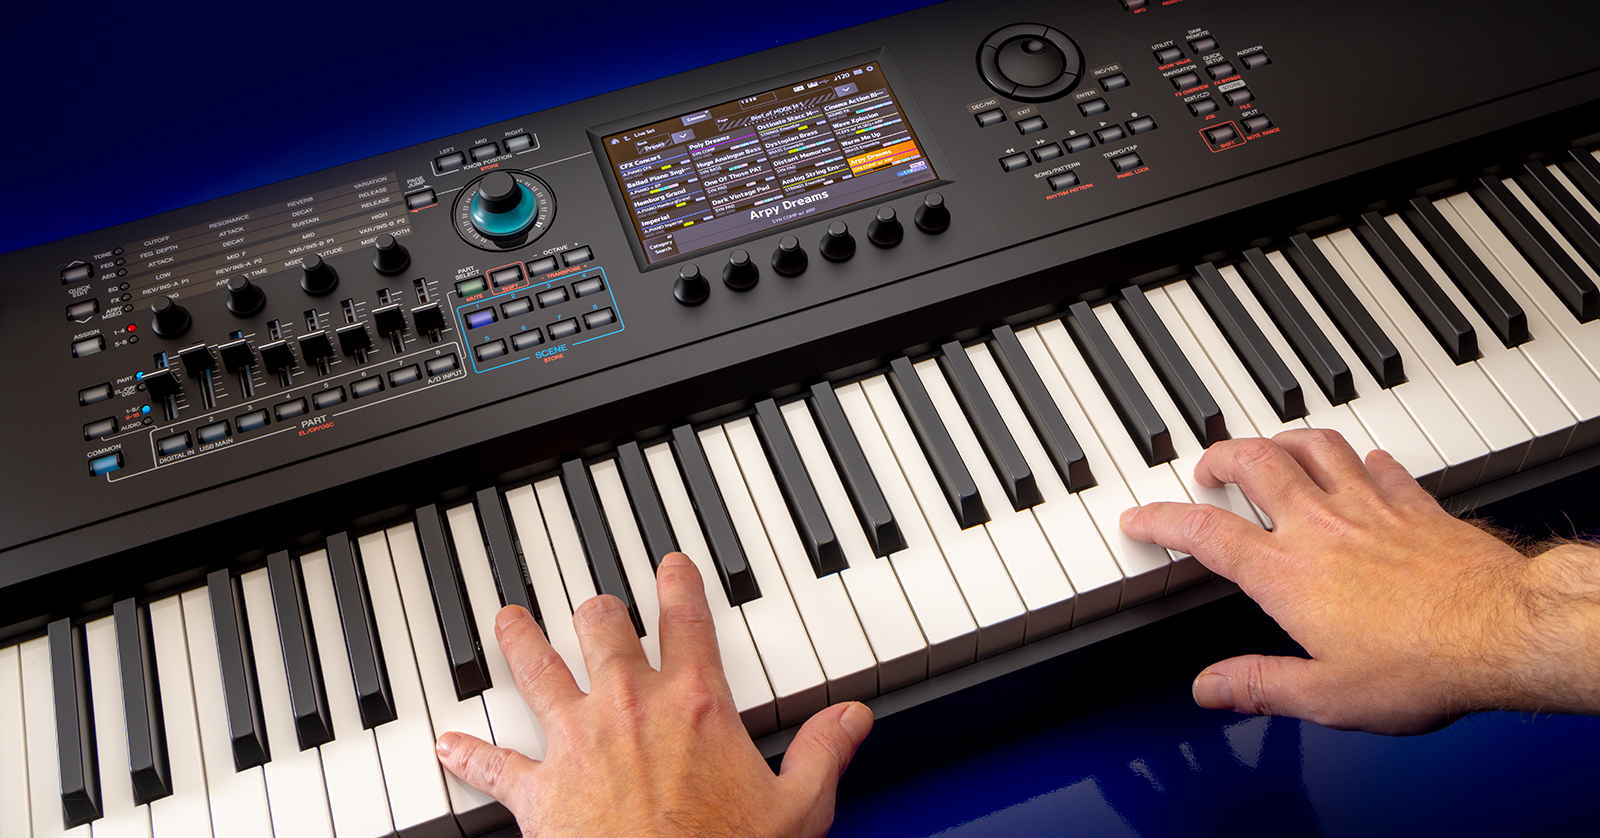
The Yamaha MODX M features a fantastic sound engine that allows you to create almost any sound imaginable. In this guide, we will show you the basics so you can get the most out of your keyboard. This article only scratches the surface, so make sure to check out the MODX M Operation Manual for more information!
MODX M Parts
A MODX M sound preset, called a Performance, can be broken down into two components: elements and parts. Elements are all the individual sounds used, and a part is the sound of all the elements and any effects applied to the elements (e.g., EQ, delay, reverb).
What Is a Part?
You can edit a sound in an infinite number of ways on the MODX M by layering elements and turning them into a part.
There are three different element types you can use when creating a part: AWM2, AN-X, and FM-X.
- The AWM2 sound engine uses waveforms that contain sample wave data you assign to each element and then adds filters, envelope generators, EQs, and various other effects.
- AN-X is a digital re-creation of analog synthesis and consists of three oscillators and noise.
- FM-X produces its sound by frequency-modulating eight generators, known as operators.
Each part can contain 128 AWM2 elements, eight FM-X generators, three AN-X operators, and one noise tone.
You can store over 3,400 Performances on the MODX M and add 16 Performances to one Live Set.
How to Create a Performance
The MODX M has plenty of factory Performances to choose from, all of which are fully customizable. You can also start with a blank canvas to create a unique sound that suits your needs. Below are instructions to get you started, but check out Chapter 6 in the Operation Manual to learn about detailed editing.
- Press the Performance View button to pull up a list of all Performances. You can also press Category to open the Category Search screen and use the options on the left to filter what sound you want (e.g., synth, piano, etc.).
- To start off with a blank Performance, enter the Category Search screen, press Init in the filters to create a blank Performance, and press the + buttons on each row to add parts.
- Press the Performance button to navigate to additional pages when you’re creating Performances.
- Continue adding parts until you’re happy with the sound.
- Press Exit to navigate back to the Performance Edit screen.
Importing Custom Samples
IMPORTANT! The MODX M only supports .wav and .aiff sound files.
The MODX M already has thousands of individual sounds to choose from, but you can customize it even further by importing any samples you like!
- Format a USB thumb drive on your MODX M (as outlined in our Firmware Update Guide).
- Connect it to your computer and copy and paste the samples you want to import.
- Safely disconnect the thumb drive from your computer and connect it to the TO DEVICE port of the MODX M.
- Create an Init part as outlined above, press the part’s name, choose Edit, and then choose the element number where you want to load it.
- Press Select Waveform and choose the audio sample.
- After loading the sample, go back to the Element Edit screen. Press ON to turn on the element.
How to Create a Live Set
Live Sets can hold up to 16 Performances. This is especially useful in live situations where you need to change patterns on the fly because you can access all the selected presets from one screen.
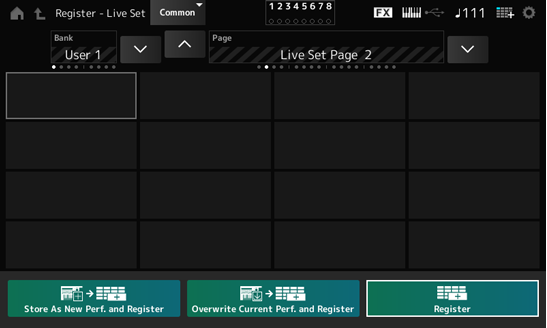
- Press the Live Set button so it illuminates then hold SHIFT and press the Live Set button.
- Tap the slot you wish to add the Live Set and then press ENTER or one of the three store operations listed at the bottom of the display.
- Store As New Perf. and Register
- Overwrite Current Perf. and Register
- Register
Live Set options
Add Audio, Pattern, or Song to a Live Set
Not only can you add Performances to a Live Set, but you can also add any recorded audio, patterns, or songs stored on the MODX M.
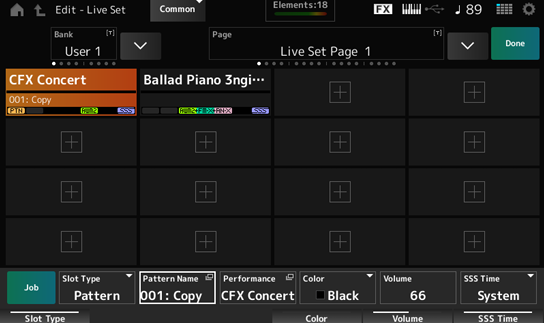
- Press the Live Set button followed by the Edit button.
- Select an empty slot then choose Song, Audio, or Pattern. This will open its Load screen.
- Choose the pattern/file you wish to use then press Done.
Adding a Pattern to a Live Set
Related Articles
When you need help, Sweetwater has the answers!
Our knowledge base contains over 28,000 expertly written tech articles that will give you answers and help you get the most out of your gear. Our pro musicians and gear experts update content daily to keep you informed and on your way. Best of all, it’s totally FREE, and it’s just another reason that you get more at Sweetwater.com.

