
SSL Audio Interface Series Setup Guide
Getting started
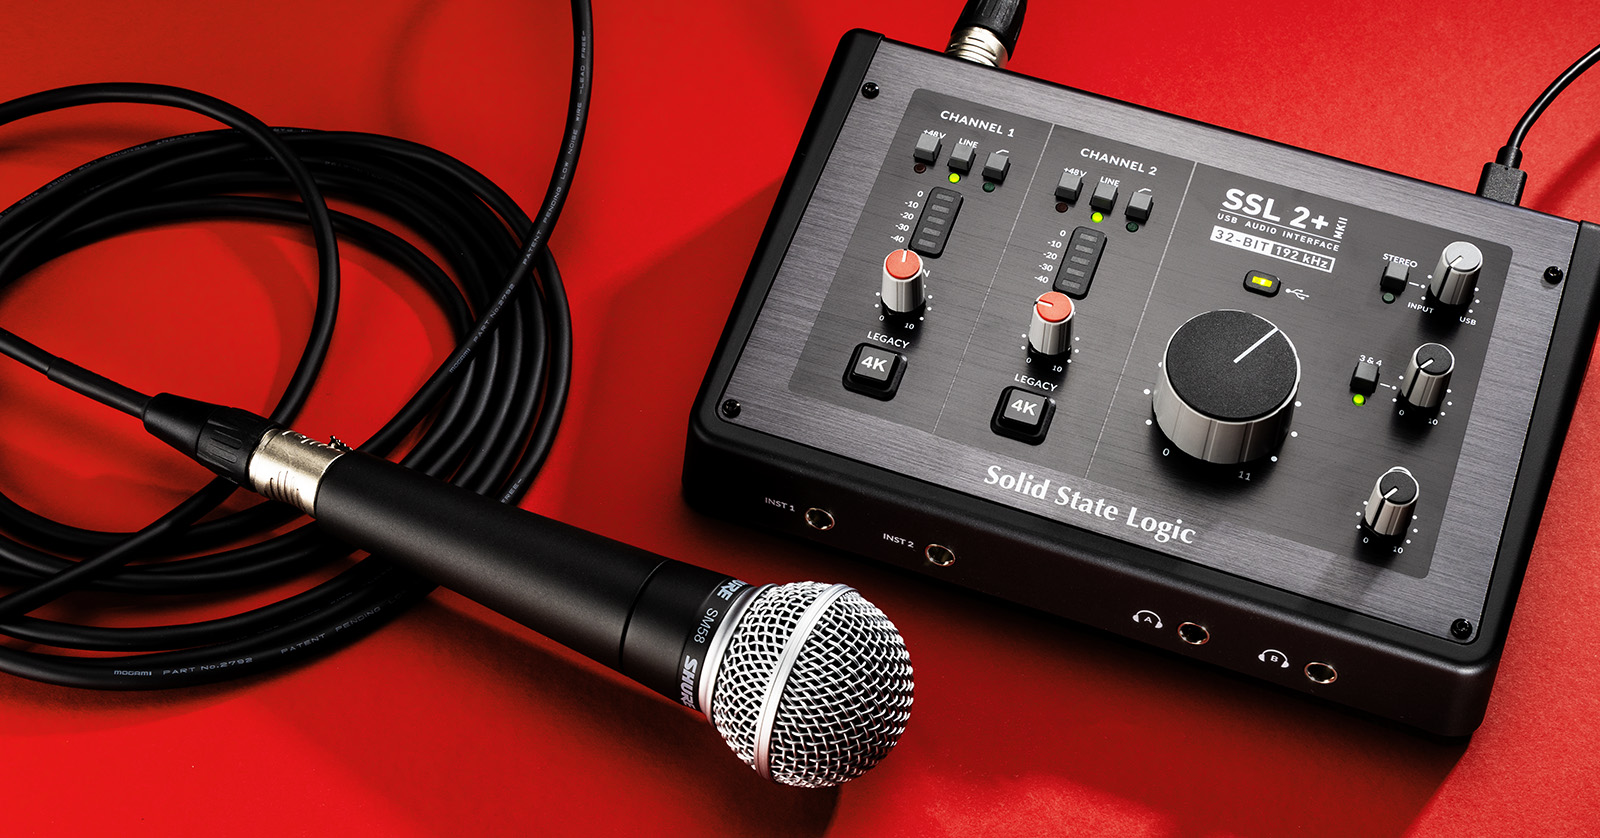
In this guide, you’ll learn how to get up and running with your new SSL series audio interface. We will show you how to register the interface, connect it to your computer, and get audio in and out of the device. Be sure to check out Solid State Logic’s getting started guide, as well. Follow each of the sections below to get started.
Register the interface
SSL series interfaces are bundled with a suite of DAW’s, virtual instruments, plug-ins, and samples to get you started. In order to get them, you’ll need to create an account and register your device. Follow these steps to register the interface and get your free bundled software.
- Log in to your SSL account or create one here.
- Go to My Products on your account page, click Register a product, and select your 2 series interface from the dropdown box.
- Click Add, enter the serial number located on the bottom of the device (begins with S2), and then click Register. To access your software, click Get SSL Production Pack Software.
Download the audio driver (Windows users only)
The SSL interface is class-compliant on macOS, meaning that no additional driver software is necessary and continue straight to Setup and connections. Windows users must first download and install the latest SSL ASIO driver for it to communicate with your computer. Follow the steps below to download and install the Windows driver.
- Go to the SSL downloads page and download the latest ASIO driver for your system.
- Navigate to your Downloads folder, launch the installer, and follow the on-screen instructions.
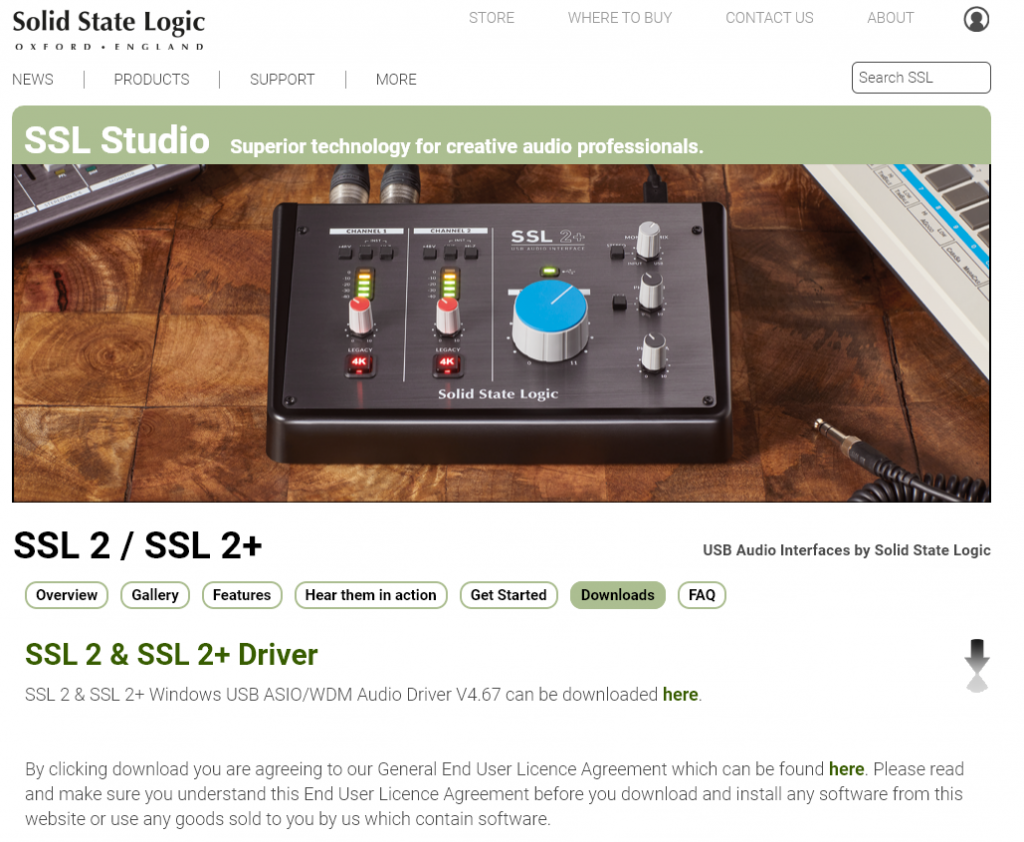
Click the image to download the driver.
Setup and connections
After registering the interface and installing its driver software, it’s time to connect it to your computer. The SSL Series interfaces are bus-powered, meaning an external power supply isn’t required. It’s recommended to connect it directly to your computer, as USB hubs may not provide enough power to the device.
- Connect the USB cable from your interface to the computer. The USB light should illuminate.
- Navigate to your OS sound settings and set it as the default input and output device.
- macOS: Click the Apple icon from the Menu bar and select System preferences. Click Sound, then select the SSL under the Input and Output tabs.
- PC: Go to Control Panel, select Sound, then click the Playback tab. Locate and select the interface, click Set Default, then click OK to close the menu. Do the same in the Recording tab.
- Connect your monitor speakers and input devices and adjust the input and output levels respectively.
Interface not showing up?
If your audio interface does not connect, try reconfiguring the USB connections so that the interface is connected directly to your computer. Sometimes, USB hubs can’t provide enough power for bus-powered audio interfaces. If the issue still persists, try a different USB port or cable. Visit our Windows and Mac guides for more tips on resolving audio device connectivity.
Related Articles
When you need help, Sweetwater has the answers!
Our knowledge base contains over 28,000 expertly written tech articles that will give you answers and help you get the most out of your gear. Our pro musicians and gear experts update content daily to keep you informed and on your way. Best of all, it’s totally FREE, and it’s just another reason that you get more at Sweetwater.com.

