
Polyend Synth Quickstart Guide
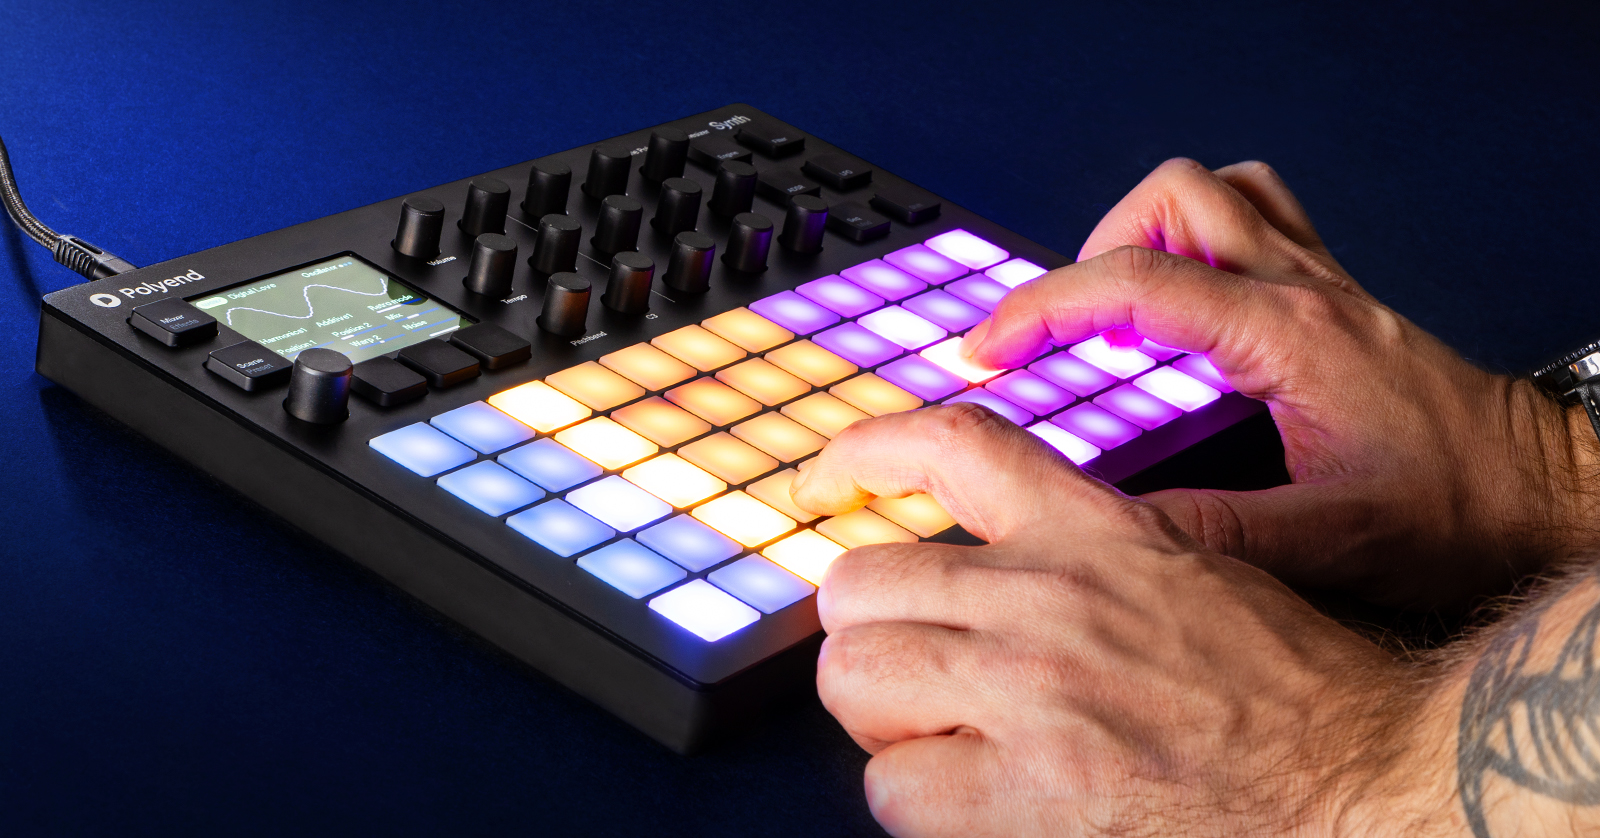
Polyend’s Synth is a fantastic synth and sequencer to play with in the studio and on the go, so in this guide, we will show you the ins and outs of using it. This article will get you up and running, so check out the Polyend Synth Essentials manual to learn more. Let’s get started!
Create a Scene
TIP: You can save up to 1,000 scenes on the factory-installed SD card.
Scenes are the building blocks of the Polyend Synth. They store components such as the patch, the mixer settings, the synth setup, and the name. A group of Scenes makes up a project (song).
- Press the SCENE button, then the INIT button, and then Yes.
- Press the SHIFT and SaveAs buttons. The performance pads will then turn into a QWERTY keyboard that you can use to name the Scene. Press Auto Name for the Synth to generate a name.
- Press Confirm to save the scene to the Synth’s SD card.
Choose a Synth Engine
IMPORTANT! In general, eight voices are available for the Synth, but there will be fewer if you use the physical modeling engine (PMD), as it is quite heavy on CPU usage. If too much processing power is being used, you will get a notification that says CPU high or CPU overload.
You can load up to three Engines (synths) to use in a Scene, and all are fully customizable.
- On the main screen, press one of the three Synth buttons (below the display) to select the synth you want to update.
- Hold Shift and press Scene/Preset to enter the Preset screen. You can either choose a factory preset or start from scratch by pressing Init.
- You can preview presets by highlighting them and pressing the performance pad associated with the synth channel’s color.
- Press Engines to select one of the eight different Engines available.
- Once you’ve selected a preset, press the main encoder. Then, use the Parameter buttons to adjust the parameters.
- When an Engine is loaded and you’re back on the main screen, use the main encoder to scroll through and access different pages.
Import samples
You can import custom samples to the Samples folder of the SD card to use with the GRAIN (granular synth) or WAVS (wavetable synth) engines. Please note that samples must be 16-bit, 44.1 kHz .WAV files.
Change the Pad Layout
You can change the pad layout to match your personal playing style. This will also change the note mapping, the modes, and the Scenes. For example, you can change the layout to have specific sections trigger each Engine or make it so all pads only control one Engine.
- Press the main encoder, then highlight and choose Grid.
- Use the C1 macro knob to change the layout. You should see the pad grid change color.
- Use the C2 and C3 macro knobs to change the scale and the global root note.
Scales and Chords
NOTE: If you want to play a chord, you must update the Engine’s voice polyphony. To do so, press the main encoder, select Synths, and update the voicing.
Not only can you change the root note (both globally and Engine specific) on the Polyend Synth, but you can also change the type of chord triggered when you press a pad.
By default, Engines trigger a single note, so if you want to trigger chords, you must go into the grid settings and update the Engine’s chord mode.
- Press the main encoder, then highlight and select Grid.
- Use the C2 knob to change the scale and the C3 knob to change the global root note.
- Use the nine macro knobs to change the mode, the chord, and the root of each Engine.
- The top row of knobs will adjust the mode of each Engine, the middle row will change the chord, and the bottom row will change the root note.
Modes
The Polyend Synth has five modes per Engine: Note, Ch Scale, Chord, Ch Pack, and Follower. The mode changes the pad’s performance behavior.
- Note: A single note will be played in the selected key.
- Chord: A single notepad will play the root chord of the scale chosen.
- Only one Engine can be assigned to a chord, and the other two can be set to the scale or remain as chromatic notes.
- Ch Scale: A single notepad will play a chord in the selected scale.
- Only one Engine can be assigned to a chord, and the other two can be set to the scale or remain as chromatic notes.
- Ch Pack: Selects a factory-preset chord progression.
- Follower: Only available if another Engine is set to a Chord mode.
Sequencer and Arpeggiator
Each Engine has a fully customizable sequencer or arpeggiator. You can update these settings by pressing the Seq button.
- Press the Seq button followed by the main encoder, then choose the Engine you want to edit.
- Press the Seq button or the first macro/arpeggiator knob to scroll through the menus.
- Use the macro/parameter knobs to change the settings.
Create Macros
You can assign up to five macro/parameter knobs to control specific parameters of the five Synth parameters (Engine, Filter, ADSR, LFO, and Seq). This speeds up your workflow and gives you fine control without the need to navigate through menus and pages. You can also rename them for easy identification.
- Press the main knob, then scroll to and select Macros.
- Select 1, 2, or 3. By default, the parameters are called Timbre, Movement, and Experiment.
- You can edit a parameter name by scrolling to Edit Name and using the QWERTY keyboard to update it.
- Highlight [empty slot], press Set Param, and navigate to the Synth parameter (Engine, Filter, ADSR, LFO, or Seq) you wish to change.
- Touch one of the nine macro/parameter knobs to assign. You will be taken back to the Edit macro screen.
- Press Set Param to confirm the selection.
Related Articles
When you need help, Sweetwater has the answers!
Our knowledge base contains over 28,000 expertly written tech articles that will give you answers and help you get the most out of your gear. Our pro musicians and gear experts update content daily to keep you informed and on your way. Best of all, it’s totally FREE, and it’s just another reason that you get more at Sweetwater.com.

