
Polyend Synth Setup and Connections
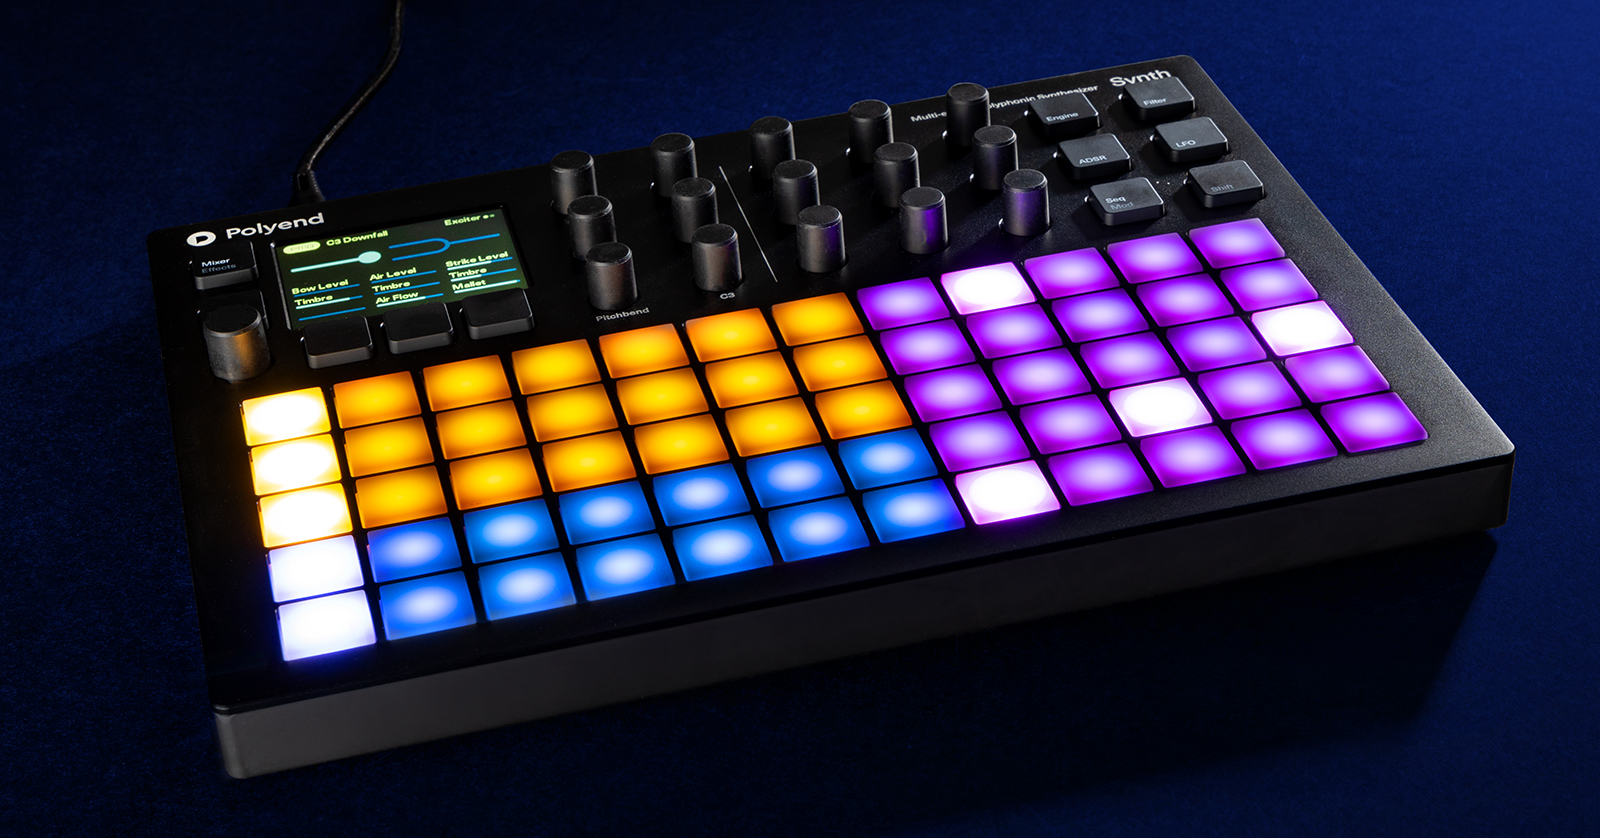
The Polyend Synth is a fantastic standalone synth that you can use on its own or as the centerpiece of your setup! In this guide, we’ll show you how to register, set up, and connect the Polyend Synth. Follow the instructions below to get started.
- Register the Polyend Synth
- Update the Firmware
- Polyend Synth Setup and Connections
- Navigating the Polyend Synth
Register the Polyend Synth
It’s always exciting to take new gear out of the box and start playing, but before getting connected, you’ll first need to register the Synth with Polyend. After registering the unit, you’ll gain access to additional features and exclusive instruments with which to work!
- Log into your Polyend account. If you don’t have a Polyend account yet, fill out the registration information at the bottom of the page and click Register.
- On your account home page, click Register Product, use the dropdown box to select Synth, enter the Synth’s serial number (located on the side of the box, as well as beneath the unit), and click Register.
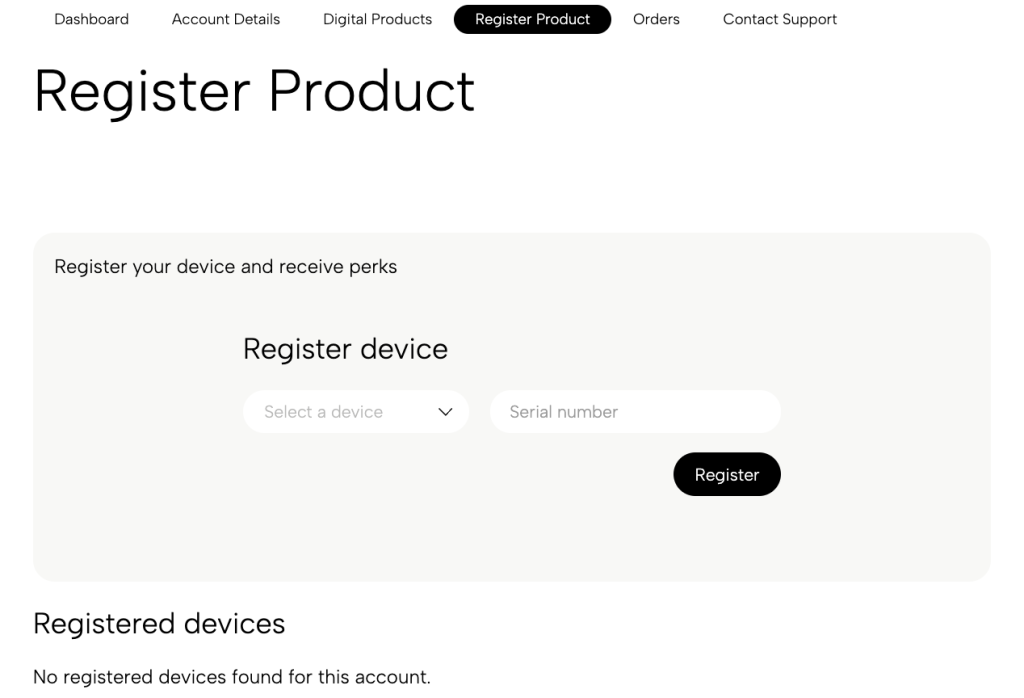
Click the image to register your Polyend Synth
Update the Firmware
Polyend releases firmware updates that add new features and address bugs in the current version. Check out our Polyend Synth Firmware Update Guide to learn how to update the firmware!
Polyend Synth Setup and Connections
The Polyend Synth has both audio and MIDI connections available, both of which can be expanded using the included adapters. Here are a few tips for setting up your Polyend Synth.
General
- While using the included power adapter is recommended, you can also power the Polyend Synth using a standard power bank if you’re on the go. Polyend recommends a standard 20,000mAh power bank without smart features.
- Smart power banks and computer (bus) power are not recommended, as they can affect continuous power to the device, resulting in sudden power dropouts or lockups.
- If you are using a power bank, use the included USB-C to USB-A cable to ensure proper connectivity.
- When using the Polyend Synth, make sure to use the factory-supplied cables. If they aren’t available, use high-quality, brand-name cables.
- Always make sure you have the SD card inserted when you’re operating the Synth. It must be in the FAT32 format to work correctly!
MIDI
While the Polyend Synth is the perfect standalone synth, you can connect external MIDI gear for further expandability. Depending on your application, you may need to update a few settings to make sure everything communicates correctly.
- Use the included 3.5mm to 5-pin MIDI adapter to connect external MIDI devices.
- Connect the Polyend Synth to your computer for USB MIDI control.
- Press the main encoder, navigate to MIDI, then press it again to enter the MIDI system settings. From here, you can change MIDI Clock and Out, Transport, External Transport In, and Control Change mapping.
You can route MIDI to one of the three engines, as well.
- Press the main encoder, highlight Synths, and press the main encoder once more to enter the Synth’s settings.
- Use the middle row of knobs on the right to update the MIDI channel. You can route each channel from MIDI channels 1–16 or USB (MIDI) channels 1–16.
Audio
IMPORTANT! USB audio streaming is not currently available on the Polyend Synth.
Polyend has made audio connections and routing simple with the Synth. The 1/8-inch stereo jack acts as the headphone out, but you can connect speakers with 1/4-inch cables with the audio splitter cable in the packaging.
Not only can you adjust the level of the main outs, but you can also adjust the level of each individual engine. To do so, press the Mixer button, then use the top row of three knobs on the right side. Note that each knob is associated to its respective engine.
Navigating the Polyend Synth
NOTE: If there are multiple pages for a selected option, it will be indicated by dots at the top right of the display.
You can divide the Polyend Synth into four sections: Performance pads, main controls, macro/combo controls, and synth controls.

Sections of the Polyend Synth
Macro/combo and Parameter Knobs
The Macro/combo controls are the three knobs labeled C1, C2, and C3. These will adjust various parameters depending on the menu or page you’re on.
The nine knobs to the right of the Macro/combo knobs allow you to adjust up to nine specific parameters. The nine parameters shown on the display correlate to the nine parameter knobs.
Performance Pads
The pads are for playing and controlling the unit. They’re velocity sensitive and have polyphonic aftertouch capability, which is perfect for any performance. You can also change the color layout, which affects the three engines.
- The light intensity is dependent on the velocity.
- The root note will be more brightly lit than the other performance pads.
- You can change the pad layout within the Synth’s settings. Check out our Quickstart Guide to learn more!
Updating pad sensitivity
You can update the pad sensitivity to match your playing style. This can be done in the global settings.
- Press the main knob and highlight, then select Settings.
- Highlight and select Grid Sensitivity.
Main Controls
Besides the Master Volume, Tempo, and Pitchbend controls, there are two primary buttons you’ll want to focus on: Mixer/Effects and Scene/Preset.
- Hold Shift and press Mixer to access the ModFX parameters.
- Hold Shift and press Scene to open the preset browser.
Synth Controls
The synth controls allow you to adjust the specific parameters of the selected engine, such as ADSR, LFO, and Sequencer.
Related Articles
When you need help, Sweetwater has the answers!
Our knowledge base contains over 28,000 expertly written tech articles that will give you answers and help you get the most out of your gear. Our pro musicians and gear experts update content daily to keep you informed and on your way. Best of all, it’s totally FREE, and it’s just another reason that you get more at Sweetwater.com.

