
Yamaha DTX Pro Quickstart Guide
The Yamaha DTX is a fantastic electronic drum kit onstage and at home. In this guide, we will show you how to register, set up, and use it for the first time. Follow the sections below to get started. Also, check out the DTX-PRO Owner’s Manual, User Reference Manual, and Data List to learn more!
- Register the Yamaha DTX
- Yamaha DTX-PRO Firmware Update
- Setup and Connections
- Navigate the Module
- Create a Custom Drum Kit
Register the Yamaha DTX
Before setting up the kit, you must register it with Yamaha. Upon registration, you will receive a free extended warranty from Yamaha. Keep your Sweetwater invoice handy, as you’ll need to include your purchase information.
- Log in to your Yamaha account. If you don’t have an account yet, then click Sign Up and fill in the necessary information.
- After you’ve logged in, select Product Registration.
- On the next page, click Register My Product, fill in the requested information, and click Complete Registration.

Click the image to register your Yamaha DTX electronic kit.
Yamaha DTX-PRO Firmware Update
Keeping the DTX-PRO module’s firmware up to date is essential. These firmware updates will address bugs and add features to make your playing experience more enjoyable. Check out our guide to learn how to update the firmware of your Yamaha DTX-PRO.
Setup and Connections
Setting up the Yamaha DTX kit is straightforward. The setup may differ slightly depending on the model, but the main concept is the same. Be sure to go through the included DTX Assembly Guide for specific instructions!
Here are some tips and tricks to get you up and running!
- Label the cables and make sure they’re connected to the correct jacks.
- Use hook-and-loop cable ties to secure the cabling to the drum rack and to keep the wiring harness neat. This will also ensure that the cables don’t get tangled.
- You can use a splitter cable to connect two pads to one jack. Please note that if connected in that configuration, the two pads will become single-zone triggers.
- Place your DTX kit on a carpet or a drum rug. While you can adjust sensitivity and crosstalk settings, playing the kit on a hard surface can cause vibrations, which can lead to mistriggering.
- Don’t overtighten parts!
- Make sure the cables are fully and securely inserted into the pads.
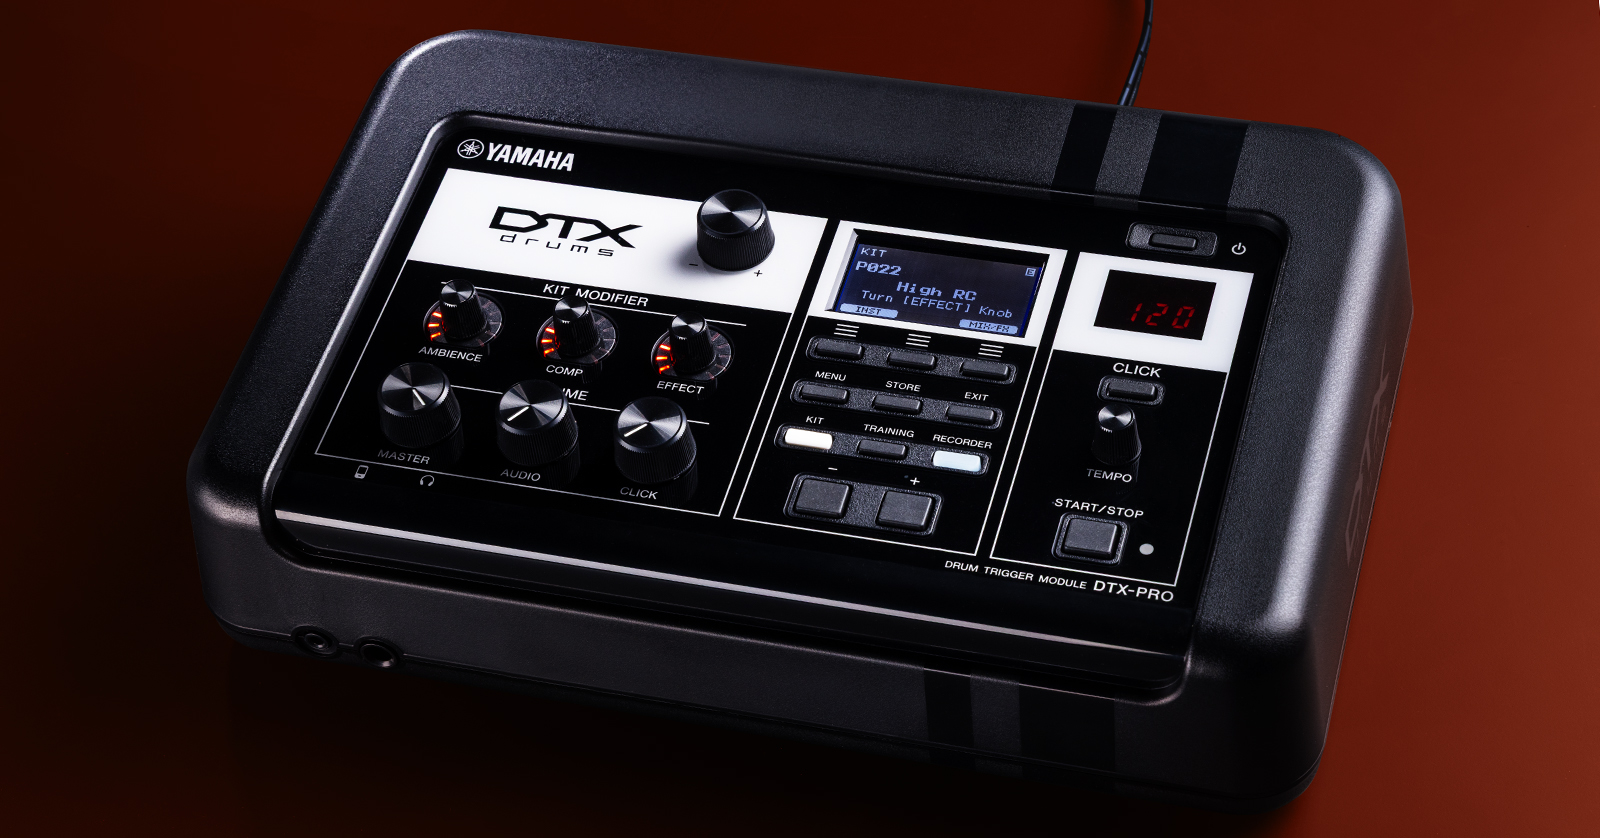
Navigate the Module
Yamaha has made navigation straightforward. There’s no menu diving, so you can spend more time playing and less time searching for specific submenus or settings. Check out Yamaha’s video below to learn more about basic navigation!
Yamaha | DTX6, DTX8, DTX-PRO | Basic Navigation
Adjust the Pad Settings
Not all drummers have the same playing style, so after you assemble the kit, take some time to adjust the pad settings. While the factory settings are a great starting point, it’s best to fine-tune the pads for the most natural feel.
- Press MENU, select PAD TYPE, and press the ENTER (F3) button.
- Press the TRG (F3) button, then strike the pad you wish to adjust.
- Press EXIT, then adjust the settings as necessary.
DTX6 Series | How to correctly set up your trigger settings
Create a Custom Kit
While the Yamaha DTX has 40 terrific factory-preset kits and 400 onboard sounds, you also have the ability to create up to 200 user kits. Not only can you build kits, but you can also edit kit settings to add effects, to adjust sample tuning, and to mix levels.
- While on the main screen, press the INST (F1) button, then strike the pad with which you wish to work. You should see the drum associated with the pad listed.
- The Category is the sample type where the voice resides (e.g., snare, tom, kick).
- Use the F1 and F2 buttons to navigate the settings you wish to change.
- Use the + and – buttons or the +/- encoder to change each setting.
Import Samples
IMPORTANT! All samples must be 16-bit 44.1kHz .WAV files.
You can import custom samples from a compatible USB thumb drive.
- Load your samples onto a formatted USB thumb drive and insert it into the back of the module.
- Press the MENU button, and with Job highlighted, press ENTER (F3).
- Navigate to User Voice, select Import All, and press ENTER (F3).
- Press IMP TYPE (F1). It’s recommended you select TO EMPTY.
- Press IMPORT (F3) and YES (F1) to import the samples. Once they’re loaded, follow the steps above to load them onto a pad.
Yamaha | DTX6, DTX8, DTX-PRO | Importing multiple samples
Related Articles
When you need help, Sweetwater has the answers!
Our knowledge base contains over 28,000 expertly written tech articles that will give you answers and help you get the most out of your gear. Our pro musicians and gear experts update content daily to keep you informed and on your way. Best of all, it’s totally FREE, and it’s just another reason that you get more at Sweetwater.com.


Offer applies only to single-receipt qualifying purchases. Select manufacturers may require that only the manufacturer’s products qualify towards the minimum purchase amount needed to be eligible for promotional financing. Otherwise, an invoice that meets the minimum purchase amount and contains at least one qualifying manufacturer product is eligible for promotional financing. No interest will be charged on promo purchase balance, and equal monthly payments are required on promo purchase until it is paid in full. The payments equal the amount financed divided by the number of months in the promo period, rounded up to the next whole dollar. These payments may be higher than the payments that would be required if this purchase was a non-promo purchase. During the last month(s) of the promo period the required monthly payment may be reduced due to the prior months’ rounding. Regular account terms apply to non-promo purchases. New Accounts as of 07/31/2025: Purchase APR is 34.99%. Penalty APR is 39.99%. Min Interest Charge is $2. Existing cardholders: See your credit card agreement terms. Subject to credit approval.
Offer applies only to single-receipt qualifying purchases. No interest will be charged on the promo balance if you pay it off, in full, within the promo period. If you do not, interest will be charged on the promo balance from the purchase date. The required minimum monthly payments may or may not pay off the promo balance before the end of the promo period, depending on purchase amount, promo length and payment allocation. Regular account terms apply to non-promo purchases and, after promo period ends, to the promo balance. New Accounts as of 07/31/2025: Purchase APR is 34.99%. Penalty APR is 39.99%. Min Interest Charge is $2. Existing cardholders: See your credit card agreement terms. Subject to credit approval.
The estimated required monthly payment shown which excludes taxes and delivery equals the amount financed divided by the number of months in the promo period, rounded up to the next cent. During the last month(s) of the promo period the required monthly payment may be reduced due to this rounding. These payments apply only with the financing offer shown. If you make these payments by the due date each month, you should pay off this amount financed within the promo period, if it is the only balance you are paying off. If you have other balances on your account, this payment will be added to any other minimum monthly payments.
Applies only to select items from this manufacturer. Ask your Sweetwater Sales Engineer for more details.