
Getting Started with TC Electronic Hardware Plug-in Controllers
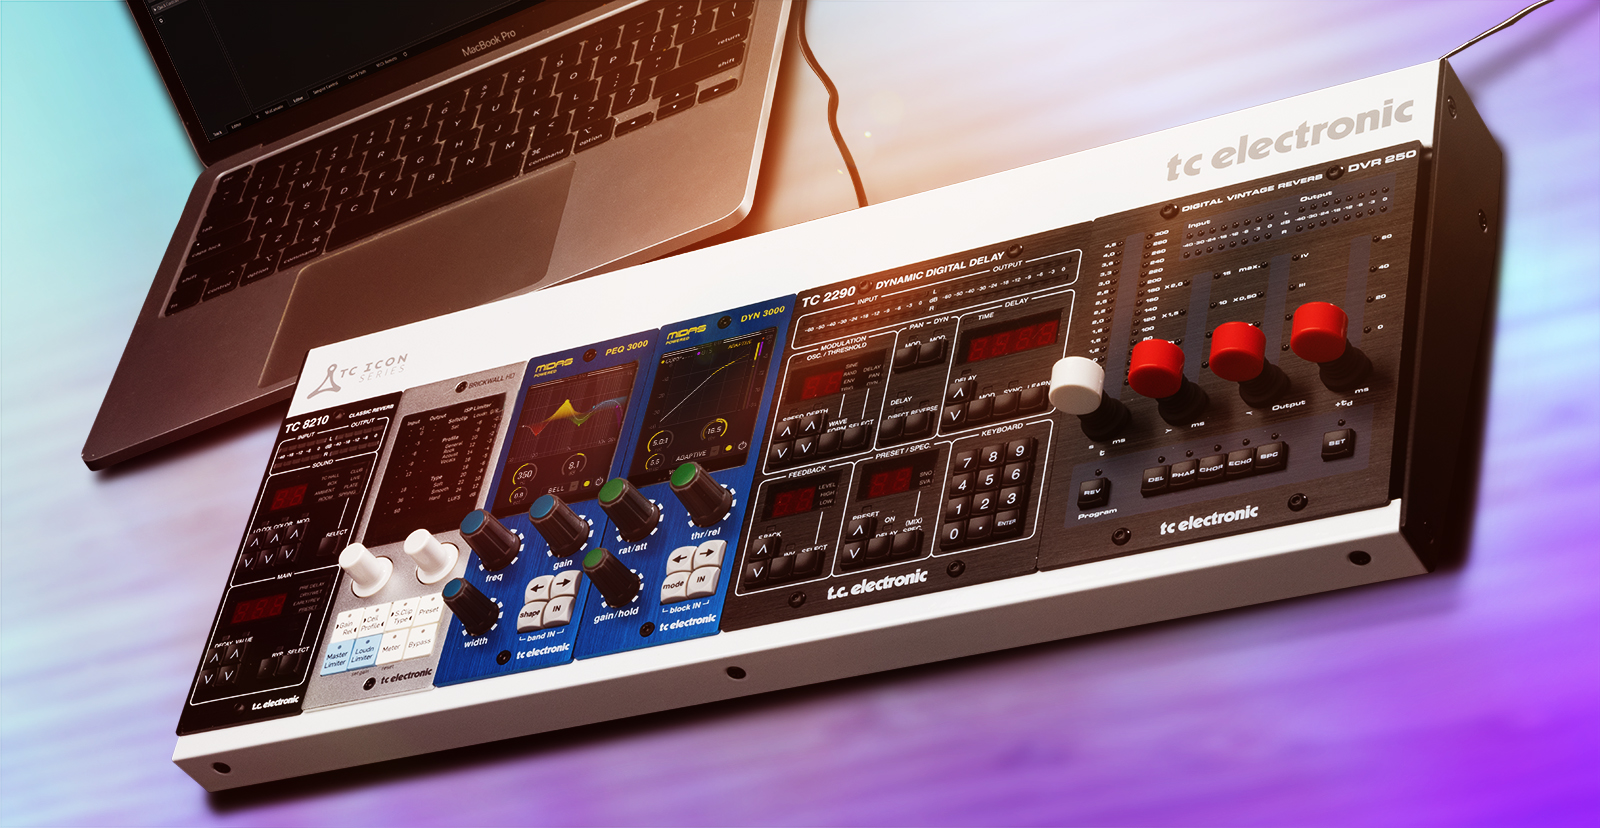
The TC Electronic ICON controllers are plug-in controllers that change the game when mixing within your DAW. Instead of relying on your mouse, you can change plug-in parameters just like you can with analog rack gear. So, this guide will show you how to set up, connect, and use the ICON plug-in controller for the first time. Follow the instructions below to get started.
Register Your ICON Plug-in Controller
Before getting set up and connected, you must register your controller with TC Electronic. Upon registration, you will receive an extended warranty. Follow the instructions in our guide below.
Download the Quick Start Guide from the TC Icon Dock product page on the TC Electronic website. Click Downloads.
Plug-in Installation
IMPORTANT: Activation and installation are all dependent on what controller you purchased!
After registering your ICON controller, the next step in the process is downloading, installing, and activating the plugin. If you purchased a TC 2290, DVR 250, TC 8210, or TC 1210, you simply need to download the plugin directly from its TC Electronic product page.
However, if you purchased a PEQ 3000, DYN 3000, BRICKWALL HD, or MASTER X HD, you must activate the plugin via iLok.
TC 2290, DVR 250, TC8210, and TC1210
NOTE: If you disconnect the controller and, for example, take the computer elsewhere, you can use the plugins for 60 days until the computer asks you to reconnect the remote controller. If you don’t connect the remote controller within 60 days, you will still be able to hear the plug-ins in your projects, but the user interface will go black.
If you have purchased one of these, go to its product page on the TC Electronic website:
- TC 2290 Legendary Dynamic Delay
- DVR 250 Digital Vintage Reverb
- TC 8210 Classic Mixing Reverb
- TC 1210 Unique Spatial Expander
On the product page, click Downloads. Under “Mac” or “Windows,” select the newest version of the plugin for your system. Download and install the plugin.
If you are on Windows, you must also download and install
While you are on the product page, be sure to download your model’s owner’s manual and quick start guide.
PEQ 3000, DYN 3000, BRICKWALL HD, and MASTER X HD
NOTE: The plugin’s iLok activation code is located on the back of the included Quickstart Guide in the product’s box.
The PEQ 3000, DYN 3000, BRICKWALL HD, and MASTER X HD plug-ins are activated via iLok. If you don’t already have an iLok account, you will need to create one and install the iLok License Manager app. Follow the steps below to get started.
iLok Setup
Follow all the steps in our iLok Setup Guide.
- Visit iLok’s registration page and complete the registration form. Take note of your User ID and password.
- Open the iLok Account Activation email and click on the verification link.
- Download and install the iLok License Manager.
- Launch the iLok License Manager app and sign in to your iLok account.
- (optional) Connect an iLok and click Yes to register it to your account when prompted.
- Launch the iLok License Manager app and sign into your account.
- Click Licenses and then select Redeem Activation Code. Alternatively, click the “…I” button next to the search bar to view the activation prompt.
- Enter the activation code you received located on the back of the product’s Quickstart Guide card, then click Next.
- Click the Available tab, and then drag and drop the license onto the computer icon.
Downloading the Plugin
Go to the product page on the TC Electronic website: plug-in controller product page, click the Software dropdown located on the right side of the page, and select the latest version for your OS.
- PEQ 3000 Versatile 2×12 Midas EQ
- DYN 3000 Midas Channel Dynamics
- BRICKWALL HD Master Limiter
- MASTER X HD Easy Multiband Dynamics
On the product page, click Downloads. Under “Mac” or “Windows,” select the newest version of the plugin for your system. Download and install the plugin.
Be sure to download your model’s owner’s manual and quick start guide while you are on the page.
ICON Setup and Connections
After you have downloaded, installed, and activated your TC-Electronic plug-in, the next step is to set up and connect the ICON hardware controller.
- Install the controller to the dock, then connect the dock to your computer with a USB data cable.
- Launch your DAW and add the controller’s native plug-in to an audio track.
- When you open the plug-in’s GUI, look at the chain icon at the bottom left of the window.
- Green: The hardware controller is detected and is synced with the plug-in.
- Gray: The controller is not connected, and the plug-in is running in Native mode.
- Yellow: There is another instance of the plug-in that is currently synced with the controller. Click this to sync the controller with the track you want to use it.
When you need help, Sweetwater has the answers!
Our knowledge base contains over 28,000 expertly written tech articles that will give you answers and help you get the most out of your gear. Our pro musicians and gear experts update content daily to keep you informed and on your way. Best of all, it’s totally FREE, and it’s just another reason that you get more at Sweetwater.com.


Offer applies only to single-receipt qualifying purchases. Select manufacturers may require that only the manufacturer’s products qualify towards the minimum purchase amount needed to be eligible for promotional financing. Otherwise, an invoice that meets the minimum purchase amount and contains at least one qualifying manufacturer product is eligible for promotional financing. No interest will be charged on promo purchase balance, and equal monthly payments are required on promo purchase until it is paid in full. The payments equal the amount financed divided by the number of months in the promo period, rounded up to the next whole dollar. These payments may be higher than the payments that would be required if this purchase was a non-promo purchase. During the last month(s) of the promo period the required monthly payment may be reduced due to the prior months’ rounding. Regular account terms apply to non-promo purchases. New Accounts as of 07/31/2025: Purchase APR is 34.99%. Penalty APR is 39.99%. Min Interest Charge is $2. Existing cardholders: See your credit card agreement terms. Subject to credit approval.
Offer applies only to single-receipt qualifying purchases. No interest will be charged on the promo balance if you pay it off, in full, within the promo period. If you do not, interest will be charged on the promo balance from the purchase date. The required minimum monthly payments may or may not pay off the promo balance before the end of the promo period, depending on purchase amount, promo length and payment allocation. Regular account terms apply to non-promo purchases and, after promo period ends, to the promo balance. New Accounts as of 07/31/2025: Purchase APR is 34.99%. Penalty APR is 39.99%. Min Interest Charge is $2. Existing cardholders: See your credit card agreement terms. Subject to credit approval.
The estimated required monthly payment shown which excludes taxes and delivery equals the amount financed divided by the number of months in the promo period, rounded up to the next cent. During the last month(s) of the promo period the required monthly payment may be reduced due to this rounding. These payments apply only with the financing offer shown. If you make these payments by the due date each month, you should pay off this amount financed within the promo period, if it is the only balance you are paying off. If you have other balances on your account, this payment will be added to any other minimum monthly payments.
Applies only to select items from this manufacturer. Ask your Sweetwater Sales Engineer for more details.