
Creation Station Setup Guide
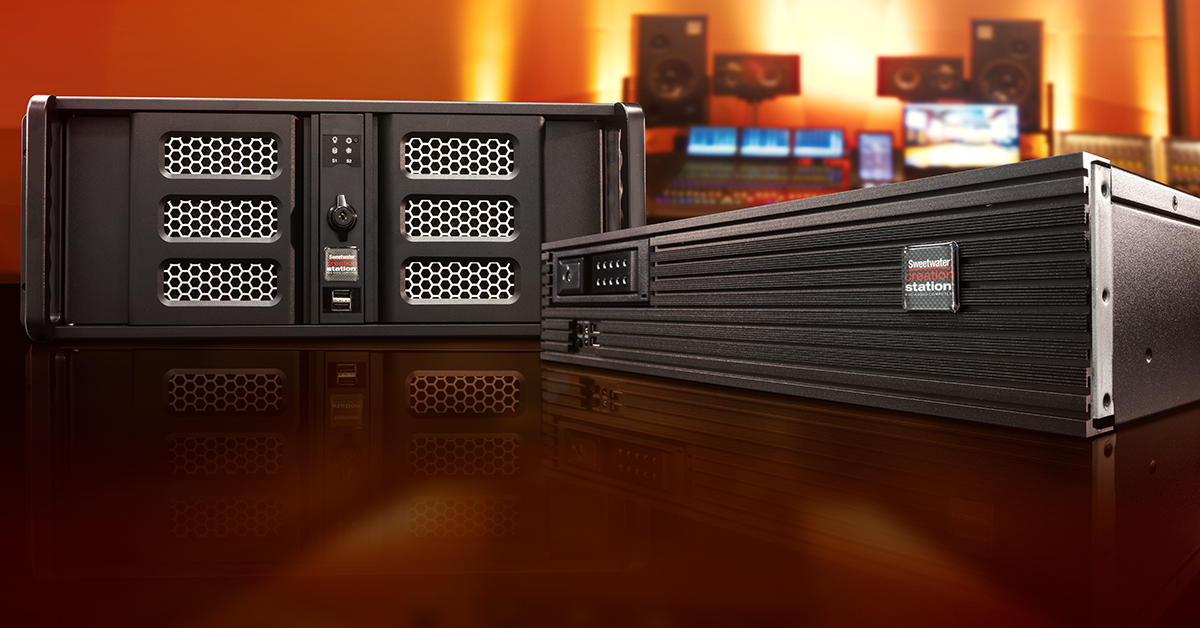
In this guide, we will show you how to set up your Sweetwater Creation Station. That means we’ll show you how to connect the cables, power it on, and get you recording in no time. Follow the steps below to get started.
What’s included in the box
IMPORTANT: Make sure you keep both the packaging and all of the disks handy in case you need to use them in the future.
- Keyboard and mouse
- Windows 11 installation media
- Owner’s manuals
- Driver software for your motherboard and other components
Connecting the cables
Before you power on a Creation Station for the first time, there are a few cable connections to make. If you are installing it into a rack, now is a good time to do so as well. Once everything is connected, you can power it up. Follow the steps below to get connected.
Computer monitor
Connect an HDMI or DisplayPort cable from your monitor to its respective port on the back of the Creation Station. If you’re connecting more than one computer monitor, read our guide below.
USB peripherals
Connect any USB peripherals such as an audio interface or iLok to an available USB port on the back of the computer. We recommend connecting software license keys, keyboards, and mice to USB hubs and connecting your audio and MIDI devices directly to your computer. This is especially true for bus-powered gear, as USB hubs may not be able to provide enough power to transfer data. This will lead to connection issues.
Ethernet cable or Wi-Fi antenna
- Connect an ethernet cable into the ethernet jack if you are hooking it up to your router.
- If you plan on connecting to the internet via Wi-Fi, attach the two included antennas to the network card on the back.
Power cables
Connect a power cable from the back of the Creation Station to an available outlet. We highly recommend connecting it to a power conditioner with surge protection to eliminate potential damage if there is a power surge.
Removable hard drive bay
Creation Stations include a removable hard drive bay (hot swap bay) behind the left-side front panel door. Open the drive bay’s door and insert a hard drive label side up until it stops. Close the door of the drive bay to finish seating the drive. Before using it, you will need to format the hard drive! Check out our guide below to learn how to format a hard drive on Windows.
Get enough airflow!
If you’re installing the Creation Station in a rack, keep the area behind the fans unblocked. Cables may get in their way, so use cable ties to keep the area clear.
Powering it up
Once everything is connected, the next thing to do is to power up the computer. There are two power switches; one on the back of the computer and one on the front. Follow these steps to turn your computer on.
- Make sure that the power switch on the back of the computer is in the ON (-) position of the computer’s power supply.
- Open the right front panel door and press the power switch to turn the computer on.
Register and install software
The last thing to do is to install audio drivers and software. Sweetwater Creation Stations come with a free license for Studio One Artist. To activate your free copy of Studio One Artist, follow the Studio One Software Activation guide. To get you started with your DAW, check out our quick start guides below.
DAW quickstart guides
Related Articles
When you need help, Sweetwater has the answers!
Our knowledge base contains over 28,000 expertly written tech articles that will give you answers and help you get the most out of your gear. Our pro musicians and gear experts update content daily to keep you informed and on your way. Best of all, it’s totally FREE, and it’s just another reason that you get more at Sweetwater.com.


Offer applies only to single-receipt qualifying purchases. Select manufacturers may require that only the manufacturer’s products qualify towards the minimum purchase amount needed to be eligible for promotional financing. Otherwise, an invoice that meets the minimum purchase amount and contains at least one qualifying manufacturer product is eligible for promotional financing. No interest will be charged on promo purchase balance, and equal monthly payments are required on promo purchase until it is paid in full. The payments equal the amount financed divided by the number of months in the promo period, rounded up to the next whole dollar. These payments may be higher than the payments that would be required if this purchase was a non-promo purchase. During the last month(s) of the promo period the required monthly payment may be reduced due to the prior months’ rounding. Regular account terms apply to non-promo purchases. New Accounts as of 07/31/2025: Purchase APR is 34.99%. Penalty APR is 39.99%. Min Interest Charge is $2. Existing cardholders: See your credit card agreement terms. Subject to credit approval.
Offer applies only to single-receipt qualifying purchases. No interest will be charged on the promo balance if you pay it off, in full, within the promo period. If you do not, interest will be charged on the promo balance from the purchase date. The required minimum monthly payments may or may not pay off the promo balance before the end of the promo period, depending on purchase amount, promo length and payment allocation. Regular account terms apply to non-promo purchases and, after promo period ends, to the promo balance. New Accounts as of 07/31/2025: Purchase APR is 34.99%. Penalty APR is 39.99%. Min Interest Charge is $2. Existing cardholders: See your credit card agreement terms. Subject to credit approval.
The estimated required monthly payment shown which excludes taxes and delivery equals the amount financed divided by the number of months in the promo period, rounded up to the next cent. During the last month(s) of the promo period the required monthly payment may be reduced due to this rounding. These payments apply only with the financing offer shown. If you make these payments by the due date each month, you should pay off this amount financed within the promo period, if it is the only balance you are paying off. If you have other balances on your account, this payment will be added to any other minimum monthly payments.
Applies only to select items from this manufacturer. Ask your Sweetwater Sales Engineer for more details.