
How to Reseat RAM on a Creation Station
In this article, we’ll walk you through how to reseat RAM on your Windows PC. Reseating RAM is one of the first steps to take when you’re troubleshooting boot and performance issues. Reseating RAM can save you a lot of time and aggravation and keeps you from potentially sending your computer in for repair.
- When Do I Need to reseat RAM?
- Remove the computer panel and locate the RAM
- How to remove and reseat the RAM
When do I need to reseat RAM?
Sometimes, you might have an error pop up in regards to memory, your computer suddenly runs slow during boot or while running programs, and sometimes if nothing shows up on your screen when you turn on the computer. some other signs could be that your computer will randomly reset itself, turn off, or just won’t boot.
So before you reinstall Windows, replace RAM, or send it in for repair, reseating RAM is a great way to see if it solves the issue.
Remove the computer panel and locate the RAM
IMPORTANT: Before you do anything, make sure that you are grounded, your computer is turned off, and everything, including the power cable, is disconnected. We highly recommend you wait a minute before reseating RAM, so the machine has time to discharge.
Remove the Creation Station’s panel
Before reseating RAM, you’ll need to access the Creation Station’s motherboard. To do this, you need to remove the top sliding panel of the Creation Station. This is a straightforward process, so follow the steps below to remove the panel.
- Locate the thumbscrews on the back of the case, and loosen them. The thumbscrews are spring-loaded so that they won’t come out all the way.
- CS400’s and CS450’s will have one thumbscrew, while the CS250 will have two.
- Remove the small Phillips head screws located on each side of the panel. Once they’re removed, slide the panel off.
Don’t lose the screws!
Make sure any loose pieces you need to remove are placed in a visible spot near you so you don’t lose them.
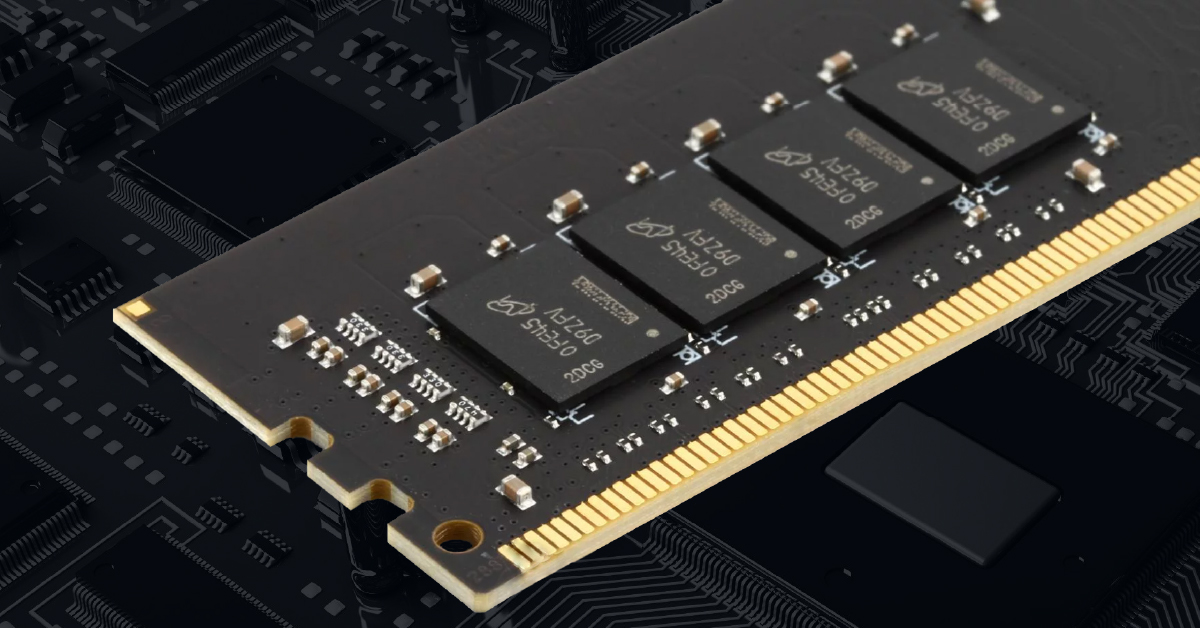
Locate the RAM sticks
The RAM sticks’ location will differ depending on the model of your motherboard but they are very easy to locate. You will see four slots with black (or grey) tabs at each end; two of the slots will have green RAM sticks. Some models will have two tabs, while others only have one.
Location of the Creation Station screws
How to remove and reseat RAM
Removing and reseating the RAM is the most delicate part of the process. If you push or pull the RAM sticks too hard, you may run the risk of damaging pins on the RAM, the slot the RAM is inserted into, or breaking the tab(s). We recommend removing one RAM stick at a time when troubleshooting.
- Push the tab(s) down that releases the clips in which the RAM is secured. Very gently, pull the RAM stick out.
- Make a note of where the notches on the RAM slot and RAM stick are positioned. If you pull the RAM stick out too quickly, you may snap the tab(s).
- Carefully insert the RAM back into the slot, making sure the notches line up. Gently push the sticks down until you see the tabs clip into place.
- Slide the top panel back on, and plug the power cable back in.
- Plug your monitor, keyboard, and mouse in then turn the computer on. If the issue still occurs, follow the same procedure to reseat the other RAM stick.
Location of RAM tabs
Related Articles
When you need help, Sweetwater has the answers!
Our knowledge base contains over 28,000 expertly written tech articles that will give you answers and help you get the most out of your gear. Our pro musicians and gear experts update content daily to keep you informed and on your way. Best of all, it’s totally FREE, and it’s just another reason that you get more at Sweetwater.com.

