
Arturia AudioFuse Setup Guide
Getting started with the Arturia AudioFuse
In this guide, we will show you how to get up and running with the Arturia AudioFuse. You’ll learn how to register, connect, and set up the AudioFuse for the first time. Follow the sections below to get started.
Register the Arturia AudioFuse
Before you can start using the AudioFuse, the first thing you need to do is register the interface on Arturia’s website. This will give you access to the AudioFuse Creative Suite, including Analog Lab Lite and various Arturia effects plugins. Follow these steps to register the AudioFuse.
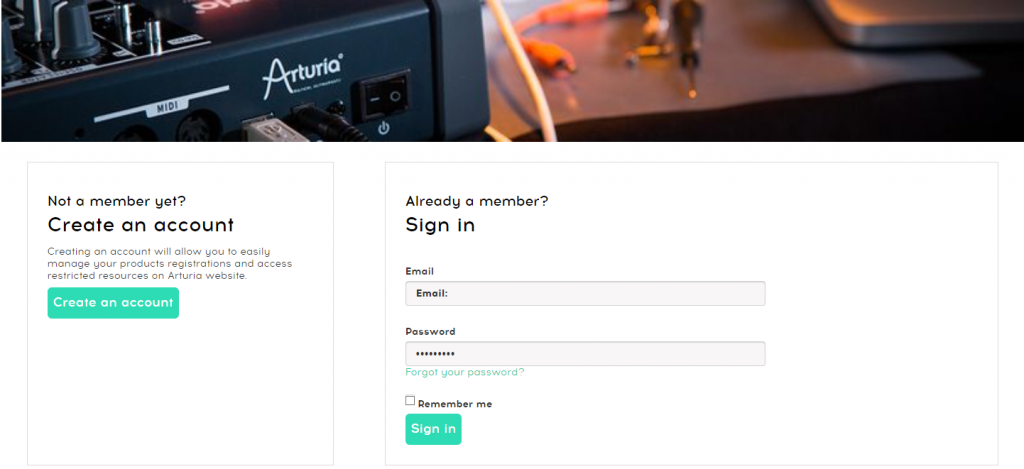
Click the image to log into your Arturia account
Download and install AudioFuse Control Center
AudioFuse Control Center is the standalone software where you can access advanced routing parameters, digital input settings, changing the monitoring mix, and update the firmware. When you install AudioFuse Control Center, it also downloads the MIDI and audio driver.
- Go to the AudioFuse resource page, locate the latest AudioFuse Control Center’s latest version, and then click the Download icon for your OS.
- Navigate to your Downloads folder, launch the installer, then follow the on-screen instructions.
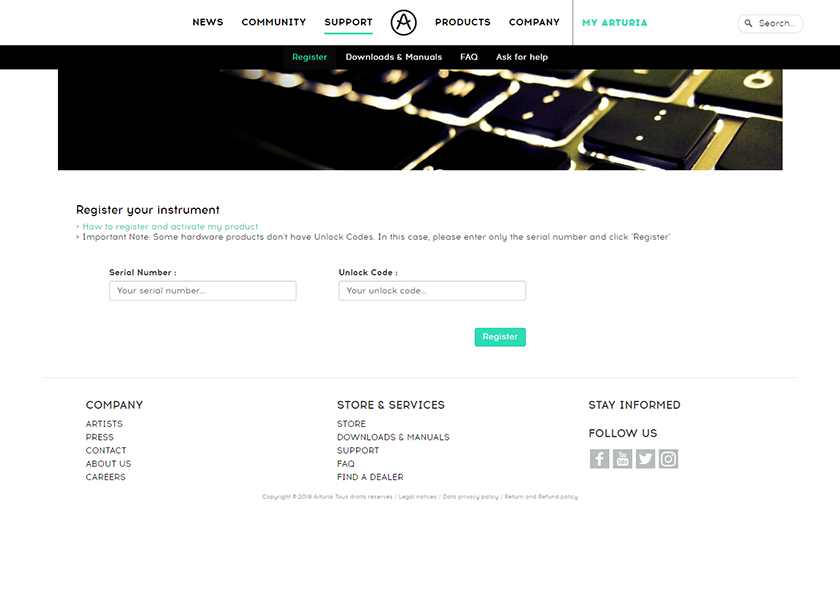
Click the image to register your AudioFuse
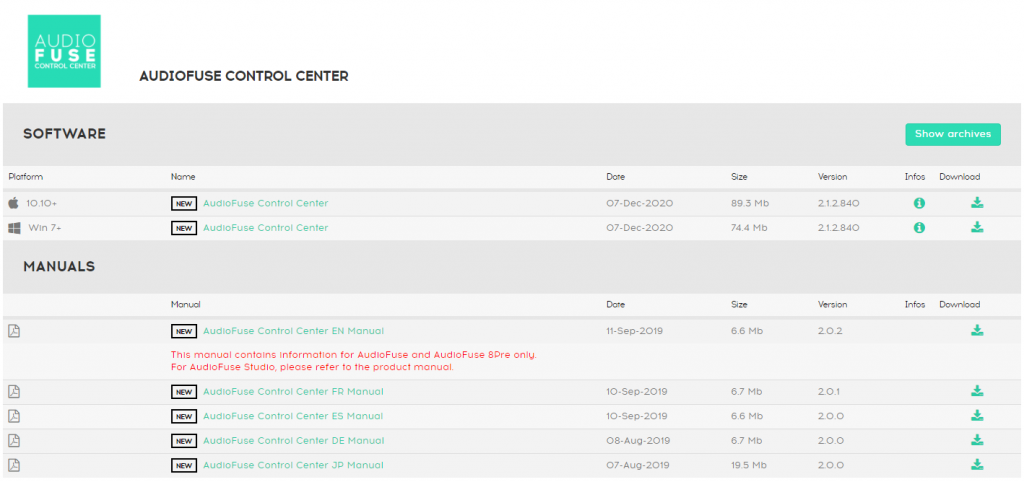
Click the image to download AudioFuse Control Center
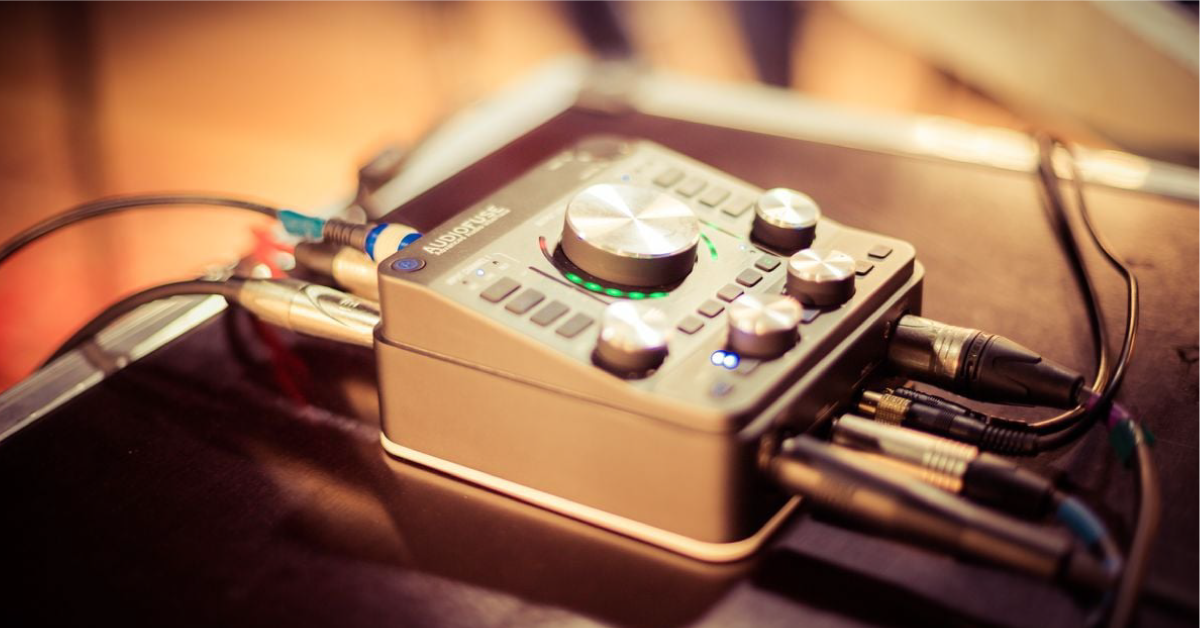
Setup and connections
The Arturia AudioFuse is a powerful tool in the studio, and it has a lot of options available when it comes to input and output connections. The hardware setup is a breeze, which means you’ll be making music in no time! For detailed descriptions of the different connections available, be sure to check out the AudioFuse manual for more information!
AudioFuse power modes
The AudioFuse interface can be powered via the DC power supply, or you power it by connecting it directly to your computer (bus-powered). If you decide to power it via your computer, we recommend not to connect via a USB hub. Instead, connect it directly to your computer as a USB hub may not be able to provide enough power to connect the interface.
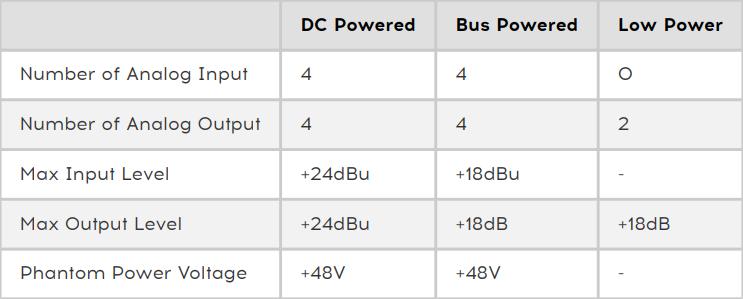
The AudioFuse’s different power modes
Mobile device compatibility
The AudioFuse is class-compliant, which means no additional driver software is necessary, so not only can you use it with it on your computer, but you can also use it on any Android or iOS device. More than likely, your mobile device won’t provide enough power, so all you need to do is use the included USB cable splitter and connect one end to your mobile device and the other to a USB power bank.
AudioFuse Tutorials: Episode 1 – Power Modes
Reamping with the AudioFuse
The AudioFuse has a unique feature that isn’t found on other audio interfaces. That feature is reamping. Reamping is the process where you record a dry track, then re-record by sending the clean track through your amp and effects chain. This is particularly useful because you can capture just one performance, then play around with mic placement, effects, amps, and cabs without affecting the printed track. Check out Arturia’s video below to learn about re-amping!
AudioFuse Tutorials: Episode 2 – Reamping
A/B monitoring
Another great thing about the AudioFuse is that it doubles as a monitor controller, which allows you to connect two sets of monitor speakers. This is great for A/B’ing mixes using your near-field and far-field monitors. If you plan on doing this, you’ll need to make sure that both sets of monitor speakers are at the same level. That being said, you can independently increase or decrease the level via Arturia AudioFuse Control Center. For instructions on how to set everything up, check out Arturia’s video below!
AudioFuse Tutorials: Episode 4 – A/B Speaker Switching
ADAT connections
The AudioFuse has ADAT connections that allow you to increase your channel count by connecting another digital device using an ADAT (Toslink) optical cable. Using ADAT is useful in the studio when you run into a project and need more inputs than your AudioFuse has (i.e., drums). It’s a matter of connecting the cable from the ADAT OUT of the external device to the AudioFuse’s ADAT IN. Next, you just need to update your DAW’s routing settings.
AudioFuse Tutorials: Episode 5 – Using ADAT Inputs
How to set up the AudioFuse on your computer
Now that you have everything set up and connected, it’s time to get it up and running so you can start creating music!
- Turn the Volume knob down, then connect your speakers.
- If you have headphones connected, turn its volume knob down, as well.
- Connect the USB cable from the interface to your computer, then power it on. Navigate to your OS sound settings and set it as the default input and output device.
- PC: Right-click the Speaker icon on the Windows taskbar, select Sounds, then click the Playback tab. Locate and select the interface, click Set Default, then click OK to close the menu. Do the same in the Recording tab.
- Mac: Click the Apple icon from the Menu Bar and select System Preferences. Click Sound, then select the AudioFuse interface under both the Input and Output tabs.
- If applicable, connect your headphones to the jack on the front.
- Play some music or a video, and slowly turn the Output (and Phones) knob up until it’s at a comfortable listening level.
- Launch your DAW, select your interface as the primary playback and recording device.
- Create an audio track, begin playing, and adjust the input level to a point where it’s not clipping and you have enough headroom.
- Use the Direct/Computer knob to adjust to balance out what you hear more of. The more the knob is turned towards Direct, the more you’ll hear a dry signal.
What do the USB ports on the back do?
One thing that sets it apart from the rest, the AudioFuse has a 3-port USB hub built into it. Two of the ports (labeled 1A) are great for rapidly charging any USB device, like a tablet or smartphone. The port labeled 120mA is great for lower-powered devices like a USB dongle or memory stick, like an iLok or eLicenser.
Arturia recommends only connecting lower-powered devices to the 120mA port, as ones that demand a higher power requirement might trip their “overcurrent protection” mechanism, which temporarily disables the 120mA port.
Is your AudioFuse not showing up?
If the interface isn’t showing up when connecting it to your computer, reconnect the interface by unplugging and plugging it back in. If you have not done so yet, try reconfiguring the USB connections so that the Arturia interface is connected directly to your computer. If the problem persists, try a different USB port or cable. Visit our Windows and Mac guides for more tips on resolving audio device connectivity.
Learn more about how to troubleshoot audio interface issues on PC!
Learn More
Learn more about how to troubleshoot audio interface issues on Mac!
Learn MoreRelated content
5 Tips for Better Mixes

Learn more about optimizing your Windows 10 computer for music production!
Learn More
Learn more about optimizing your Mac computer for music production!
Learn More
Learn more about how to reduce latency, clicks, and pops while recording.
Learn More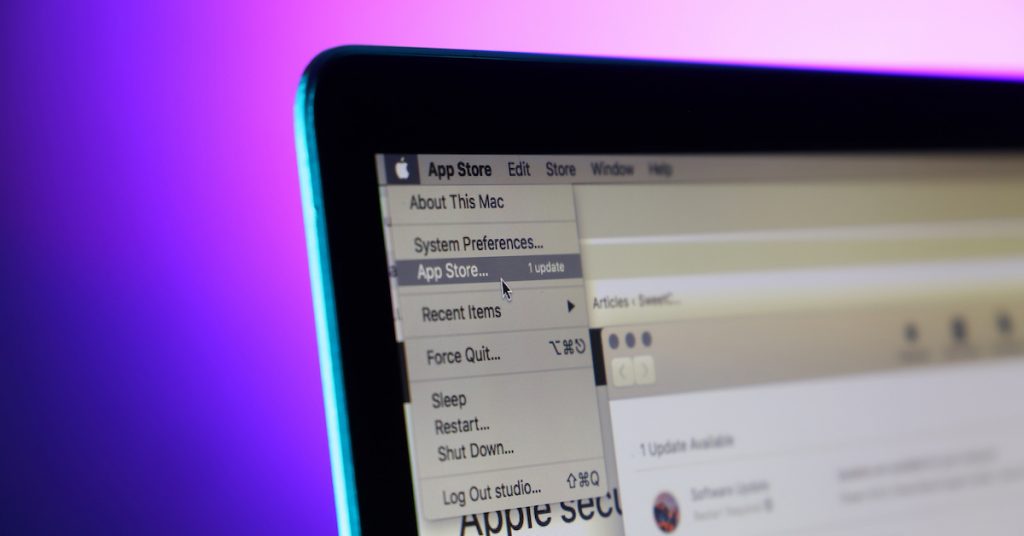
Learn more about computer updates for music production.
Learn MoreAdditional resources
- AudioFuse Control Center User Manual
- AudioFuse and AudioFuse 8Pre User Manual
- AudioFuse Studio User Manual
Working with Vinyl Records
Using Insert Effects
When you need help, Sweetwater has the answers!
Our knowledge base contains over 28,000 expertly written tech articles that will give you answers and help you get the most out of your gear. Our pro musicians and gear experts update content daily to keep you informed and on your way. Best of all, it’s totally FREE, and it’s just another reason that you get more at Sweetwater.com.


Offer applies only to single-receipt qualifying purchases. Select manufacturers may require that only the manufacturer’s products qualify towards the minimum purchase amount needed to be eligible for promotional financing. Otherwise, an invoice that meets the minimum purchase amount and contains at least one qualifying manufacturer product is eligible for promotional financing. No interest will be charged on promo purchase balance, and equal monthly payments are required on promo purchase until it is paid in full. The payments equal the amount financed divided by the number of months in the promo period, rounded up to the next whole dollar. These payments may be higher than the payments that would be required if this purchase was a non-promo purchase. During the last month(s) of the promo period the required monthly payment may be reduced due to the prior months’ rounding. Regular account terms apply to non-promo purchases. New Accounts as of 07/31/2025: Purchase APR is 34.99%. Penalty APR is 39.99%. Min Interest Charge is $2. Existing cardholders: See your credit card agreement terms. Subject to credit approval.
Offer applies only to single-receipt qualifying purchases. No interest will be charged on the promo balance if you pay it off, in full, within the promo period. If you do not, interest will be charged on the promo balance from the purchase date. The required minimum monthly payments may or may not pay off the promo balance before the end of the promo period, depending on purchase amount, promo length and payment allocation. Regular account terms apply to non-promo purchases and, after promo period ends, to the promo balance. New Accounts as of 07/31/2025: Purchase APR is 34.99%. Penalty APR is 39.99%. Min Interest Charge is $2. Existing cardholders: See your credit card agreement terms. Subject to credit approval.
The estimated required monthly payment shown which excludes taxes and delivery equals the amount financed divided by the number of months in the promo period, rounded up to the next cent. During the last month(s) of the promo period the required monthly payment may be reduced due to this rounding. These payments apply only with the financing offer shown. If you make these payments by the due date each month, you should pay off this amount financed within the promo period, if it is the only balance you are paying off. If you have other balances on your account, this payment will be added to any other minimum monthly payments.
Applies only to select items from this manufacturer. Ask your Sweetwater Sales Engineer for more details.