
PC Optimization Guide for Windows 10

Getting started
In this guide, we will walk you through how to optimize your Windows computer if you’re receiving errors, devices aren’t recognized, or has poor performance in the studio. We recommend making one change at a time and check the performance after each step. If the issue is resolved, there’s no need to go on to the next step. Follow the sections below to get started.
Optimization 101: System maintenance
Performing basic system maintenance is the first thing to do when optimizing your PC. These small tweaks can fix a lot of issues that may arise with your recording rig.
Basic system maintenance
IMPORTANT: If you are running Windows 10 build 1903 and haven’t updated yet, Be sure to install this update manually as it fixes many DPC latency issues.
There are many simple solutions to optimize your Windows computer. While they may seem trivial, it can make a world of difference and increase the performance of your PC. Here are a few basic tips to keep your system running smoothly.
- Close any unnecessary programs while using your DAW.
- Disable non-essential third-party start-up services such as Skype, SpotifyWebHelper, OneDrive, and iTunes.
- Regularly empty your Recycle Bin and uninstall any unnecessary programs to save disk space.
- Perform an antivirus and malware scan regularly to ensure the computer isn’t infected.
- Consider using Microsoft’s built-in antivirus software Windows Defender and uninstalling third-party antivirus software. These tie up a lot of resources, can cause installation issues, and cause software not to run correctly.
- Remove programs which are pre-installed with pre-configured computers, which is known as bloatware. These are unnecessary programs which take up a lot of hard drive space and can use a lot of memory.
- Make sure that Windows and any recording software you have are always up to date.
File management
While it may not seem like an optimization, proper file management is essential. Not only does it make everything more organized, but it makes it easier to keep track of how much space you have on each hard drive.
- Use dedicated hard drives for DAW projects, sound libraries, and plug-ins. The less additional software which is on the hard drive Windows is on will guarantee better performance.
- Don’t move files and folders between locations constantly, especially with virtual instrument libraries. If you move these, you may get errors saying that cannot be located. It can also put unnecessary stress on your hard drives, too.
Shop All External Hard Drives 💾
Hardware connections
Using the right cables and making sure everything is connected correctly can most certainly help, especially when using your DAW. While it won’t necessarily affect speed, it can help eliminate any potential grounding noise and connectivity errors.
- Connect USB 3.0 devices to USB 3.0 ports, and USB 2.0 devices to USB 2.0 ports if possible. While you can connect a USB 3.0 device to a 2.0 port and vice versa, you may not get good connectivity.
- If you have a limited amount of USB ports on your computer, use a powered USB hub. While passive hubs may work, they draw power from your computer which causes more strain.
- Use the included cables that come with the hardware. Some third-party cables, particularly generic brand, may not provide the proper connections required for that device.
- If your hardware includes a power supply, use that instead of relying on USB bus power, especially if you are using a laptop. If external devices draw more power than your machine or hub can provide, you may experience loss in connectivity and performance.
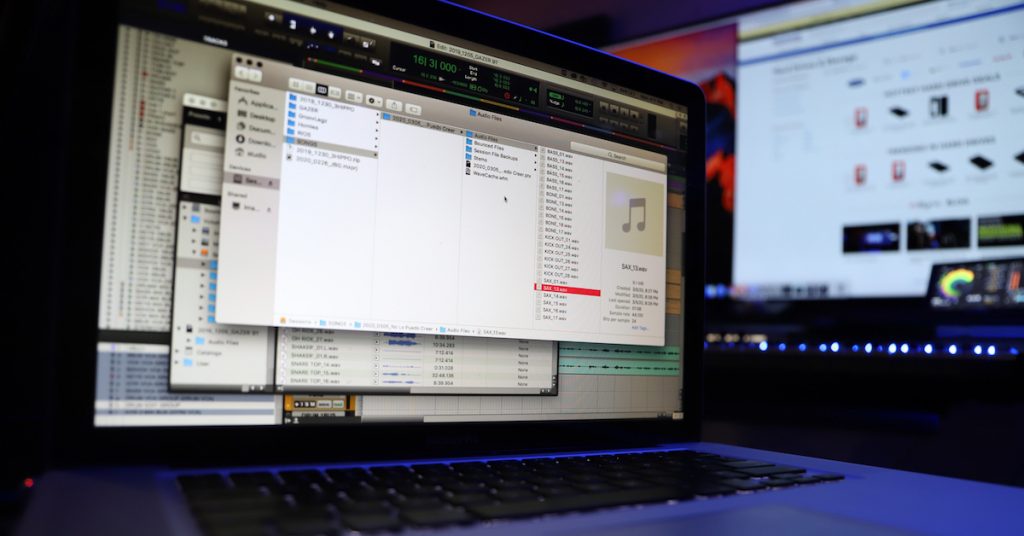
Learn more about effective file management for music production!
Drivers and firmware
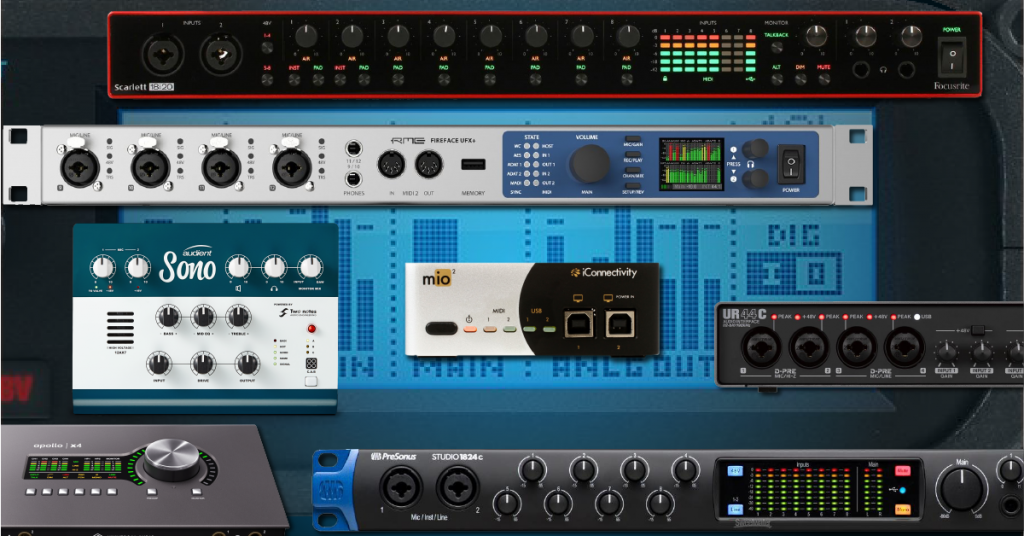
While some are considered class-compliant and don’t require driver installation, most external hardware devices such as audio interfaces, hard drives, and MIDI controllers need dedicated drivers to connect and communicate to a PC correctly. Some also include firmware, which is essentially a device’s “operating system”.
Updating audio hardware drivers and firmware
If you’re experiencing playback and recording issues, installing the latest firmware and drivers for your interface can fix that. You can find your interface’s available downloads from our driver index page below. We recommend disconnecting the hardware before installing the driver. Sometimes, especially if you restart your computer, a generic driver will be installed in its place which can cause hardware issues. Follow these steps to install the drivers correctly.
- Uninstall the current driver then disconnect the audio interface.
- Download and install the latest driver and firmware (if applicable) from the vendor’s website. Be sure to follow the on-screen instructions during installation.
- Restart the computer then reconnect the interface.
Update system device drivers
There may be a time where you need to manually update system drivers, especially if you have an older system. For example, if you’re using the newest video editing software but have an out-of-date graphics driver, you may run into glitches and poor performance. Or, if you are using a wireless digital mixer and it’s not connecting, you may need to consider updating your computer’s network drivers. Follow these steps to update system drivers manually.
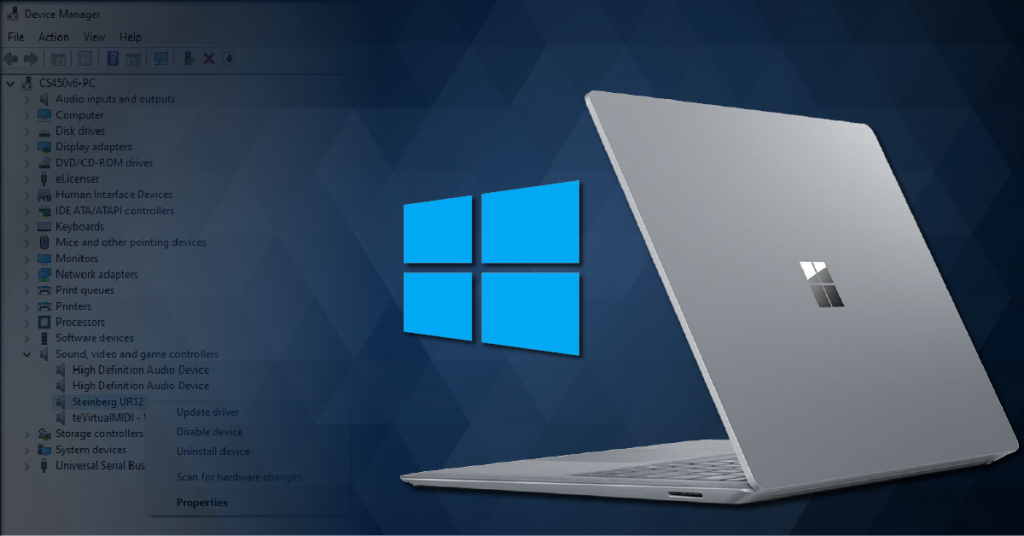
- Open Control Panel and click on Device Manager.
- Click the arrow next to Display Adapters for Graphics drivers, Universal Serial Bus for USB chipset drivers, or Network Adapters for Networks drivers.
- Right-click and choose Update Driver, followed by ‘Search automatically for updated driver software’. If no driver is found, update the driver manually using the steps below:
- Double-click to view its properties
- In the General tab, you can see the model and the manufacturer. In the Driver tab, you can find the driver version and the date.
- Go to the computer manufacturer’s website to find the latest driver for your controller.
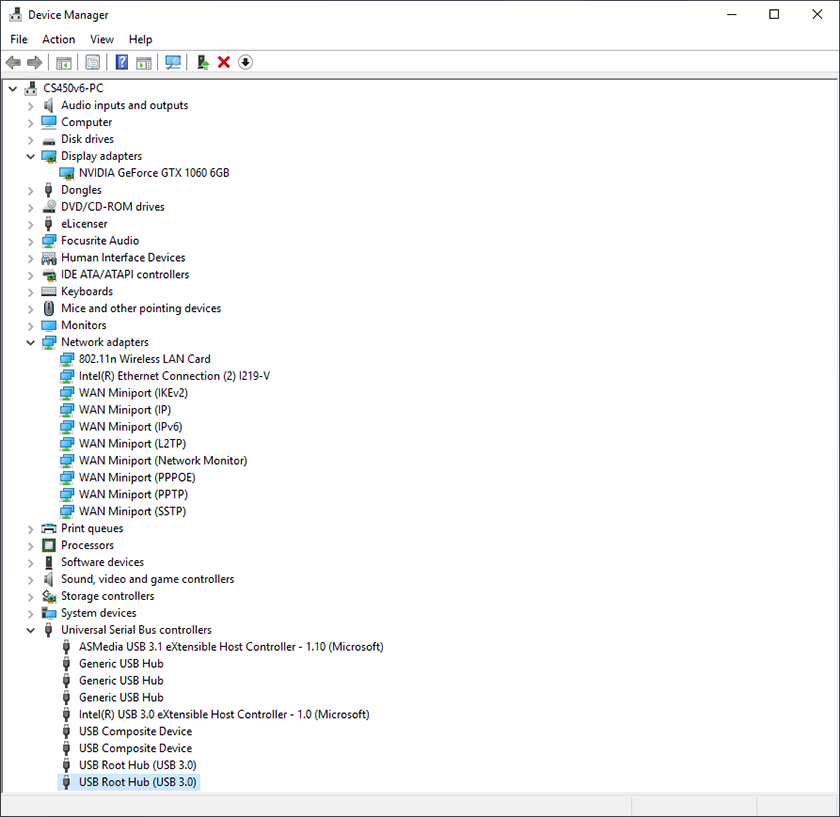
Windows Device Manager.
Power and disk optimization
Adjusting Power Options
It is recommended to change the power options as these following features can cause playback and record issues as well as problems with your audio interfaces, mainly if you are using a laptop. Follow these steps to optimize your power options.
- Open Control Panel and click Power Options.
- Select High Performance and choose Change plan setting.
- Set the computer’s sleep time to Never.
- Click on Change advanced power settings.
- Click on the + next to USB settings, then click the + next to USB selective suspend settings.
- Double-click where it says Enabled, then click Disabled.
- Click on the + next to Processor power management, then click the + next to Minimum processor state and type 100 in the text field (%).
- Click Apply, then OK, and finally Save Changes.
Disable USB power management
By disabling the USB power management, you can free up bandwidth on the USB bus which will help with issues related to device recognition and driver installation. Follow these steps to turn it off.
- Open Control Panel and click on Device Manager.
- Double-click on Universal Serial Bus Controllers as well as the first USB Root Hub item.
- Click on the Power Management tab and uncheck the box that says “Allow the computer to turn off this device to save power” and click OK. Repeat this for all USB Controllers.
Hard disk optimizations
Performing hard drive optimizations will improve disk performance when recording and playing back audio files, and also improve loading times if you’re using a 5400 or 7200 RPM spinning disk hard drive. This is not required for solid-state disks (SSD’s). Follow these steps to optimize your hard drives.
- Right-click on the Windows Logo, choose File Explorer, then click This PC in the left Column.
- Right-click on the drive on which you will store your audio and select Properties.
- Make sure “Compress this drive to save disk space” and “Allow files on this drive to have contents indexed” are unchecked.
- Click Apply, then OK. Repeat this process for any drive where you’ll be storing audio.
Related content
Learn more about resolving audio interface issues on Windows!
Learn more about how to update USB 3.0 chipset drivers on Windows!
Learn more about how to install and use ASIO4ALL on Windows!
Learn more about how and when to back up Windows 10!
When you need help, Sweetwater has the answers!
Our knowledge base contains over 28,000 expertly written tech articles that will give you answers and help you get the most out of your gear. Our pro musicians and gear experts update content daily to keep you informed and on your way. Best of all, it’s totally FREE, and it’s just another reason that you get more at Sweetwater.com.

