
Sennheiser EW-D Evolution Digital Wireless: Getting Started
In this guide, we will show you how to get up and running with the Sennheiser Evolution digital wireless system. Follow the sections below to get started.
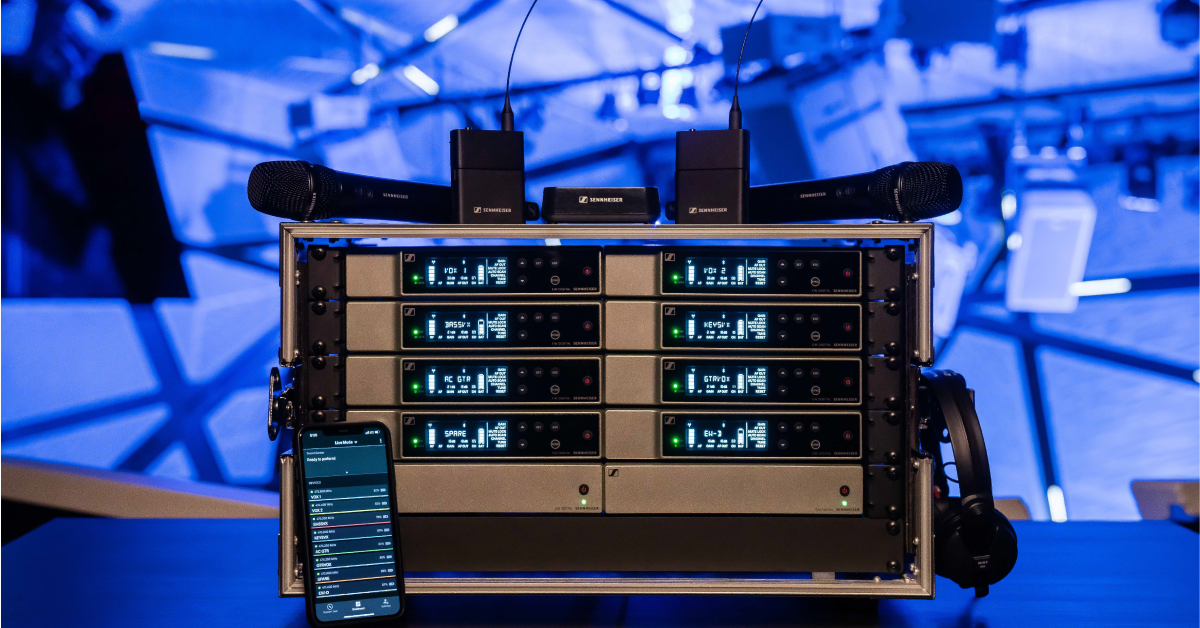
Rack mounting
The Sennheiser EW-D system includes options for mounting a single receiver or two receivers in one rack space.
Mounting a single receiver
- Attach both L-shaped brackets to the left and right sides of the receiver with the rack ears facing outward.
- Orient the spacer with the threaded holes to match the bracket on either the left or right side. Attach the spacer to the backside of the rack ear using the two included rack screws.
- To mount the antennas to the front panel, use the optional AM 2 mounting kit.
- Remove the locking nut from the panel-mounted connector and pass it through the opening.
- Reattach the locking nuts and tighten them.
- Connect the BNC connectors to the antenna jacks at the back of the receiver.
- Mount the receiver in the rack with standard rack screws.
Mounting two receivers
- Place both receivers top down on a flat surface with the screens facing toward you.
- Position the mounting plate with the countersink holes facing up, then align the mounting screw holes. Attach all six mounting screws snugly.
- Attach one L bracket to each receiver with the rack ears facing outward.
- Mount the receivers in the rack with standard rack screws.
- Attach the antennas to both receivers.
Making audio connections
We recommend using the XLR outputs direct to the mic inputs on your system for handheld, headset, and lavalier microphones. Optionally, if there is not a mic input available, you can use a TRS cable for a line-level connection.
To use the Sennheiser Evolution Wireless Digital receiver with a guitar setup, connect a standard TS instrument cable from the output directly to the input of your amp or pedalboard.
Scanning and syncing channels
Setting up the transmitters and receivers is only a few button presses away. Let’s start by navigating to the automatic frequency setup by using the following steps.
- Turn on all previously configured wireless transmitters and receivers.
- Press the SET button on the front panel to see the menu options.
- Press the down button until AUTO SCAN is selected, then press SET.
- The receiver will automatically begin scanning and stop on the best channel selection.
- Press the SET button to confirm the channel.
Syncing the transmitter to the receiver is just as simple.
- Press the Sync button on the front panel of the receiver. The Sync message on the screen and the blue DATA light will blink to confirm that the receiver is in sync mode.
- Press the Sync button on the transmitter. The LED will blink blue while pairing and will change to solid green when connected.
- To set up multiple mics, start with all new systems turned off. Once a wireless system is set up, leave it powered on and connected after scanning and synchronizing.
Syncing the receivers
Syncing the transmitter
Related Articles
When you need help, Sweetwater has the answers!
Our knowledge base contains over 28,000 expertly written tech articles that will give you answers and help you get the most out of your gear. Our pro musicians and gear experts update content daily to keep you informed and on your way. Best of all, it’s totally FREE, and it’s just another reason that you get more at Sweetwater.com.


Offer applies only to single-receipt qualifying purchases. Select manufacturers may require that only the manufacturer’s products qualify towards the minimum purchase amount needed to be eligible for promotional financing. Otherwise, an invoice that meets the minimum purchase amount and contains at least one qualifying manufacturer product is eligible for promotional financing. No interest will be charged on promo purchase balance, and equal monthly payments are required on promo purchase until it is paid in full. The payments equal the amount financed divided by the number of months in the promo period, rounded up to the next whole dollar. These payments may be higher than the payments that would be required if this purchase was a non-promo purchase. During the last month(s) of the promo period the required monthly payment may be reduced due to the prior months’ rounding. Regular account terms apply to non-promo purchases. New Accounts as of 07/31/2025: Purchase APR is 34.99%. Penalty APR is 39.99%. Min Interest Charge is $2. Existing cardholders: See your credit card agreement terms. Subject to credit approval.
Offer applies only to single-receipt qualifying purchases. No interest will be charged on the promo balance if you pay it off, in full, within the promo period. If you do not, interest will be charged on the promo balance from the purchase date. The required minimum monthly payments may or may not pay off the promo balance before the end of the promo period, depending on purchase amount, promo length and payment allocation. Regular account terms apply to non-promo purchases and, after promo period ends, to the promo balance. New Accounts as of 07/31/2025: Purchase APR is 34.99%. Penalty APR is 39.99%. Min Interest Charge is $2. Existing cardholders: See your credit card agreement terms. Subject to credit approval.
The estimated required monthly payment shown which excludes taxes and delivery equals the amount financed divided by the number of months in the promo period, rounded up to the next cent. During the last month(s) of the promo period the required monthly payment may be reduced due to this rounding. These payments apply only with the financing offer shown. If you make these payments by the due date each month, you should pay off this amount financed within the promo period, if it is the only balance you are paying off. If you have other balances on your account, this payment will be added to any other minimum monthly payments.
Applies only to select items from this manufacturer. Ask your Sweetwater Sales Engineer for more details.