
RODEcaster Video Streaming Guide
In previous guides, you learned how to set up, connect, and navigate the RODECaster Video. In this guide, we will show you how to use it. Follow the instructions below, and check out the RODECaster Video user guide for more information.
- Audio and Video Setup
- Create a Scene on the RODECaster Video
- How to Stream with the RODECaster Video
- Recording Video
Audio and Video Setup
Before getting up and running, you’ll first want to update a few audio and video settings.
Change Frame Rate
The frame rate set on the RODECaster Video determines the global frame rate of your HDMI outs, your streams, and your recordings. So, before anything else, you must update the frame rate both on your sources and on the RODECaster Video.
- Press the Gear icon on the touchscreen display, navigate to Video, and choose Frame Rate.
- Update the frame rate on the RODECaster Video, then press the encoder to apply your change.
- Update the frame rate on your video sources to match that of the RODECaster Video. Please refer to your camera’s user manual to learn how to update frame rates.
Update Audio Delay
NOTE: The output delay applies to the livestream and to recording, not to your headphones or your speakers.
Different video and audio sources have different amounts of audio delay, so your video stream may not sync with the audio correctly. RODE has addressed this by including an audio output delay feature to adjust the audio, ensuring everything lines up correctly.
IMPORTANT! Make sure all your devices are at the same frame rate.
- Connect an external storage device to your RODECaster Video. Record yourself clapping once.
- Connect the external storage device to your computer. Import the video into the software.
- Go to the video frame where you see the clap. Compare that to the spike on the waveform.
- Highlight the difference between the clap and the spike. This will measure the amount of delay between the two.
- Press the Gear icon on the RODECaster Video, navigate to Settings, and choose Audio Delay.
- Use the encoder to update the frame (or the milliseconds) to match what you see in the software. Your audio and video should now be perfectly synced.
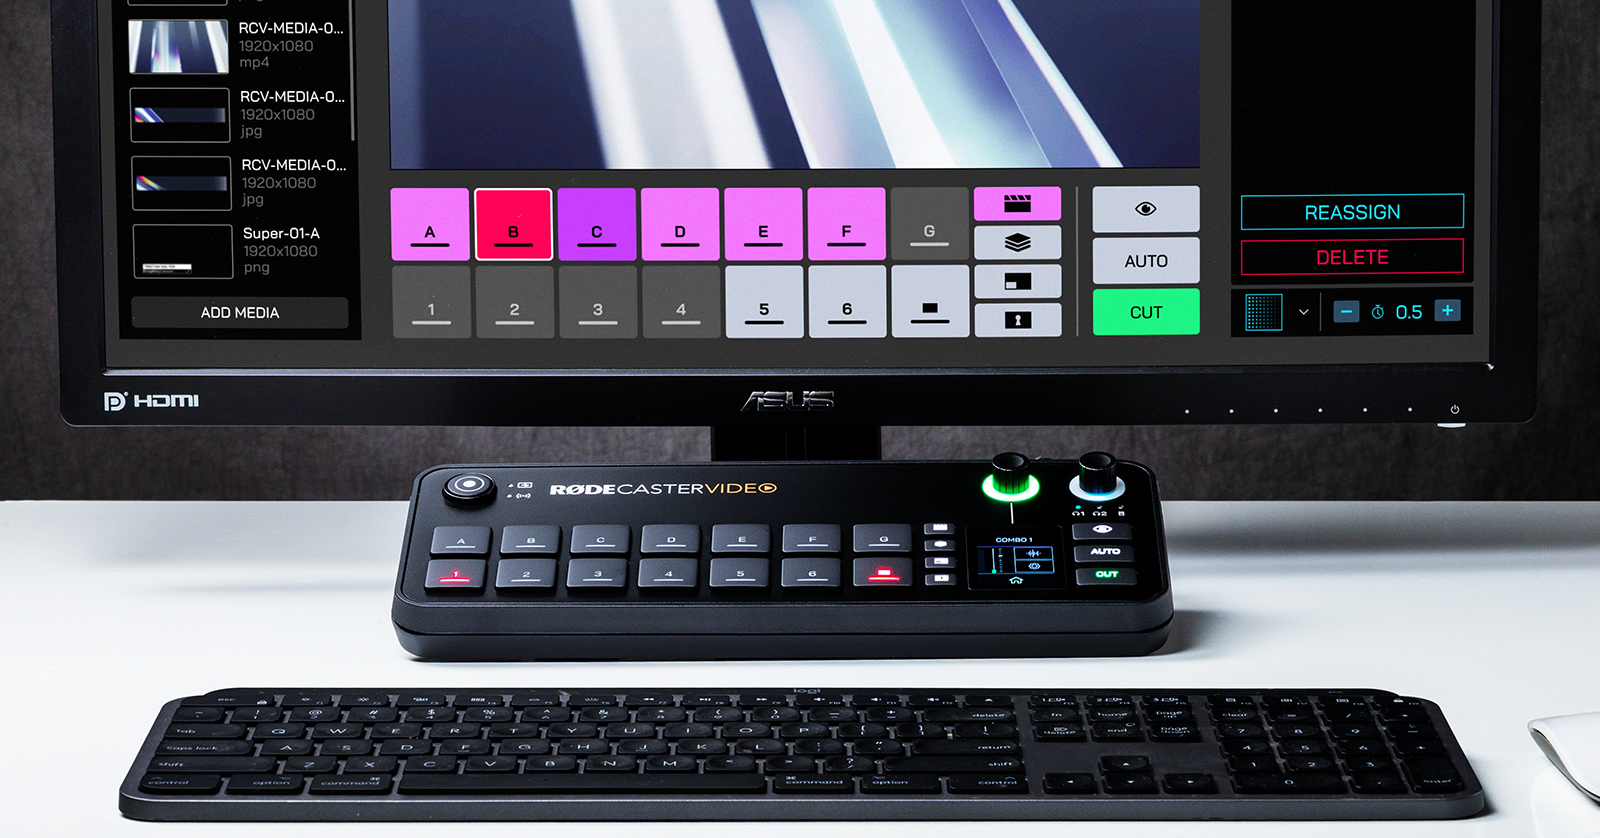
Create a Scene on the RODECaster Video
Now that you know how to navigate the controls of the RODECaster Video, it’s time to build your first scene. A scene is a configuration of different sources that can be fully customizable. It can be picture-in-picture, split screen, or a different layout of multiple media sources.
- Press the Multisource button, then press the top part of the display to view the scene presets.
- Scroll through the presets using the encoder, then press it to load one.
- Use the encoder to highlight the screen to which you want to assign your video source.
- Press the Input (1–6) button to assign that specific frame.
- Repeat steps three and four until all video sources are assigned. Press the encoder, then press and hold the unlit scene button to which you want to assign it.
- You must save the preset before exiting, or else you will lose any changes you have made!
Creating Scenes in RODE Central
TIP: If the RODECaster Video is connected to your network via ethernet or Wi-Fi, then you won’t need to connect it via USB.
Creating scenes in RODE Central gives you more flexibility than you would have otherwise. You’ll have more control, such as the ability to resize individual sources and to create custom layouts and scenes that you can’t on the hardware itself.
- Select an empty scene, click Template, and select one of the factory preset templates. Once a template is selected, it will automatically add the first sources (HDMI 1, 2, 3, etc.).
- Click the name of the source to change it (or to add one if the box is blank).
- You can click and drag media like .jpgs or .pngs from the Media Library section of the application. If the media is on your computer, click Add Media.
- Click and drag a source box up or down to change the layer.
- Make your adjustments to the arrangement. Rename it by clicking the Pencil icon.
- When you click the Pencil icon, you can also import, export, or load default shows and scenes. We recommend exporting any scene you create so you can keep it as a backup.
RODECaster Video: How to Build Scenes
How to Stream with the RODECaster Video
RODE makes livestreaming easy. With just a few clicks, you’ll be up and running in no time! You just need to make sure you’re connected to your network via Wi-Fi or ethernet.
- Launch RODE Central. If it’s not already selected, choose RODECaster Video.
- Click Stream Profiles, click Add Profiles, enter an easily identifiable name (e.g., YouTube for YouTube streaming), and enter the server key and profile.
Where Do I Find My Stream Key?
Stream keys are unique keys that let you connect to the streaming platform you’re using. Think of them as passwords. Since they are unique, you must go to your streaming platform’s account page to locate them.
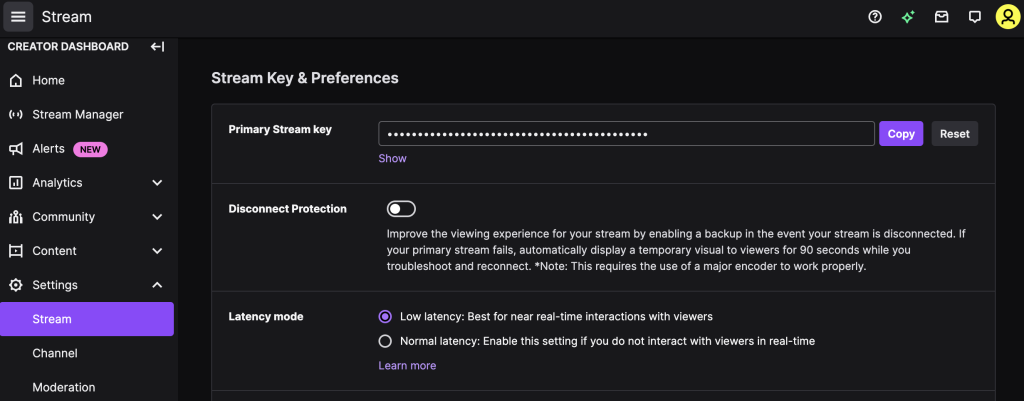
Twitch
- Log in to your Twitch account. Go to your Creator Dashboard page.
- Click Settings and select Stream. Your stream key will be listed at the top of the page.
Twitch Stream Key
YouTube
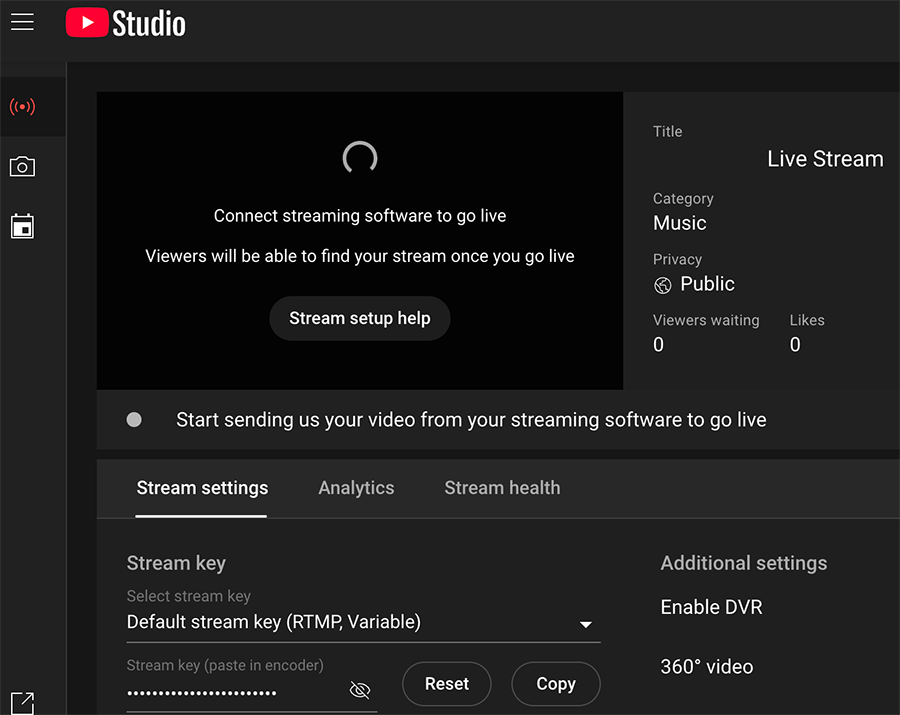
- Log in to your YouTube account. Go to the YouTube Studio dashboard.
- Click Create and select Go Live. You should now see a stream URL and a stream key listed beneath the video preview.
YouTube Live Stream Key
Facebook Live
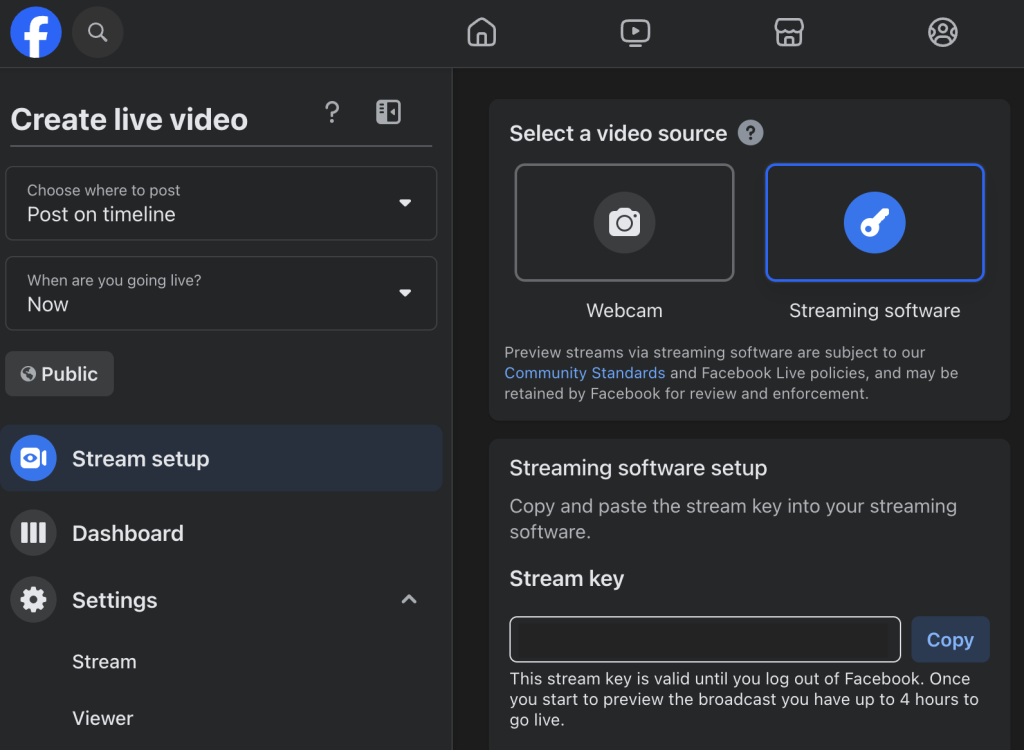
- Go to your Facebook Live Producer page.
- Click Stream setup, then click Streaming software. The stream key will be listed below.
Facebook Live stream key
Recording Video
TIP: If the Record button isn’t lit, then it means the file isn’t formatted correctly, the storage device isn’t compatible, or the storage device has run out of space.
Recording video on the RODECaster Video is a straightforward process. You can record either directly on your computer or on your external device. If you’re recording to an external storage device, you’ll need to format it directly from the device.
IMPORTANT! All data is lost when you format a storage device, so back up any important files beforehand.
- Connect the storage device to the RODECaster Video.
- Press the Settings (Gear) icon and navigate to Storage, then USB Storage. Press Format. Once your storage device is formatted, you can record.
- The RODECaster Video will format your storage device to the exFAT format.
Isolated Video Recording
Isolated Video Recording (ISO Recording) allows you to record up to six video sources simultaneously. This is particularly useful if you want to livestream and make edits, switches, and other adjustments later.
On the RODECaster Video, press the Settings (Gear) icon, navigate to Multitrack, and select REC Video. You can then toggle ISO on and off.
In RODE Central, navigate to Device Configuration and select Video, then Recording.
Related Articles
When you need help, Sweetwater has the answers!
Our knowledge base contains over 28,000 expertly written tech articles that will give you answers and help you get the most out of your gear. Our pro musicians and gear experts update content daily to keep you informed and on your way. Best of all, it’s totally FREE, and it’s just another reason that you get more at Sweetwater.com.


Offer applies only to single-receipt qualifying purchases. Select manufacturers may require that only the manufacturer’s products qualify towards the minimum purchase amount needed to be eligible for promotional financing. Otherwise, an invoice that meets the minimum purchase amount and contains at least one qualifying manufacturer product is eligible for promotional financing. No interest will be charged on promo purchase balance, and equal monthly payments are required on promo purchase until it is paid in full. The payments equal the amount financed divided by the number of months in the promo period, rounded up to the next whole dollar. These payments may be higher than the payments that would be required if this purchase was a non-promo purchase. During the last month(s) of the promo period the required monthly payment may be reduced due to the prior months’ rounding. Regular account terms apply to non-promo purchases. New Accounts as of 07/31/2025: Purchase APR is 34.99%. Penalty APR is 39.99%. Min Interest Charge is $2. Existing cardholders: See your credit card agreement terms. Subject to credit approval.
Offer applies only to single-receipt qualifying purchases. No interest will be charged on the promo balance if you pay it off, in full, within the promo period. If you do not, interest will be charged on the promo balance from the purchase date. The required minimum monthly payments may or may not pay off the promo balance before the end of the promo period, depending on purchase amount, promo length and payment allocation. Regular account terms apply to non-promo purchases and, after promo period ends, to the promo balance. New Accounts as of 07/31/2025: Purchase APR is 34.99%. Penalty APR is 39.99%. Min Interest Charge is $2. Existing cardholders: See your credit card agreement terms. Subject to credit approval.
The estimated required monthly payment shown which excludes taxes and delivery equals the amount financed divided by the number of months in the promo period, rounded up to the next cent. During the last month(s) of the promo period the required monthly payment may be reduced due to this rounding. These payments apply only with the financing offer shown. If you make these payments by the due date each month, you should pay off this amount financed within the promo period, if it is the only balance you are paying off. If you have other balances on your account, this payment will be added to any other minimum monthly payments.
Applies only to select items from this manufacturer. Ask your Sweetwater Sales Engineer for more details.