
Roland Bridge Cast Quickstart Guide
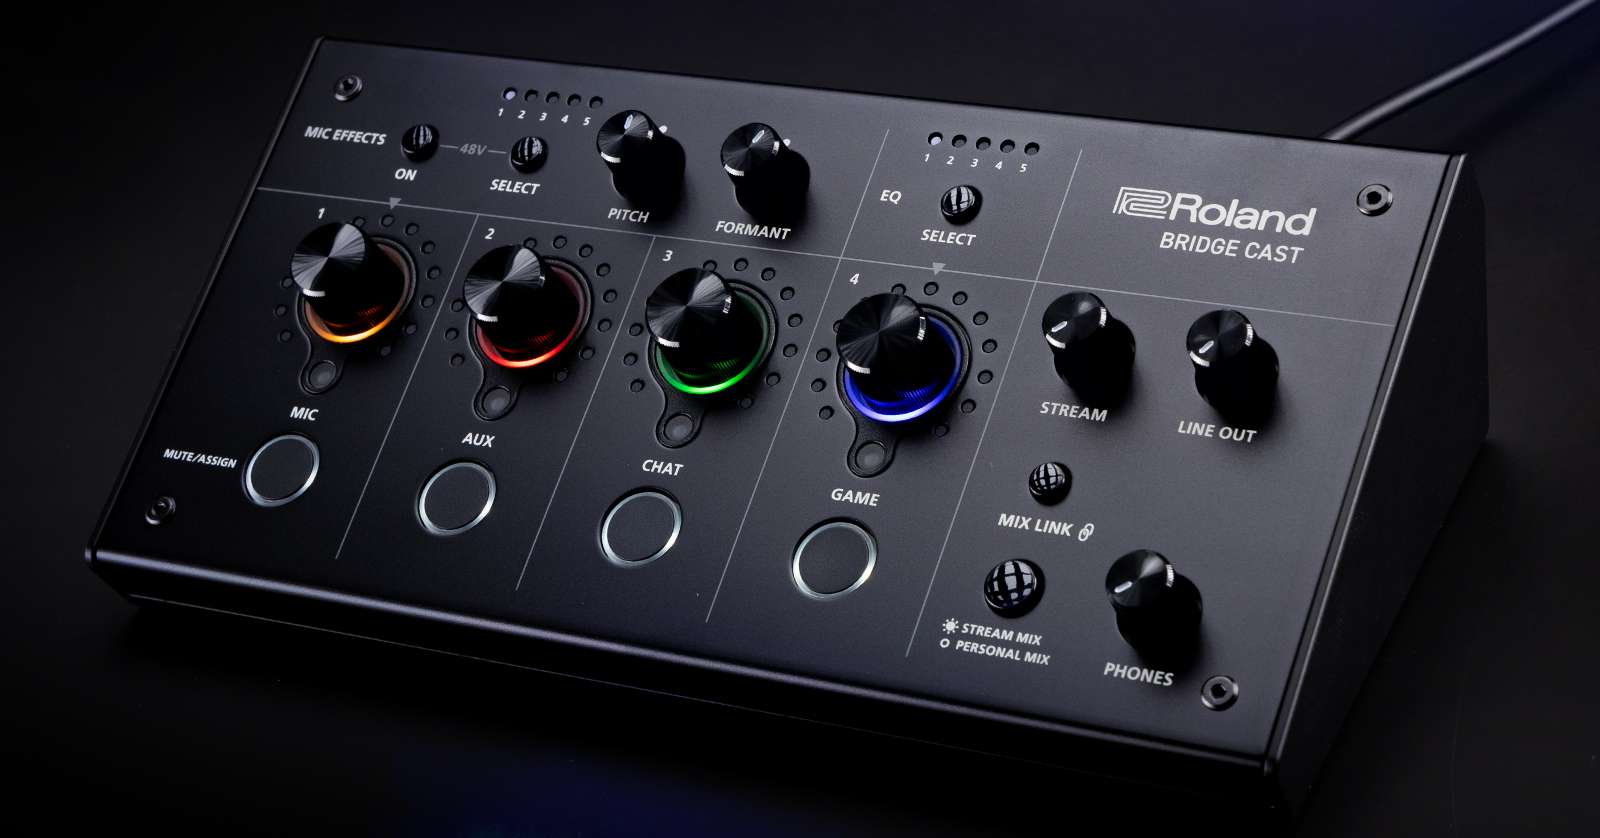
The Roland Bridge Cast and Bridge Cast X are the perfect all-in-one audio mixers for any streamer. It’s packed with features and easy to use, so in this guide, we will show you how to register, set up, and connect the Roland Bridge Cast or Bridge Cast X for the first time. Follow the sections below to get started, and don’t forget to check out the Bridge Cast and Bridge Cast X for more information!
- Register the Roland Bridge Cast
- Bridge Cast Setup and Connections
- Bridge Cast X Setup and Connections
- Using the Bridge Cast App
Register the Roland Bridge Cast
It’s always exciting to plug in new gear and start using it, but before you get set up and connected, you first must register the Roland Bridge Cast or Bridge Cast X. Upon registration, you’ll gain access to the free Roland Bridge Cast companion software, royalty-free music and sound effects, an extended warranty, and additional support resources.
- Log in to your Roland Backstage account. If you don’t have one yet, then you can create one here.
- Roland will then send an account activation email to the registered email address so you can complete the account-creation process.
- Check your spam folder if you don’t see the email.
- On your account home page, click My Gear, then select Register a Product.
- Fill out the required information, including the serial number on your Bridge Cast or Bridge Cast X, and click Register.
- Keep your Sweetwater invoice handy, as you must enter your purchase date, purchase method, and dealer (Sweetwater).
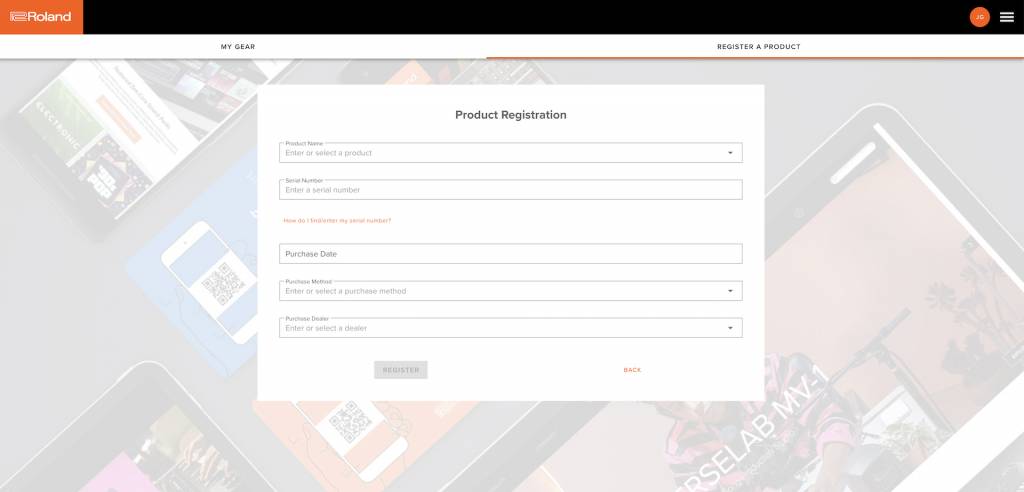
Click the image to register your Roland Bridge Cast.
Download the Driver and App
After registering your Bridge Cast or Bridge Cast X but before connecting it to your computer, you must download and install the Bridge Cast app and dedicated driver software for your PC or Mac.
- Go to the Roland Bridge Cast or Bridge Cast X download page.
- Download the latest version of the Bridge Cast app for your OS.
- Download the latest driver for your OS.
- macOS Sonoma users:Make sure to download the dedicated Sonoma 14.x driver!
- Navigate to your Downloads folder, then locate and launch the installers.
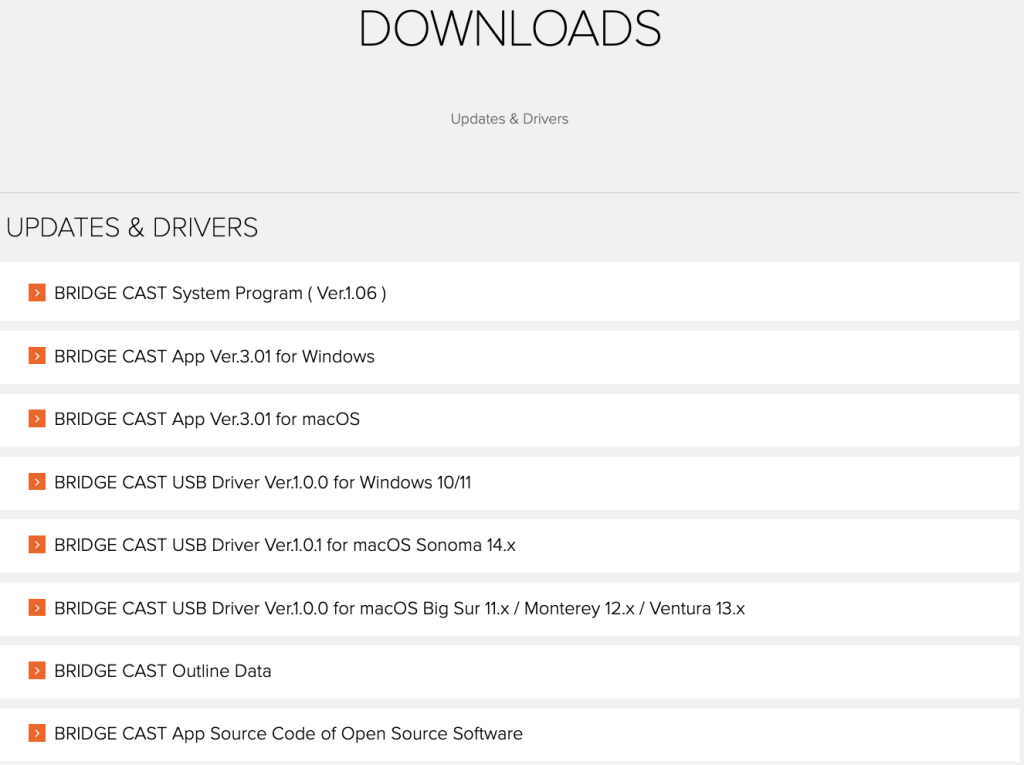
Click the image to download the software and driver for the Bridge Cast.

Click the image to download the software and driver for the Bridge Cast X.
Bridge Cast Setup and Connections
Setting up and connecting your gear to the Roland Bridge Cast is straightforward. While many of the changes you must make are within the Roland Bridge Cast software (which we will cover later in this guide), here is the initial hardware setup procedure.
Connect to a PC
- Connect your external gear to the Bridge Cast, then switch the USB connection switch to PC.
- Connect the Bridge Cast to your computer. Since it’s bus powered, the unit will power on.
- PC users: the dedicated driver is automatically installed.
- Mac users:you must manually install the driver before connecting the Bridge Cast.
- Turn on your external gear and launch the Bridge Cast app.
- Adjust the levels appropriately so they’re at a comfortable listening level.
Connect to a Game Console
- Connect your external gear to the Bridge Cast, then switch the USB connection switch to CONSOLE/MOBILE.
- Turn on your game console and connect the Bridge Cast.
- Turn on your external gear. Adjust the levels appropriately so they’re at a comfortable listening level.
Bridge Cast Setup Tips
As you can see, setup is a breeze, so here are a few tips for working with your Bridge Cast.
- The Bridge Cast can be bus powered, but using a USB-C wall adapter is recommended.
- The USB cable you connect to your computer dictates the power mode.
- There are no hardware limitations if you use a USB-C to USB-C cable.
- However, if you use a USB-C to USB-A cable, the LED brightness will become dim. This cannot be changed.
- The AUX jack is compatible with TRRS cables, meaning you can input external audio and output mic audio from a smartphone.
- Make sure to use a TRRS cable when connecting a gaming headset (that has a microphone) to the PHONES/HEADSET jack.
- If you use a condenser microphone, connect it to the Bridge Cast before turning on Phantom Power. Disconnect it after you turn it off.
- Do not enable Phantom Power if you use a dynamic microphone.
Roland Bridge Cast Gaming Audio Mixer
Bridge Cast X Setup and Connections
The Bridge Cast X has the same functionality as the Bridge Cast, and it has HDMI connections for your gaming setup, which is perfect if you have a multi-PC or a PC-and-console setup for your stream.
Bridge Cast X Display Connections
The Bridge Cast X not only has the same functionality as the Bridge Cast, but it also has HDMI connections for your gaming setup, which is perfect if you have a multi-PC or PC-and-console setup for your stream.
- Turn the volume down. Make sure everything is powered off before connecting to the HDMI ports.
- Only one HDMI port can be used at a time.
Roland BRIDGE CAST X Dual Bus Streaming Mixer and Video Capture
Using the Bridge Cast App
Once everything is set up and connected, you’ll lastly need to take care of some initial settings to get started. These instructions will get you up and running, so be sure to check out the APP section of the Bridge Cast and Bridge Cast X owner’s manuals for more information!
- When you launch the Bridge Cast app, you’ll be taken to the home screen.
- Click MIC SETUP. Choose the type of microphone currently connected (dynamic, condenser [+48V], or headset).
- Begin talking into your microphone at a normal level. Increase the gain until the waveform remains in the blue.
- Click OUTPUT, then update the Line Out and USB Out settings.
- Line Out chooses the audio to be output from the LINE OUT jack.
- USB Out sets the audio output from the USB port and is used when the USB port is set to CONSOLE/MOBILE.
Related Articles
When you need help, Sweetwater has the answers!
Our knowledge base contains over 28,000 expertly written tech articles that will give you answers and help you get the most out of your gear. Our pro musicians and gear experts update content daily to keep you informed and on your way. Best of all, it’s totally FREE, and it’s just another reason that you get more at Sweetwater.com.

