
RODE Streamer X Quickstart Guide
The RODE Streamer X is the perfect solution for any gamer, content creator, or livestreamer out there, so in this guide, we will show you how to register, set up, and connect it for the first time. Follow the sections below to get started.
- Download RODE Central and UNIFY
- RODE Streamer X Setup and Connections
- Using RODE Central
- Additional RODE Resources
Download RODE Central and UNIFY
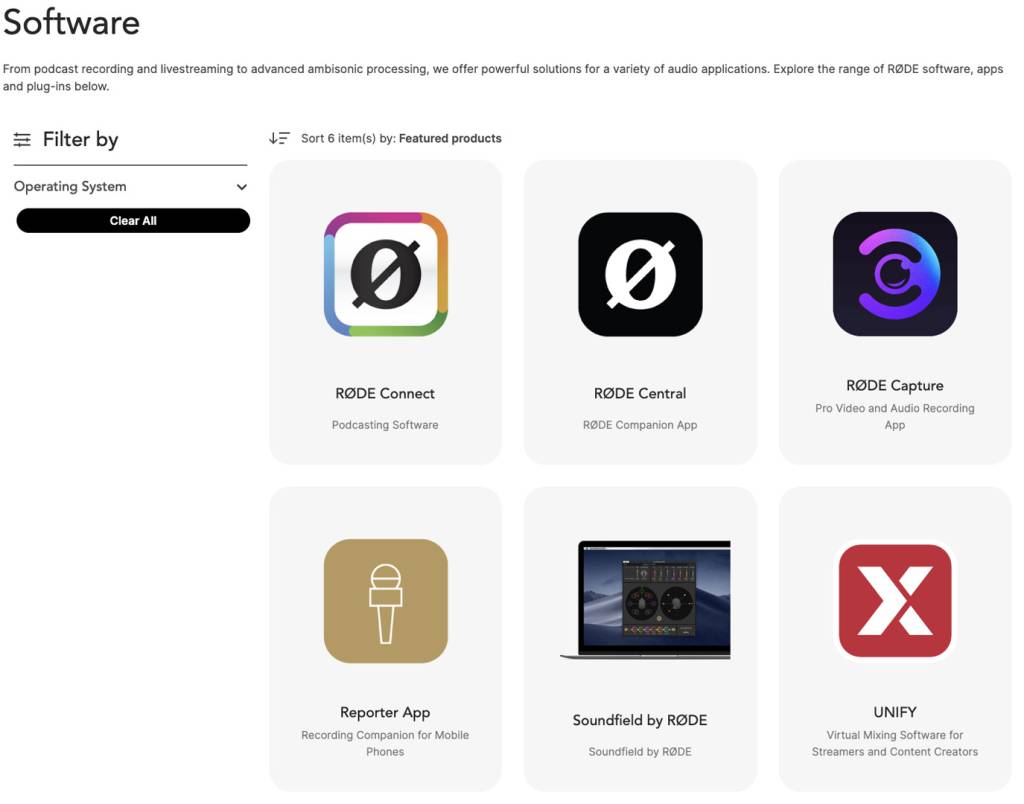
Before you get set up and connected, you must download the RODE Central application on your PC or Mac. RODE Central allows you to configure the SMART Pads and create profiles. Most importantly, it’s where you will update the firmware.
TIP: While on the RODE application download page, you can also download the UNIFY companion software. This optional software is used for more advanced streams where you want to include audio from sources such as Discord, Spotify, or YouTube. Check out RODE’s UNIFY user guide and Overview video to learn more.
- Go to the RODE Application download page to download RODE Central. You can also download UNIFY from this page.
- Navigate to your Downloads folder, then locate and launch the installers. Follow the on-screen instructions.
RODE Streamer X Setup and Connections
IMPORTANT: Make sure you use the included USB-C cable or a USB-C cable that supports SuperSpeed transfer! If you don’t, the video feed will not work.
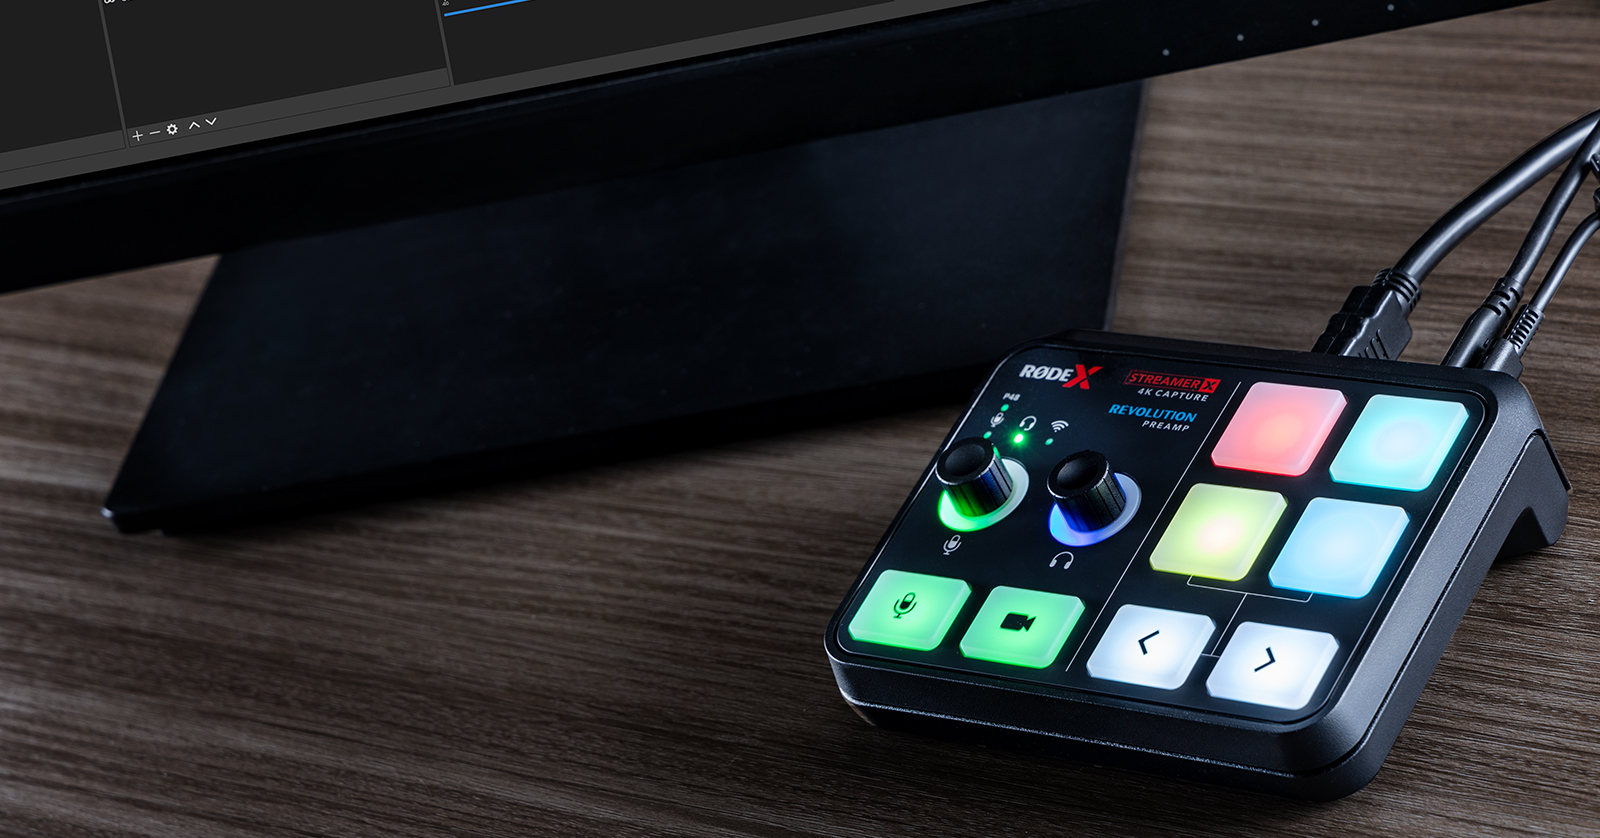
Adding the RODE Streamer X to your gaming and livestreaming setup is straightforward. With just a couple cables, you’ll be up and running in no time.
The Streamer X is bus powered, meaning your computer powers it. If you’re using your Streamer X with an Android device, you must connect it using the included power supply. If you are using the external power supply, make sure you’re connecting it to the 5V USB-C port.
Hardware Connections
Once you have the software installed, it’s time to get everything connected.
- Connect the RODE Streamer X from the USB-C 1 port to an available USB-C port on your computer. It will turn on automatically.
- The USB-C 2 is used to connect to compatible external audio devices. These compatible audio devices are Android phones/tablets, PCs, Macs, and PS5 consoles.
- iOS devices are not compatible with the RODE Streamer X.
- Your computer will recognize the Streamer X as three separate input devices:
- Streamer X Main: The primary audio stream from anything connected to it, such as a microphone or an instrument
- Streamer X HDMI (Audio): Input that includes any audio sent to the device via the HDMI In port
- Streamer X HDMI (Video): Video stream sent to the Streamer X via the HDMI In port
- Connect an HDMI cable from your computer or video game console to the HDMI In port.
- If you want to capture 4K video, please use an HDMI 2.0 cable or above.
- The HDMI Input supports video up to 4K@30fps and can pass through up to 4K@60fps. It also supports Variable Refresh Rate.
- Use the HDMI Thru connection to view your video feed on a separate TV or computer monitor.
- Connect any external audio-input devices.
- If you are connecting a condenser microphone, please connect the microphone, then press P48. When disconnecting, press P48, then disconnect the microphone. If you don’t follow this procedure, there will be a loud pop, and you may risk damaging your speakers or the Streamer X.
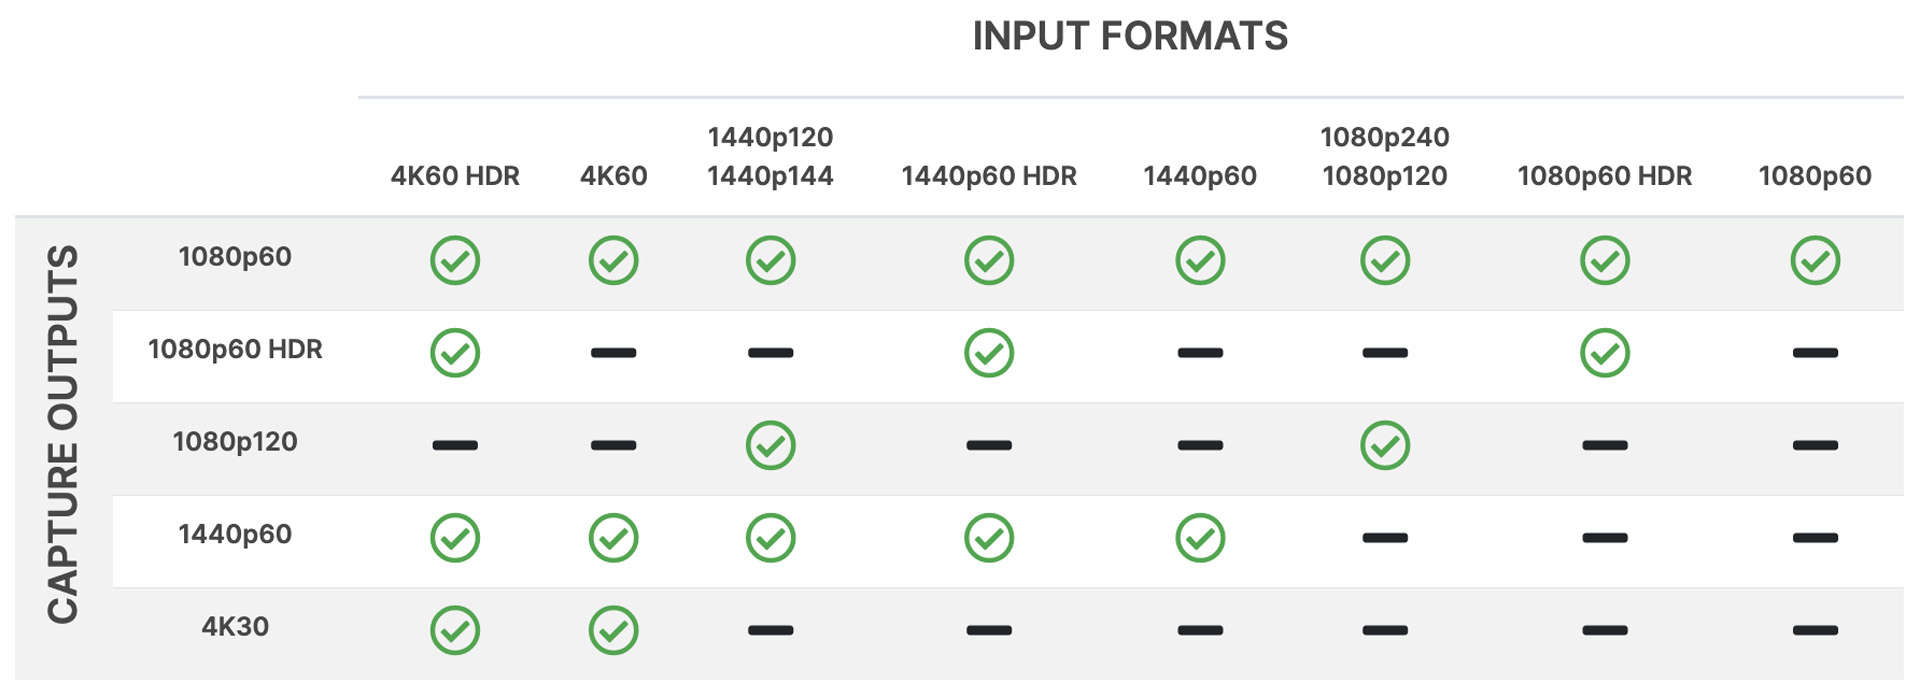
Resolution conversion
The output resolution of the RODE Streamer X depends on the input’s resolution source. Please refer to this diagram for more information on the resolution output conversion.
I’m getting a No Source Detected error
If you notice a No Source Detected error when you connect your video source to the HDMI In of the Streamer X, make sure you’re using the included USB-C cable and that it’s connected to your computer via the USB-C 1 port.
Also, be sure that your video source is connected to the HDMI In port of the Streamer X (NOT the HDMI Thru), that it’s outputting one of the supported resolution formats shown in the resolution output conversion chart above, and that the video source’s output is set to HDMI.
- For example, if your camera is connected via USB and to the Streamer X via HDMI, the camera’s output may be set to USB. Please refer to the video source’s user manual for more information.
Update Your Computer Settings
Once you have all your hardware connected, it’s time to update your computer settings so that the Streamer X is set up as the primary audio device.
- Launch your streaming software and navigate to its Settings menu.
- If you connect a microphone or instrument to the Streamer X via XLR or TRRS, set the software’s audio input to Streamer X Main. If you only stream audio from your video game console or computer, set the audio input to Streamer X HDMI.
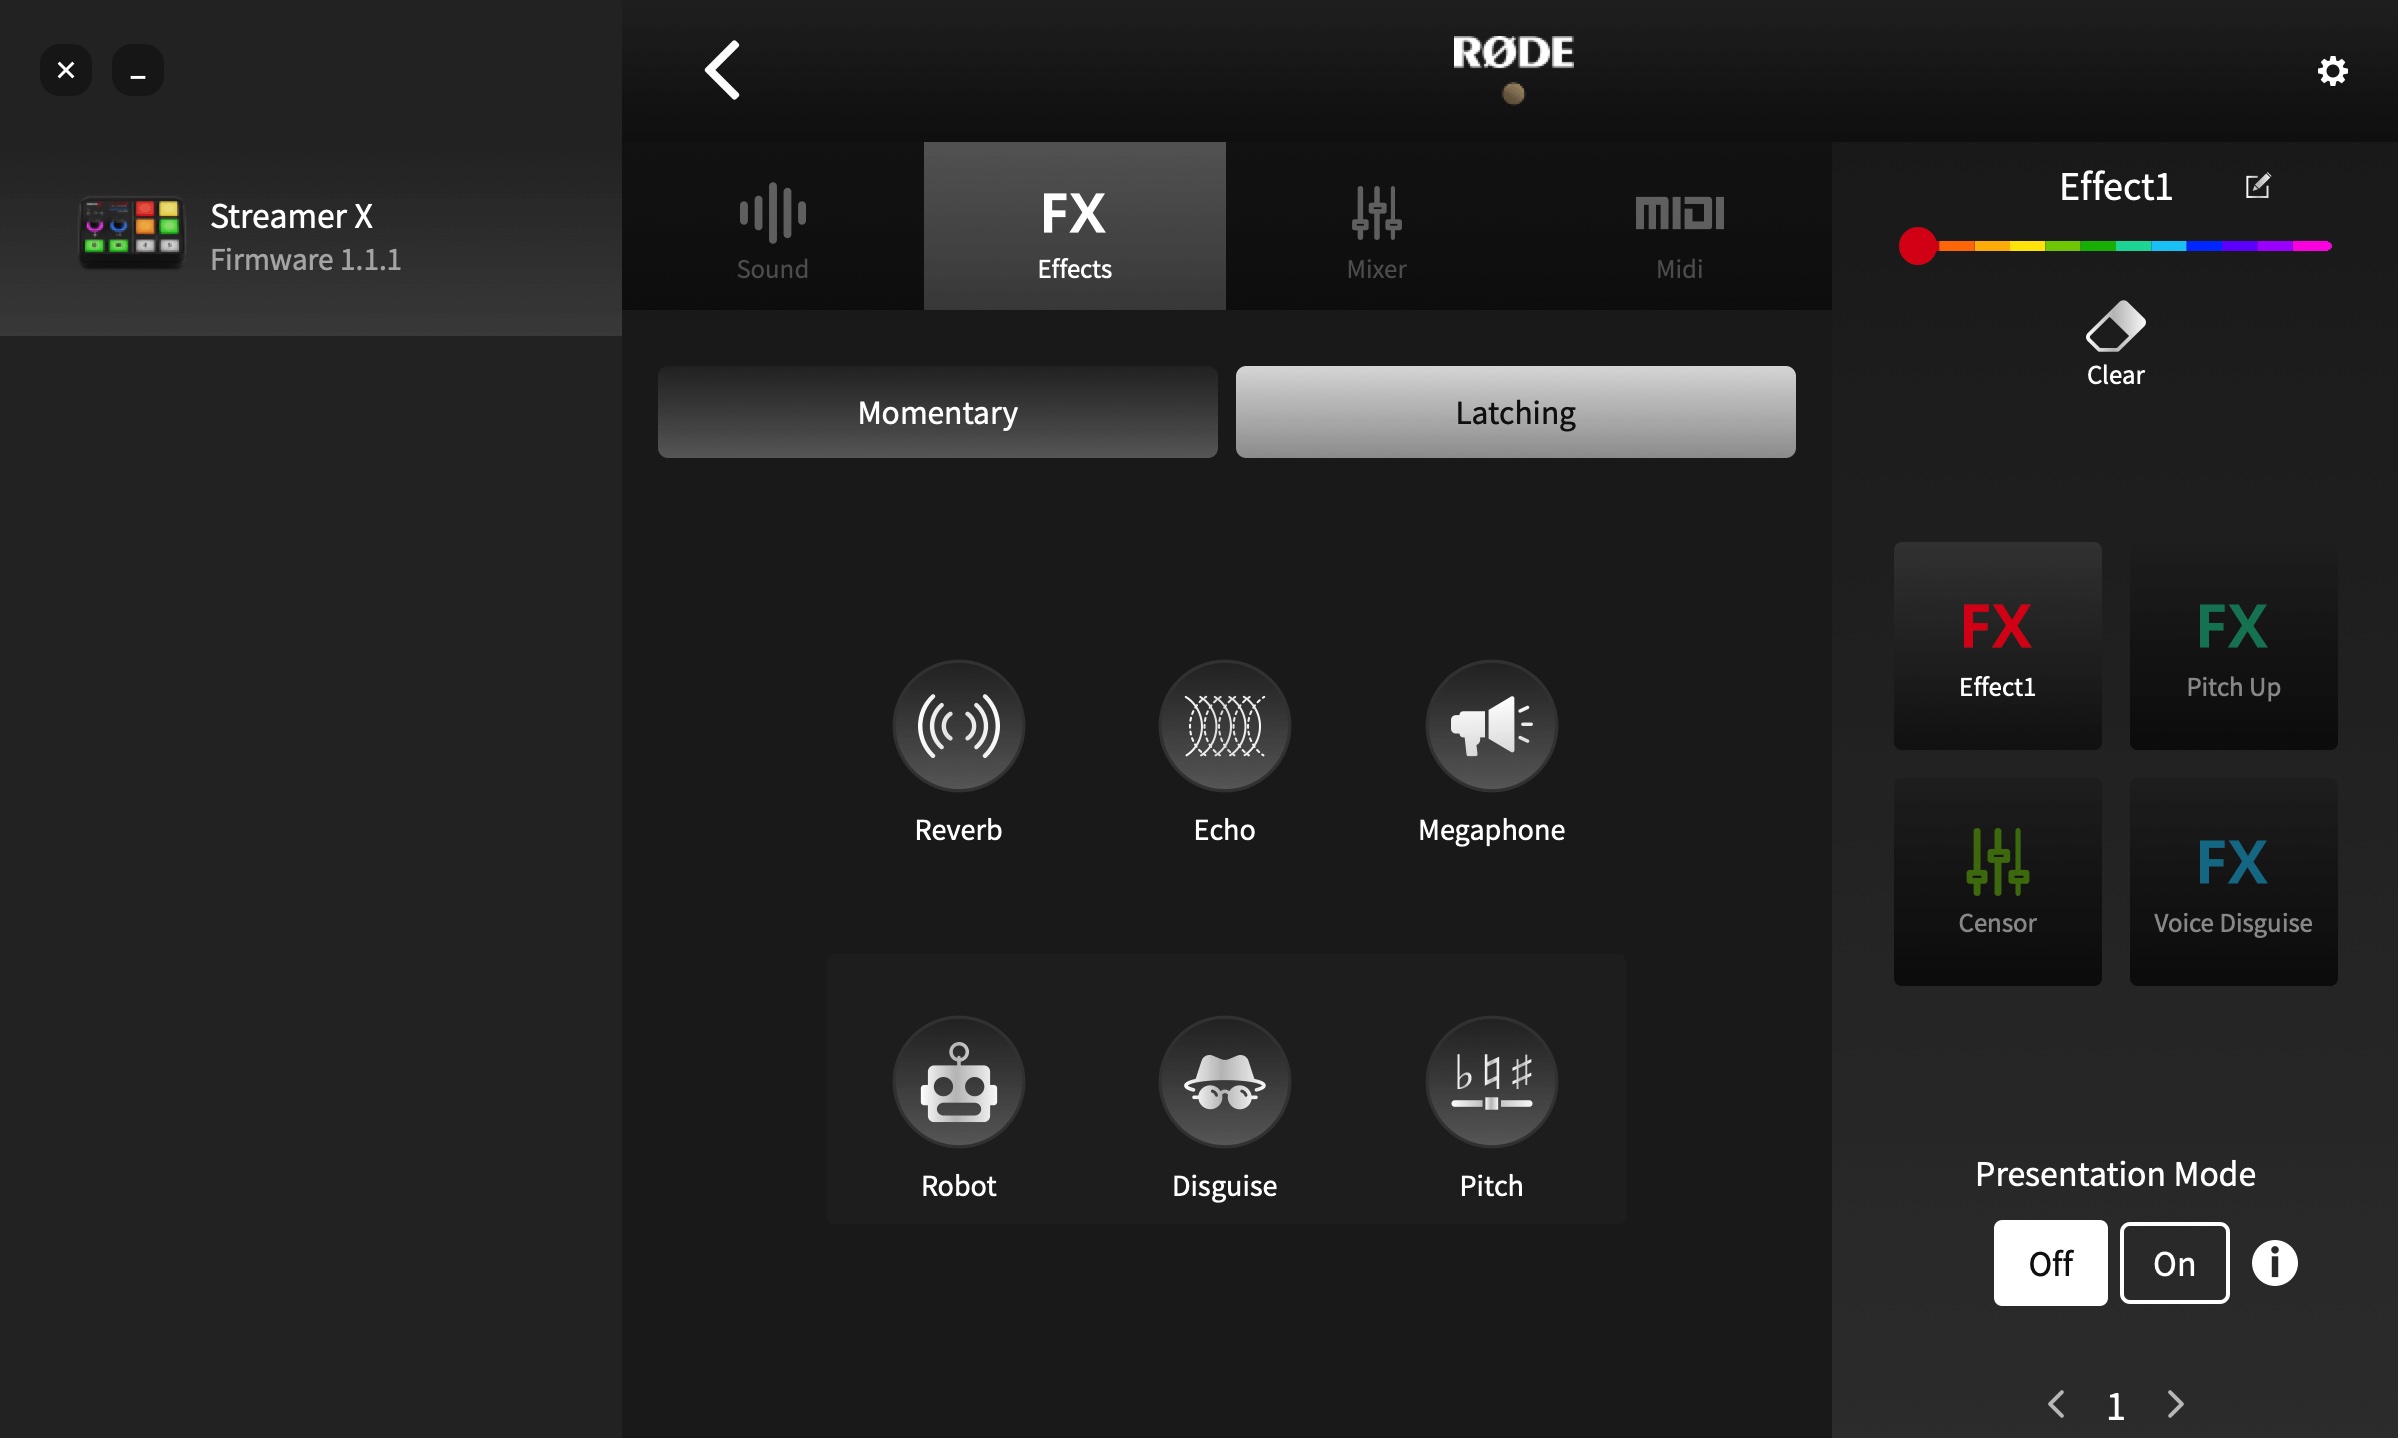
Using RODE Central
While the RODE Streamer X works right out of the box, we recommend customizing your settings within RODE Central to speed up your workflow. Not only can you customize the SMART pad functionality, but you can also add and adjust effects and control headphone and stream mix levels.
- Launch RODE Central. Select Streamer X on the screen’s left side.
- Click on the settings you would like to update.
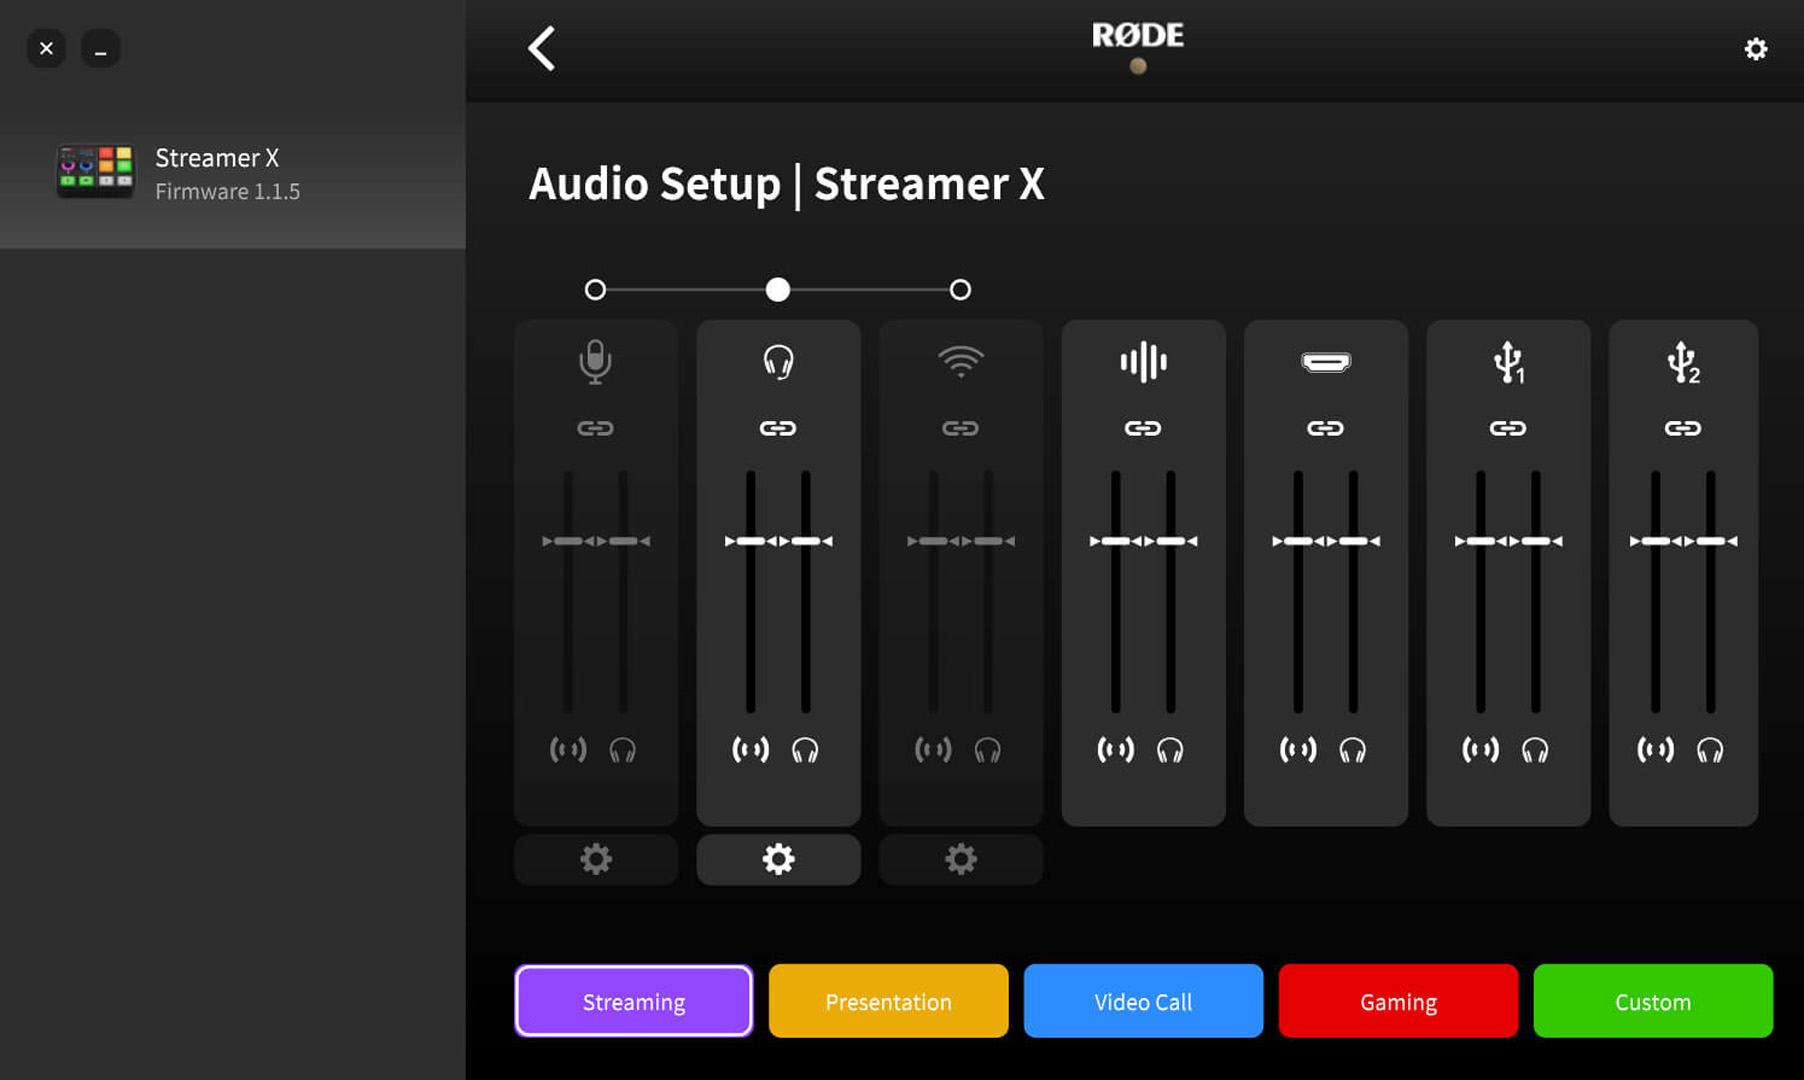
Audio Setup
This is where you will adjust the mix of all your audio connections.
- The fader on the channel’s left side is where you will adjust the audio-input level coming through your stream. The fader on the channel’s right side is dedicated to your monitor mix (what you will hear through your headphones or speakers).
- While you can create a custom mix, RODE also made five excellent presets optimized for the streaming platform you will be using. Just click on the preset’s button, and the settings will automatically be adjusted.
- Click the channel’s Gear icon to add and edit channel effects.
Device Configuration
You can adjust the button brightness, view the Streamer X system information, and perform a factory reset.

Customize SMART Pads
The Customize SMART Pads window allows you to assign factory and custom sounds to buttons and trigger vocal effects, mixer actions, and even MIDI messages! The amount of customization is endless, so spend some time here to update the button settings to your liking.
Additional RODE Resources
We’ve covered the basics of how to set up and use the RODE Streamer X, but here are some useful videos from RODE to help you get the most out of your new streaming setup!
When you need help, Sweetwater has the answers!
Our knowledge base contains over 28,000 expertly written tech articles that will give you answers and help you get the most out of your gear. Our pro musicians and gear experts update content daily to keep you informed and on your way. Best of all, it’s totally FREE, and it’s just another reason that you get more at Sweetwater.com.


Offer applies only to single-receipt qualifying purchases. Select manufacturers may require that only the manufacturer’s products qualify towards the minimum purchase amount needed to be eligible for promotional financing. Otherwise, an invoice that meets the minimum purchase amount and contains at least one qualifying manufacturer product is eligible for promotional financing. No interest will be charged on promo purchase balance, and equal monthly payments are required on promo purchase until it is paid in full. The payments equal the amount financed divided by the number of months in the promo period, rounded up to the next whole dollar. These payments may be higher than the payments that would be required if this purchase was a non-promo purchase. During the last month(s) of the promo period the required monthly payment may be reduced due to the prior months’ rounding. Regular account terms apply to non-promo purchases. New Accounts as of 07/31/2025: Purchase APR is 34.99%. Penalty APR is 39.99%. Min Interest Charge is $2. Existing cardholders: See your credit card agreement terms. Subject to credit approval.
Offer applies only to single-receipt qualifying purchases. No interest will be charged on the promo balance if you pay it off, in full, within the promo period. If you do not, interest will be charged on the promo balance from the purchase date. The required minimum monthly payments may or may not pay off the promo balance before the end of the promo period, depending on purchase amount, promo length and payment allocation. Regular account terms apply to non-promo purchases and, after promo period ends, to the promo balance. New Accounts as of 07/31/2025: Purchase APR is 34.99%. Penalty APR is 39.99%. Min Interest Charge is $2. Existing cardholders: See your credit card agreement terms. Subject to credit approval.
The estimated required monthly payment shown which excludes taxes and delivery equals the amount financed divided by the number of months in the promo period, rounded up to the next cent. During the last month(s) of the promo period the required monthly payment may be reduced due to this rounding. These payments apply only with the financing offer shown. If you make these payments by the due date each month, you should pay off this amount financed within the promo period, if it is the only balance you are paying off. If you have other balances on your account, this payment will be added to any other minimum monthly payments.
Applies only to select items from this manufacturer. Ask your Sweetwater Sales Engineer for more details.