
Getting Started With A Rodecaster Pro II
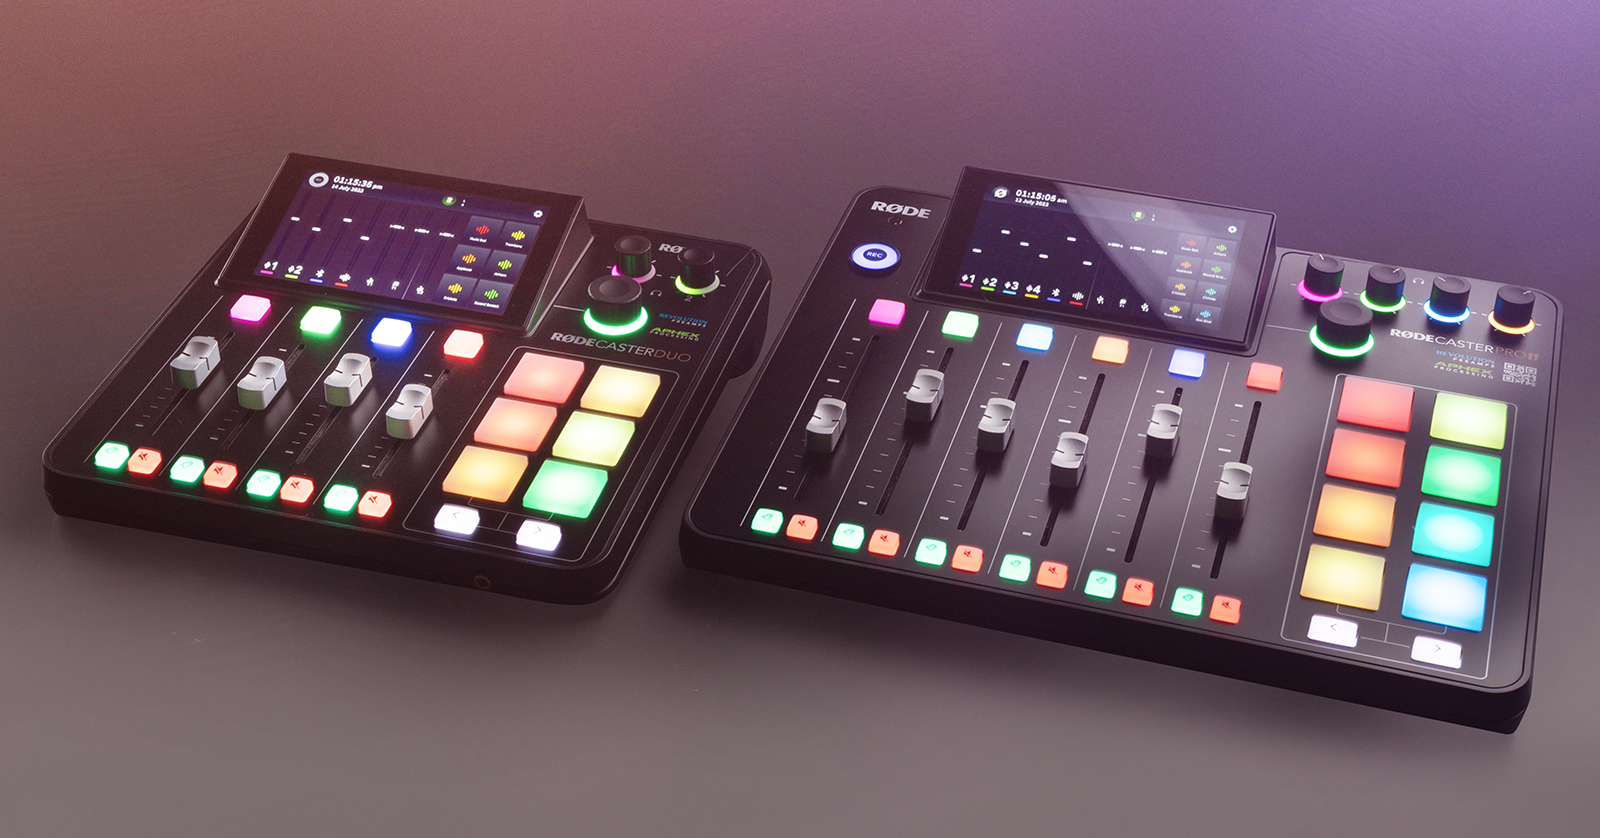
The RodeCaster Pro II and RodeCaster Duo are both great additions to any streaming or podcast setup. In this guide, we will walk you through how to set up, connect, and use them for the first time. Follow the sections below to get started!
Before we begin
This guide also applies to RodeCaster Duo users, as the Duo has the same features and functionality as the RodeCaster Pro II; the only difference is its smaller form factor.
First Time Setup
IMPORTANT! You must use the included USB-C cable to connect to your computer. Any other USB-C cable will not provide enough power to transfer data.
It’s always exciting to take new gear out of the box, turn it on, and start playing, but with the RodeCaster Pro II and RodeCaster Duo, you must first go through some initial setup. When you first turn on the RodeCaster Pro II or RodeCaster Duo, you must update its firmware and set up the system options.
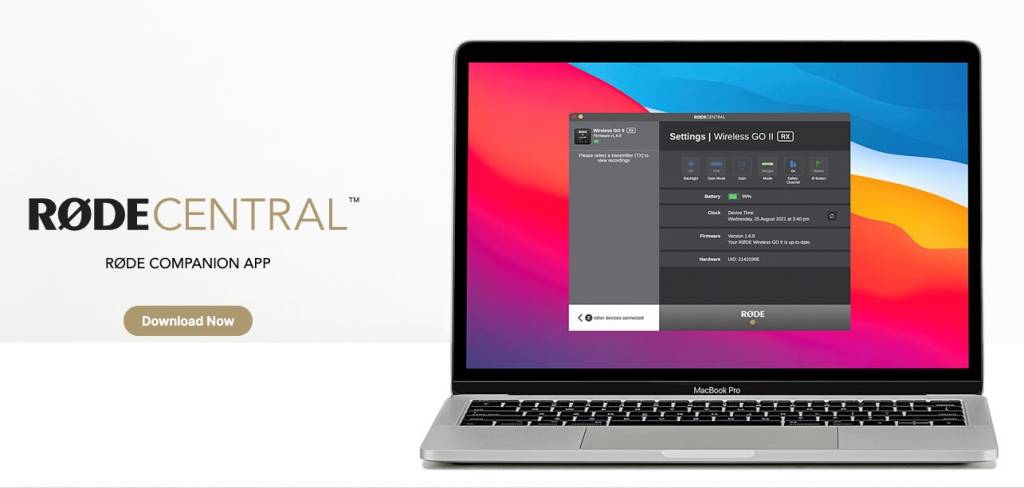
Download and Install RODE Central
RODE Central is the free standalone software for your computer and audio routing, SMART PADs customization, and hardware configuration. You must also download RODE Central to perform firmware updates via USB.
- Go to the RODE Central download page, click Download Now, then select the file for your OS.
- Navigate to your Downloads folder, then extract and launch the installer.
- Follow the on-screen instructions to complete the installation process.
Download ASIO Drivers (Windows PC Users Only)
The RodeCaster Pro II and RodeCaster Duo are class-compliant on Mac, meaning no additional driver software is required. However, Windows PC users must download and install the RodeCaster Pro II driver or RodeCaster Duo driver before connecting the RodeCaster to a Windows-based computer. If you connect the device to your computer before installing the driver, a generic Windows driver will be installed, which is often unreliable, particularly with recording software. Check out our guide about ASIO drivers to learn more!
RodeCaster Pro II and RodeCaster Duo Firmware Update
RODE will periodically release firmware updates that address bugs and add new features to your RodeCaster Pro II and RodeCaster Duo. If your device came from the factory with old firmware, you must update it as soon as you turn it on.
- When you turn the unit on for the first time, you will be prompted to update the firmware. Press Get Updated.
- Select Wi-Fi, Wired, or RODE Central.
- If updating via RODE Central, connect the RodeCaster Pro II or RodeCaster Duo to your computer, launch the application, and select the device from the list on the left side of the screen. Then click Information and select firmware update.
- Once the firmware update is complete, the unit will restart.
- Don’t turn off the unit during the update process!
Update Hardware Settings
After you’ve completed the initial firmware update, you’ll need to update the internal hardware settings, such as the time and date.
- After the unit restarts, press Getting Started, then follow the on-screen prompts.
- To set the time and date, use the large, green encoder (to the right of the display).
- Select Wi-Fi, Wired, or RODE Central.
- If you’re not using RODE Central, we highly recommend using the wired Ethernet port, especially if you have a weak Wi-Fi signal.
- Follow the on-screen prompts to complete the initial system setup.
Factory Reset
If you’re having issues with your RodeCaster Pro II or RodeCaster Duo, or if you need a fresh start, you’ll need to perform a factory reset. To do so, press the gear icon, press System, press Information, then press Factory Reset.
Project Setup Wizard
Once you’ve installed the latest firmware and updated the hardware settings, you’ll be asked to either create a project from a factory preset template, import an existing project, or use the Setup Wizard. This guide will show you how to use the Setup Wizard and give you an idea of how you should create a custom project from scratch.
- After you’ve completed the hardware setup, you will be taken to the project creation window.
- For this guide, choose Setup Wizard.
- On the next screen, set your faders to Unity, then press the Next arrow.
- Check out our article about Unity and gain staging to learn more!
- Turn down the four headphone level encoders (upper-right corner of the RodeCaster Pro II). Connect your mics, guitars, or line-level sources, then press the Next arrow.
- Select the type of connection it is (mic, guitar, line-level) within the Input Selection window.
- The icon that has a circle with the left arrow indicates line-level input.
- Phantom power (listed as P48) is automatically enabled when you select a condenser microphone.
- Set the levels of each channel, then continue.
- Assign the inputs to a channel of your choosing, then press the green checkmark button to complete the setup process.
Virtual Connections
You can connect the RodeCaster Pro II and RodeCaster Duo via USB-C and Bluetooth, which will be assigned to virtual channels. Here are a few things to remember when setting up virtual channels:
- Connect a USB cable to the USB 1 jack to use the channel as a stereo input and multi-out device.
- You can also use the USB 1 jack to utilize the mix-minus feature.
- Connect a USB cable to the USB 2 jack to add an additional input and output device.
- You must connect mobile devices to the USB 2 jack.
- If you are using a streaming platform on a PC, you must use the USB 2 jack and choose the RodeCaster secondary audio device as your input and output.
Output Routing
TIP: You can also adjust all input and output settings in the RODE Central app.
All audio will be summed to a single stereo (L+R) mix by default. If you need to record tracks on separate tracks, select Multitrack mode. This will allow channels to be recorded as individual mono tracks. Multichannel mode is handy if you need to adjust things such as EQ and compression on individual channels during post production. Follow these steps to turn on Multichannel mode.
- From the main screen, press the gear icon, then press Multichannel.
- Select Pre-Fader (hardware faders will be ignored) or Post-Fader.
- Press Bypass Processing if you want to exclude any onboard effects currently applied to the track.
- Post-Fader will include all effects and fader positions.
Custom Routing
One great thing about the RodeCaster Pro II and RodeCaster Duo is that you create custom routing. This is especially handy when you have guests calling in or when you’re utilizing the Bluetooth channel. There are many different ways to work with callers and online guests, so check out the RodeCaster Pro II User Guide or RodeCaster Duo User Guide to learn more!
Recording Your First Project
After everything is set up, it’s time to start recording! You can record to a computer, an SD card, or an external hard drive. You can also record to an SD card and external hard drive simultaneously!
SD Card and External Hard Drive
IMPORTANT! You must format external storage devices on the RodeCaster Pro II and RodeCaster Duo, so be sure to back up any stored data on the device!
If you are away from your computer, you can still create content by inserting a micro SD card or external hard drive into the unit. You can also record to both devices at the same time! You will be prompted to format the drive when you first connect the SD card or external hard drive.
To start recording, press the REC button once the external storage device has been connected and formatted. Once you’ve finished recording, press it again.
- The device will record three seconds of silence when you press record. This is something that cannot be changed.
Computer
IMPORTANT! Your computer will recognize both USB jacks as audio devices. Be sure to select USB 1, which is set up to be recognized as a multichannel device.
If you are using a computer, you can record multitrack audio in a DAW. If you want to record each track separately, you’ll need to change from Stereo mode to Multitrack mode before launching your DAW.
- Launch your DAW and set the RodeCaster (USB 1) as your default recording and playback device.
- You cannot configure USB 2 and USB Chat as multitrack outputs.
- Create a mono audio track for each track you will record, then assign them to their respective channels.
- Press record in your DAW.
- All recordings will be done within your DAW, so you will not have to press the REC button on the unit.
Additional RODE Resources
RodeCaster Duo Tutorial Playlist
RodeCaster Pro II Tutorial Playlist
When you need help, Sweetwater has the answers!
Our knowledge base contains over 28,000 expertly written tech articles that will give you answers and help you get the most out of your gear. Our pro musicians and gear experts update content daily to keep you informed and on your way. Best of all, it’s totally FREE, and it’s just another reason that you get more at Sweetwater.com.


Offer applies only to single-receipt qualifying purchases. Select manufacturers may require that only the manufacturer’s products qualify towards the minimum purchase amount needed to be eligible for promotional financing. Otherwise, an invoice that meets the minimum purchase amount and contains at least one qualifying manufacturer product is eligible for promotional financing. No interest will be charged on promo purchase balance, and equal monthly payments are required on promo purchase until it is paid in full. The payments equal the amount financed divided by the number of months in the promo period, rounded up to the next whole dollar. These payments may be higher than the payments that would be required if this purchase was a non-promo purchase. During the last month(s) of the promo period the required monthly payment may be reduced due to the prior months’ rounding. Regular account terms apply to non-promo purchases. New Accounts as of 07/31/2025: Purchase APR is 34.99%. Penalty APR is 39.99%. Min Interest Charge is $2. Existing cardholders: See your credit card agreement terms. Subject to credit approval.
Offer applies only to single-receipt qualifying purchases. No interest will be charged on the promo balance if you pay it off, in full, within the promo period. If you do not, interest will be charged on the promo balance from the purchase date. The required minimum monthly payments may or may not pay off the promo balance before the end of the promo period, depending on purchase amount, promo length and payment allocation. Regular account terms apply to non-promo purchases and, after promo period ends, to the promo balance. New Accounts as of 07/31/2025: Purchase APR is 34.99%. Penalty APR is 39.99%. Min Interest Charge is $2. Existing cardholders: See your credit card agreement terms. Subject to credit approval.
The estimated required monthly payment shown which excludes taxes and delivery equals the amount financed divided by the number of months in the promo period, rounded up to the next cent. During the last month(s) of the promo period the required monthly payment may be reduced due to this rounding. These payments apply only with the financing offer shown. If you make these payments by the due date each month, you should pay off this amount financed within the promo period, if it is the only balance you are paying off. If you have other balances on your account, this payment will be added to any other minimum monthly payments.
Applies only to select items from this manufacturer. Ask your Sweetwater Sales Engineer for more details.