
RODECaster Video Quickstart Guide

The RODECaster Video is the perfect all-in-one production solution for any podcaster or streamer out there, so in this guide, we will show you how to set up and use it for the first time. Follow the sections below to get started. Also, check out the RODECaster Video User Guide for more information!
Register the Device
Before getting set up and connected, you must register the product with RODE. Upon registration, you’ll receive a free extended warranty.
- Log in to your RODE account. If you don’t have one yet, you can create one here.
- Go to the product registration page, use the drop-down box, and scroll to RODECaster Video (located within Interfaces). Enter the product’s serial number, then click Register.

Click here to register your RODECaster Video.
RODECaster Video Firmware Update
IMPORTANT! You must be connected to a network via Ethernet or Wi-Fi to perform the firmware update.
Once the device is registered, make sure the firmware on your RODECaster Video is up to date.
- Download and install the RODE Central companion app, then connect the RODECaster Video to your computer using the USB 2 port. Make sure to use the factory-supplied USB cable!
- Launch RODE Central. Select RODECaster Video on the left-hand side of the app.
- If there is a firmware update available, follow the on-screen instructions to install it.
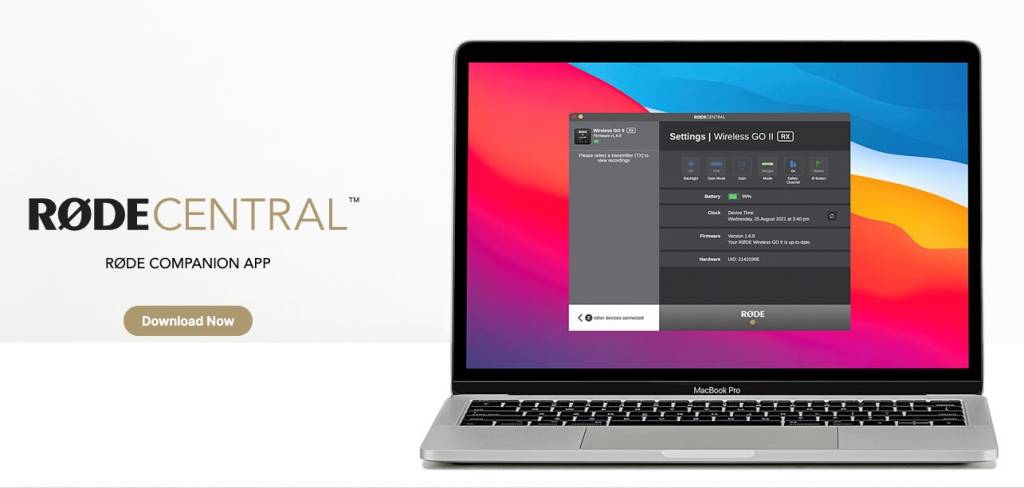
Click here to download the RODE Central companion app.
Navigating the RODECaster Video
Before using the RODECaster Video, it’s a good idea to get familiar with the different sections of the device.
Input Buttons
The bottom six buttons labeled 1–6 mirror the HDMI and USB input ports on the back. HDMI are assigned to buttons 1–4, and USB 4 and 5 are assigned to buttons 5 and 6.
- Depending on the mode selected, the buttons will function differently. If the buttons are assigned and you are in Instant mode, they will switch to the programmed input during the livestream. If you’re in Studio mode, they will switch to the programmed input in the Preview feed.
Here’s how to assign the buttons to sources.
- Press the Inspect button, then press the inputbutton you want to adjust.
- Press the input selection box on the touchscreen display, use the encoder to navigate through the inputs, and then press the encoder to confirm. Once the buttons assigned, press the Inspect button.
Scene Selection
You can select scenes by using the Scene Selection buttons (A–G). Scenes are collections of multiple sources you can customize to fit your production. For example, you can customize a scene with just one camera and another scene with multiple cameras and a background.
Function Buttons
There are four Function buttons. Each button will control a specific function of the RODECaster Video. From top to bottom, the buttons are Media, Overlay, Multisource, and Keying.
Media
The Media button lets you access any images, sounds, and videos that are loaded onto the included SD card and assigned to one of the Scene Selection (A–G) buttons. When pressed, pads turn purple, and Scene Selection turns into Media Selection.
Overlay
NOTE: You can only have one active overlay at a time.
The Overlay button lets you access images loaded from the included SD card and assigned to one of the Scene Selection (A–G) buttons. When pressed, the pads turn light blue, and the loaded images can be placed on both the existing and preview feeds.
Multisource
The Multisource button lets you create multisource scenes, like picture-in-picture or split-screen configurations. When you press the Multisource button, the input buttons will turn yellow, and the multisource layout options will be on the touchscreen display, where you can create a scene.
Keying
The bottom button, Keying, will apply a chroma key (blue or green screen) to the Preview feed in Studio mode or the Program feed while in Instant mode. This will allow the object to be in front of loaded videos, images, and other input sources.
First, press the Input button to which you want to apply the chroma key, then press the Keying button to apply the key. Once a chroma key is applied to the input selected, it will automatically be saved to that source. To remove it, you must disable it from the source to unlink it.
RODE RODECaster Video A/V Production Console Demo
Introducing RØDECaster Video: The Ultimate Video and Audio Production Console
Related Articles
When you need help, Sweetwater has the answers!
Our knowledge base contains over 28,000 expertly written tech articles that will give you answers and help you get the most out of your gear. Our pro musicians and gear experts update content daily to keep you informed and on your way. Best of all, it’s totally FREE, and it’s just another reason that you get more at Sweetwater.com.

