
Nektar Impact Quickstart Guide
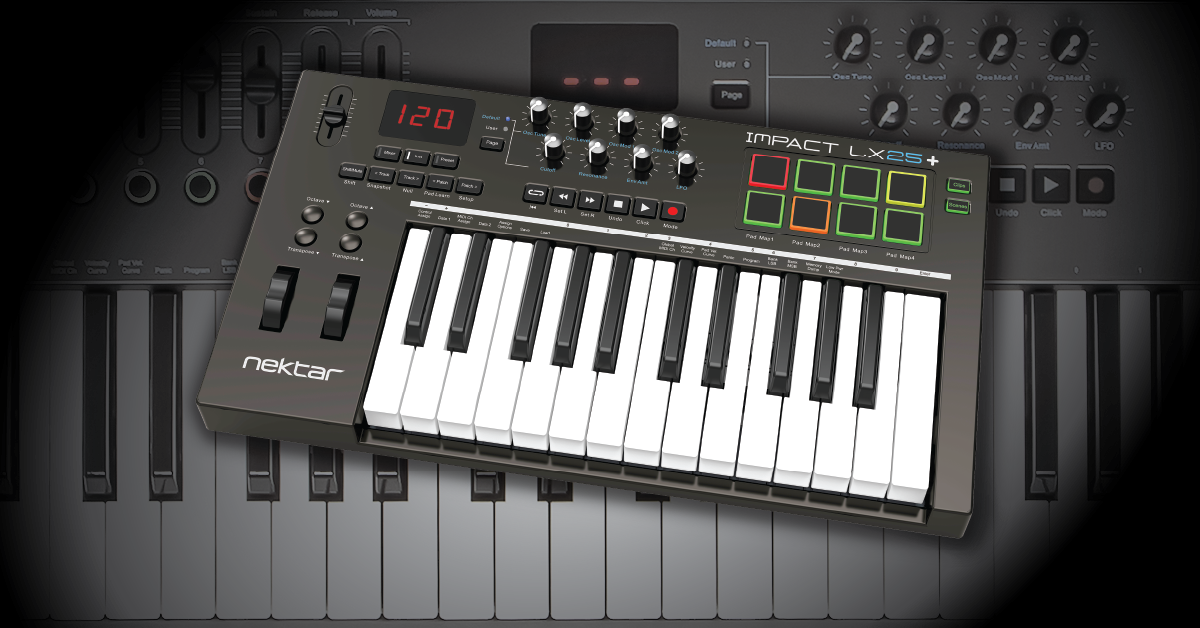
Getting started with the Nektar Impact
In this guide, we will show you how to register, set up, connect, and sync your Nektar Impact. This guide only scratches the surface on how powerful your Nektar Impact is, so follow the instructions below to get started.
Register the Impact
Before we get up and running, the first thing you’ll need to do is register the device with Nektar. Once you register your Impact, you’ll gain access to all DAW integration files you will need to have full DAW control using your Nektar Impact. You’ll also get a free copy of Bitwig 8-Track Studio.
IMPORTANT: If you’re only using the Impact as a generic MIDI controller, skip this section and go to Connect the Impact. If you don’t register the Impact, however, you won’t receive notifications for Impact software and hardware updates, DAW integration files, and an extended warranty.
- Log into your Nektar account. If you don’t have one, you can create it here.
- Click My Account, enter the Serial Number located on the bottom of the Nektar Impact, then click Submit.
- Select the OS and DAW that you’re using, then click Submit.
- Choose the correct DAW and OS when prompted as that will be the only DAW integration download on your account page.
- You can always change the DAW and OS by clicking the EDIT button and selecting another DAW or OS.
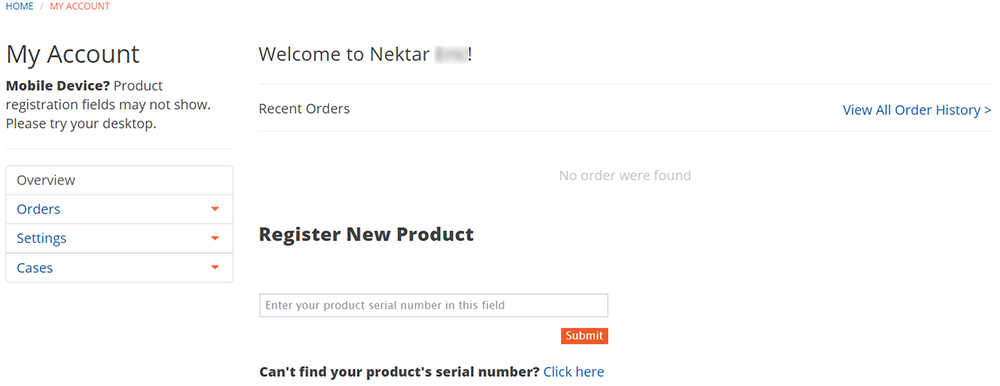
Click the image to register your Nektar Impact
Connect the Impact
Now that your Nektar Impact is registered, the next step is to connect and integrate it with your DAW. You can use your Nektar Impact as a standard MIDI controller, connect it to and iOS device using an Apple Camera Adapter, or you can control your DAW just by using your Impakt! This is particularly useful since you won’t need to go back and forth between your Nektar Impact and your keyboard and mouse.
IMPORTANT: If you’re connecting your Impact to an iOS device, you will need to enter Low Power Mode. To do this, Enter the Setup menu (Press [Shift]+[Patch >]) and black Low Power Mode key (G#4).
Using the Nektar Impact as a standard MIDI controller
If you’re using multiple DAW’s or just want to play without fussing with menus, you can just plug it into an available USB port and start playing. The Impact is bus-powered, which means it’s powered directly by your computer, and is also class-compliant, which means no additional driver software is necessary. All you’ll need to do is go into your DAW’s MIDI hardware setup menu and set it as your primary MIDI input.
IMPORTANT: If you’re experiencing connectivity issues or if the Nektar Impact isn’t powering on, first try disconnecting and reconnecting the device. If it still isn’t working correctly, try a different USB port or USB cable. Also, be sure to check out our article about Resolving MIDI Device Issues on PC and Mac.
MIDI keyboard setup guides
Integrating the Nektar Impact with your DAW
Your Nektar Impact can control almost everything within your DAW. Before you connect your Impact to the computer, you’ll need to download and install the Integration file from your Nektar account page.
- Go to your Nektar account page and download the integration file for your DAW.
- Navigate to your Downloads folder then extract the installer file.
- PC: Right-click the .zip folder and choose Extract All.
- Mac: Double-click the zip file,
- Open the installation folder, run the installer, and follow the on-screen instructions.
- Connect your Nektar Impact to your computer and power it on (if you haven’t done so already).
- Click the DAW you’re using below to complete your setup.
Nektar Impact DAW integration guides
Creating presets with your Nektar Impact
One great thing about the Nektar Impact is that you can create five user presets for later recall for things such as MIDI CC# and mixer controls. Presets are very useful, especially if you’re working on multiple projects or using multiple DAWs which require different CC messages. To make changes to a user preset, you’ll need to be in the Setup menu.
- Press Preset, then press the Shift + Patch > (Setup) to enter the Setup menu.
- You should see three blinking dots and S.E.t. On the flight.
- Press the keys and pads you want to change the parameters.
- For a full list of MIDI controls that can be changed, visit the owner’s manual here.
How to save your Impact presets
Once you’re finished, follow these steps to save your preset. If you need to back up your saved presets when performing a factory reset, check out our article here.
- Press the F3 key so the screen shows SAu, then press Enter (Last C key on your Impact).
- Use the +/- buttons to select the preset you want to save to, then press Enter.
Related content

Learn more about getting started with MIDI keyboards!
Learn More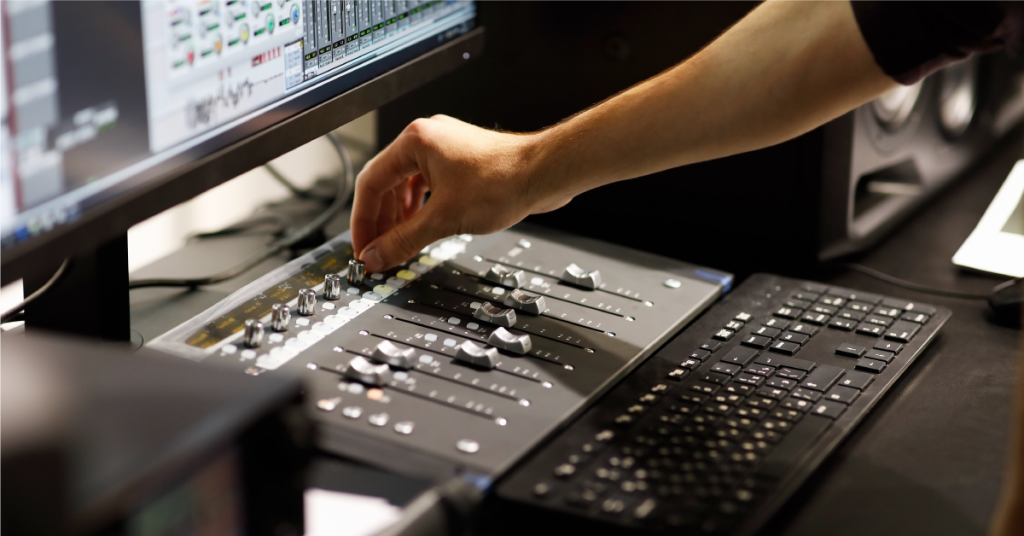
Learn more about getting started with DAW controllers!
Learn More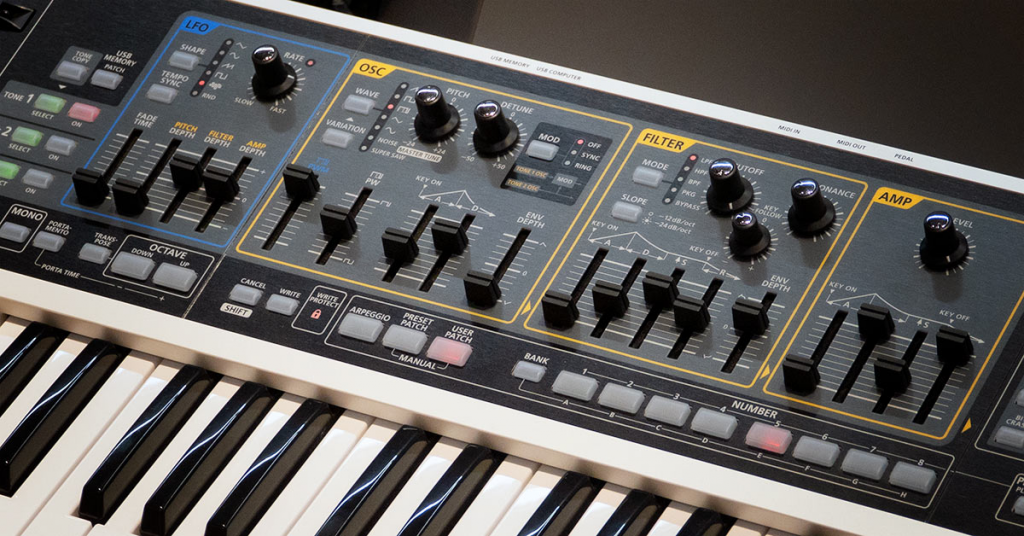
Learn more about the synthesizer basics – with audio samples!
Learn More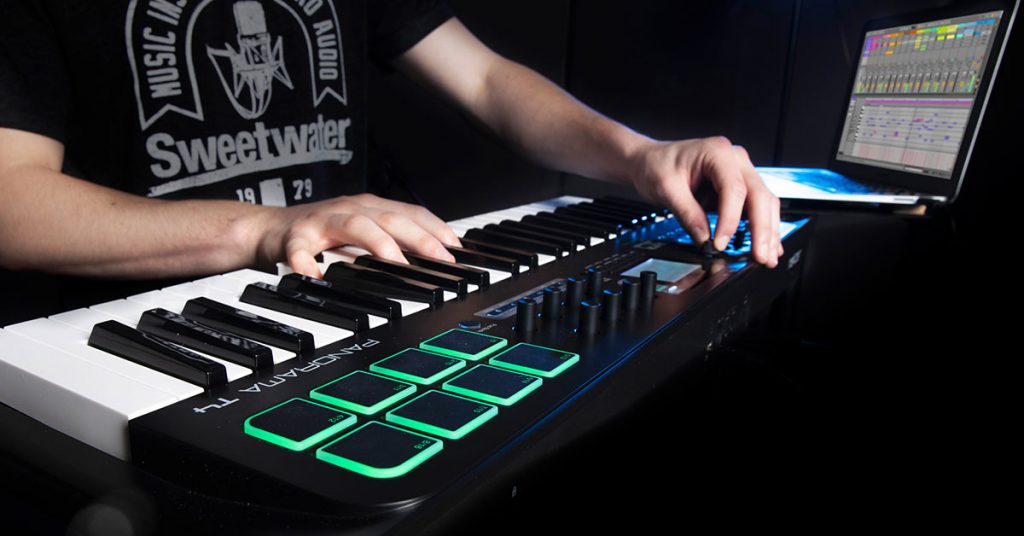
Check out our essential guide discussing what MIDI is!
Learn MoreSynth Clips series with Daniel Fisher
Additional resources
Nektar How To Guides playlist
Nektar Impact LX+ Jam Videos
When you need help, Sweetwater has the answers!
Our knowledge base contains over 28,000 expertly written tech articles that will give you answers and help you get the most out of your gear. Our pro musicians and gear experts update content daily to keep you informed and on your way. Best of all, it’s totally FREE, and it’s just another reason that you get more at Sweetwater.com.


Offer applies only to single-receipt qualifying purchases. Select manufacturers may require that only the manufacturer’s products qualify towards the minimum purchase amount needed to be eligible for promotional financing. Otherwise, an invoice that meets the minimum purchase amount and contains at least one qualifying manufacturer product is eligible for promotional financing. No interest will be charged on promo purchase balance, and equal monthly payments are required on promo purchase until it is paid in full. The payments equal the amount financed divided by the number of months in the promo period, rounded up to the next whole dollar. These payments may be higher than the payments that would be required if this purchase was a non-promo purchase. During the last month(s) of the promo period the required monthly payment may be reduced due to the prior months’ rounding. Regular account terms apply to non-promo purchases. New Accounts as of 07/31/2025: Purchase APR is 34.99%. Penalty APR is 39.99%. Min Interest Charge is $2. Existing cardholders: See your credit card agreement terms. Subject to credit approval.
Offer applies only to single-receipt qualifying purchases. No interest will be charged on the promo balance if you pay it off, in full, within the promo period. If you do not, interest will be charged on the promo balance from the purchase date. The required minimum monthly payments may or may not pay off the promo balance before the end of the promo period, depending on purchase amount, promo length and payment allocation. Regular account terms apply to non-promo purchases and, after promo period ends, to the promo balance. New Accounts as of 07/31/2025: Purchase APR is 34.99%. Penalty APR is 39.99%. Min Interest Charge is $2. Existing cardholders: See your credit card agreement terms. Subject to credit approval.
The estimated required monthly payment shown which excludes taxes and delivery equals the amount financed divided by the number of months in the promo period, rounded up to the next cent. During the last month(s) of the promo period the required monthly payment may be reduced due to this rounding. These payments apply only with the financing offer shown. If you make these payments by the due date each month, you should pay off this amount financed within the promo period, if it is the only balance you are paying off. If you have other balances on your account, this payment will be added to any other minimum monthly payments.
Applies only to select items from this manufacturer. Ask your Sweetwater Sales Engineer for more details.