

M-Audio AIR 192 Series Setup Guide
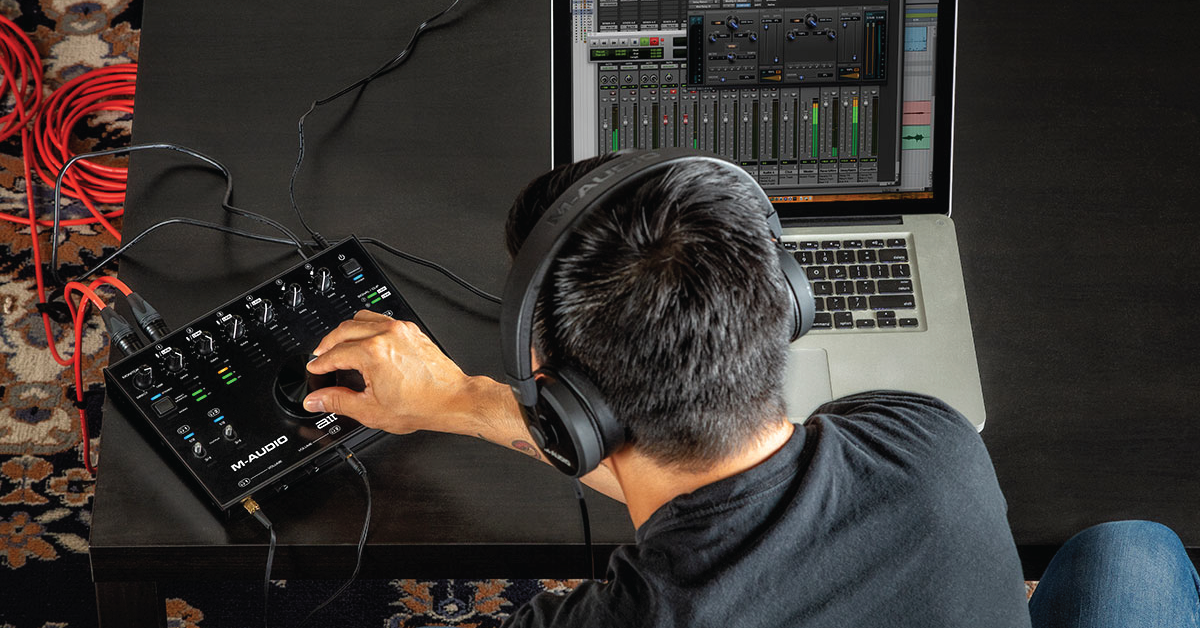
Getting started with an M-Audio AIR 192 interface
In this guide, we will show you how to register, set up, and connect an M-Audio AIR 192 series interface for the first time. Follow the sections below to get started.
- Register the interface
- Download and install the drivers (PC only)
- Setup and connections
- Update computer sound settings
Register the interface
Before you get everything connected, the first thing you’ll want to do is to register the interface with M-Audio. Upon registration, you’ll receive Ableton Live Lite, and more! Keep your Sweetwater invoice handy, as you’ll need it to enter your date of purchase.
- Log in to your M-Audio account. If you don’t have an account yet, you can create one here.
- Once signed in, click Register Product.
- Fill out the required information, including the serial number and the date of purchase located on your Sweetwater invoice, then click Register My Product.
- After registration is complete, all of your software and their respective activation numbers will appear in your account.
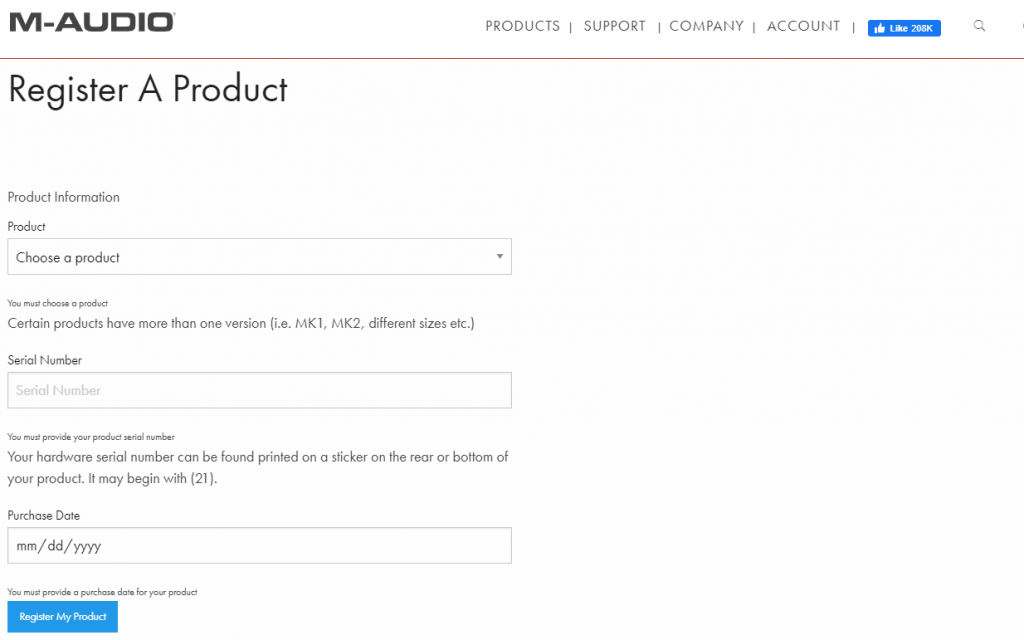
Click the image to register your M-Audio AIR 192 Series interface.
Download and install the drivers (PC only)
Once the interface is registered, the next step is to download the driver software. The M-Audio AIR 192 series interfaces are class-compliant on Mac, so no additional driver software is necessary. If you are using a Mac, skip this section and continue to Setup and Connections.
- Go to the M-Audio driver download page, locate your AIR 192 product, then download the latest driver available for your version of Windows.
- Navigate to your Downloads folder, double-click the installer .exe then follow the on-screen instructions.
- To ensure the driver installed correctly, connect your interface only when prompted during the installation process.
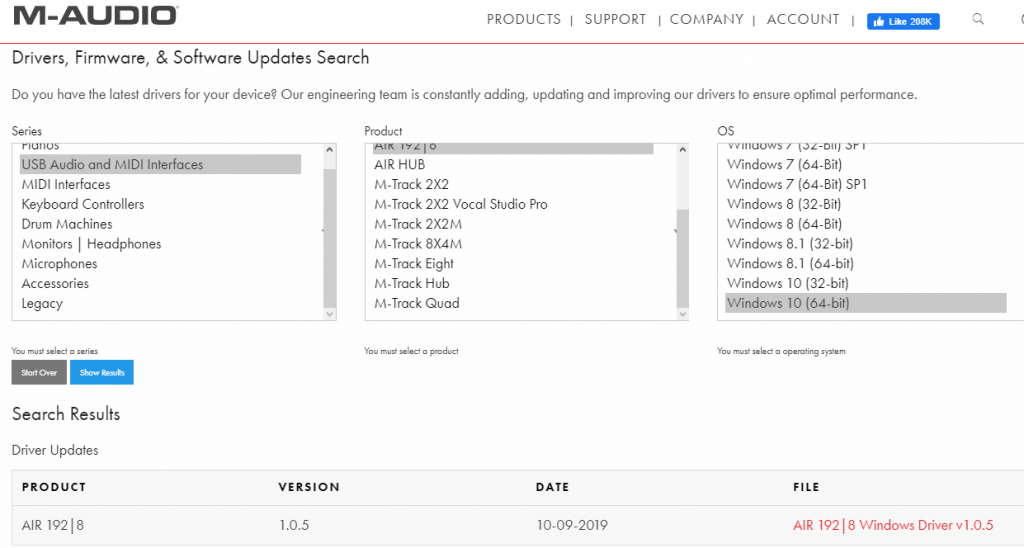
Click the image to download the driver for your M-Audio 192 Series interface.
Setup and connections
Once everything is set up, you can update your computer’s sound settings and get everything connected. All you need to do is connect the interface to an available USB 2.0 (or higher) port, power it on then connect your gear. Depending on your application, you may want to consider adjusting a few settings.
Except for the M-Audio AIR 192|14, all of the interfaces in the AIR 192 line are bus-powered, which means no additional power supply is required. We recommend connecting your bus-powered AIR 192 series interface directly to your computer, and not to a hub, as USB hubs may not provide enough power. This is especially true for those that do not have their own power supply (aka passive hubs).
MIDI ports
IMPORTANT: The 192|8 and 192|14 interfaces have ⅛-inch MIDI ports, but come with ⅛-inch to 5-pin MIDI adapters. Do not connect any devices (i.e., mobile devices, headphones, speakers) to these jacks. Only use the included adapters to connect MIDI devices.
Most M-Audio 192 series interfaces have built-in MIDI ports that can connect with any MIDI device. Some MIDI devices require a USB connection, so using the MIDI ports are handy if your MIDI device has 5-pin MIDI ports; you’ll also save a USB port for another device. If you’re having issues connecting your MIDI device, be sure to check out our guide on how to resolve MIDI device issues on PC and Mac.
Is your interface not being recognized?
If your computer isn’t detecting your M-Audio interface, disconnect then reconnect it. If the problem persists, try using a different USB port on your computer, or a different USB cable. Also, be sure to visit our Windows and Mac guides for more tips on resolving audio interface issues.
Update computer sound settings
After everything has been set up and connected, the last thing you’ll need to do is update your computer’s sound settings. For most apps that aren’t DAWs, this is done from Sound Settings (Windows) or Sound Preferences (Mac).
DAWs like Pro Tools, Cubase, Studio One, etc. have their own sound settings for selecting an audio device. When using your interface with a DAW, choose your M-Audio interface from the Playback Engine or Audio Settings window within your DAW. Follow these steps to select the AIR 192 series interface as your computer’s audio playback device.
Windows
- Right-click the sound icon on the Windows taskbar, then select Open Sound Settings.
- Use the dropdown boxes in the Input and Output sections to select the interface as the default input and output device.
- While in the Sound Settings menu, we highly recommend disabling Exclusive Mode to ensure the best performance possible. Check out our guide to learn how to disable Exclusive Mode.
macOS
- From the Menu Bar, click the Apple icon and select System Preferences.
- Click Sound.
- Under the Input and Output tabs, select your audio device.
Related content
Learn more about how to optimize your Windows 10 computer for audio recording.
Learn More
Learn more about how to optimize your Mac computer for audio recording.
Learn More
Learn more about effective file management for music production.
Learn More
Learn more about computer updates for music production.
Learn MoreWhen you need help, Sweetwater has the answers!
Our knowledge base contains over 28,000 expertly written tech articles that will give you answers and help you get the most out of your gear. Our pro musicians and gear experts update content daily to keep you informed and on your way. Best of all, it’s totally FREE, and it’s just another reason that you get more at Sweetwater.com.

