
How do I get Windows to recognize my external hard drive?
How do I get Windows to recognize my external hard drive?
In this guide, we will show you how to get Windows to recognize your external hard drive. There may be a time where a new hard drive doesn’t show up, or an existing hard drive gives you errors, so follow the sections below to get your external hard drive up and running.
- Windows external hard drive connectivity
- Driver updates and installation
- Partition and format external hard drives
Windows external hard drive connectivity
When it comes to getting Windows to recognize your external hard drive, the first thing to do is check if the hard drive is compatible with your system, if power settings are correctly adjusted, and if it’s connected to a USB hub.
Compatibility
While almost all external hard drives are compatible with PCs nowadays, there may be a few that aren’t if you don’t have the correct ports on your computer, or if your OS is out-of-date. Be sure to check your PC’s specs and compare them to those listed on the manufacturer’s website.
Shop All External Hard Drives 💾
Power and connections
This should go without saying, but before we move on, make sure that everything is powered on and connected properly. Loose power supplies or USB connections are a common reason why an external hard drive doesn’t work properly. Once you’ve confirmed everything is connected correctly, it’s time to install or update the drivers.
Connecting to USB hubs
USB hubs solve the issue of not having enough ports, as it connects multiple devices to one. While convenient, they can prevent your hard drive from properly communicating with your computer, which is especially true for passive hubs.
Larger external hard drives typically have dedicated power supplies, but smaller, travel-sized hard drives are commonly bus-powered. That means it will receive power directly from the computer when you turn it on. If you connect your external hard drive and it draws more power than your USB hub can provide, you may experience connectivity dropouts or no connectivity whatsoever.
This is why you should always connect your external hard drive directly to your computer and use USB hubs for other external peripherals such as iLoks, eLicensers, and USB flash drives. If you don’t have an available USB port, reconfigure your computer connections so you can connect it directly.
External hard drive power settings
Windows has settings to make your PC as efficient as possible without sacrificing performance, including Sleep and Selective Suspend. These two options are similar in that both deal with the power of your hard drive. If these settings are set too low or enabled, you may run into connectivity issues. Learn more about how to change these options in our PC Optimization Guide for Windows 10!
Learn more about how to adjust the power options for your Windows 10 computer.
Driver updates and installation
Having up-to-date drivers is very important for Windows to recognize your external hard drive. If the secondary drive comes with its own driver software, you can download and install them from the manufacturer’s website. If the hard drive doesn’t come with its own driver software, Windows will typically automatically install it (class-compliant) and you will configure everything from the Device Manager window.
Download driver from the manufacturer
- Go to the manufacturer’s driver download page and locate the latest driver download for your hard drive.
- Navigate to your Downloads folder, right-click the installer .exe file, then select Run as administrator.
- Follow the on-screen instructions. Once the installation is complete, restart your computer.
Update or reinstall driver through Device Manager
If you’ve checked the manufacturer’s website and it doesn’t have its own driver software, you’ll reinstall and update your external hard drive in Device Manager. External hard drives will usually be listed within Disk drives or Universal Serial Bus controllers (will be listed as USB Mass Storage Device.)
- Right-click the Windows icon on the toolbar, then click Device Manager.
- Expand Disk drives, and locate your hard drive. If your hard drive isn’t listed there, expand Universal Serial Bus controllers.
- Right-click your hard drive, then select Update driver.
- Click Search automatically for updated driver software, then follow the on-screen instructions.
- To reinstall a driver, right-click your hard drive, then select Uninstall device. Once uninstalled, restart your computer.
Yellow caution sign
If your hard drive has a yellow caution sign in Device Manager, the first thing you’ll want to do is connect it to a different USB port and use a different USB cable. If that doesn’t work, there could be a driver conflict or that multiple drivers have been installed.
- Show hidden devices by navigating to View then selecting Show hidden devices. This will show every instance of the driver that has been installed.
- Navigate to Disk drives, and use the drop-down to expand the full list.
- If you don’t see the hard drive within Disk drives, check Universal Serial Bus controllers.
- Right-click all instances of your hard drive (including the ones which are greyed out) and select Uninstall Device.
- You will need to uninstall each instance one at a time.
- Reboot your computer, then go back to Device Manager to confirm that the issue has been resolved.
Unknown Device
If your hard drive isn’t listed, and you see Unknown Device, this often means that Windows didn’t install the driver, or it was installed incorrectly. Depending on the error code, the steps are different.
To see what the error code is, right-click Unknown Device, then select Properties. The error code will display in the General tab. For a comprehensive list of error codes, what they mean, and how to fix them, check out Microsoft’s article on Error codes in Device Manager.
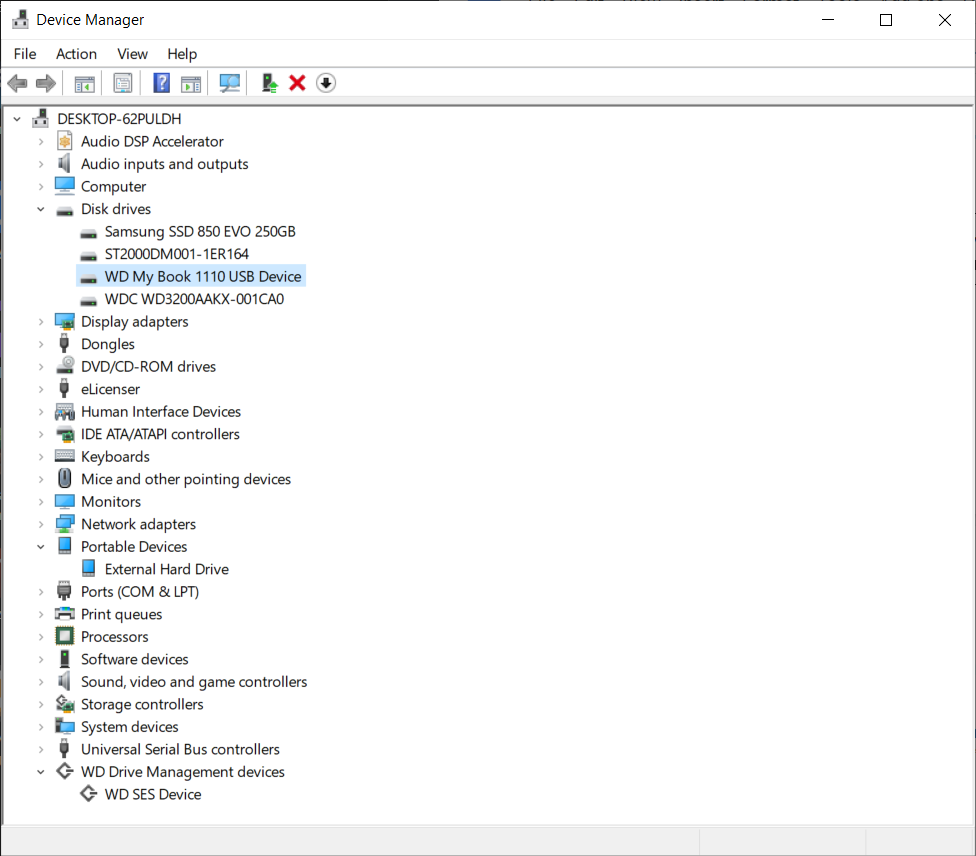
Windows Device Manager.
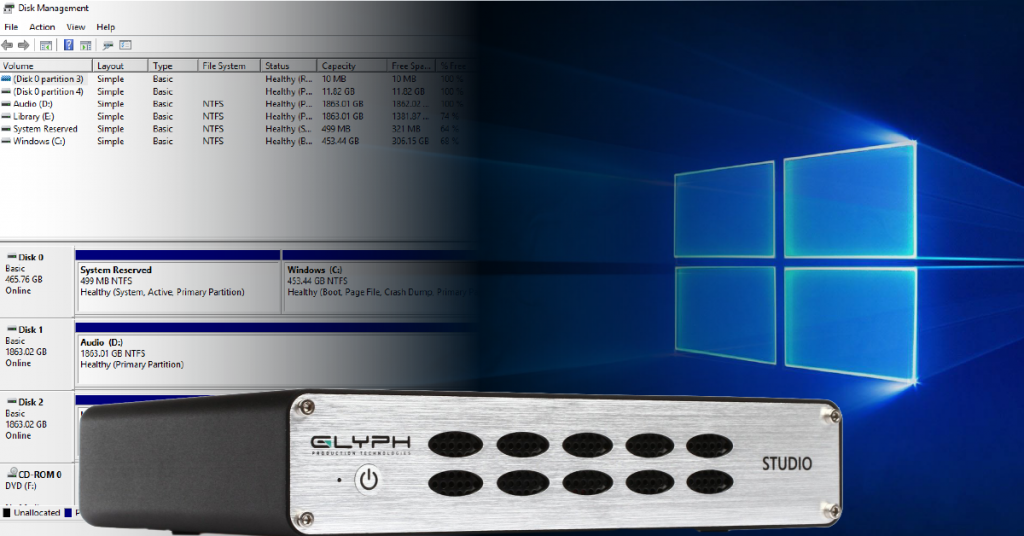
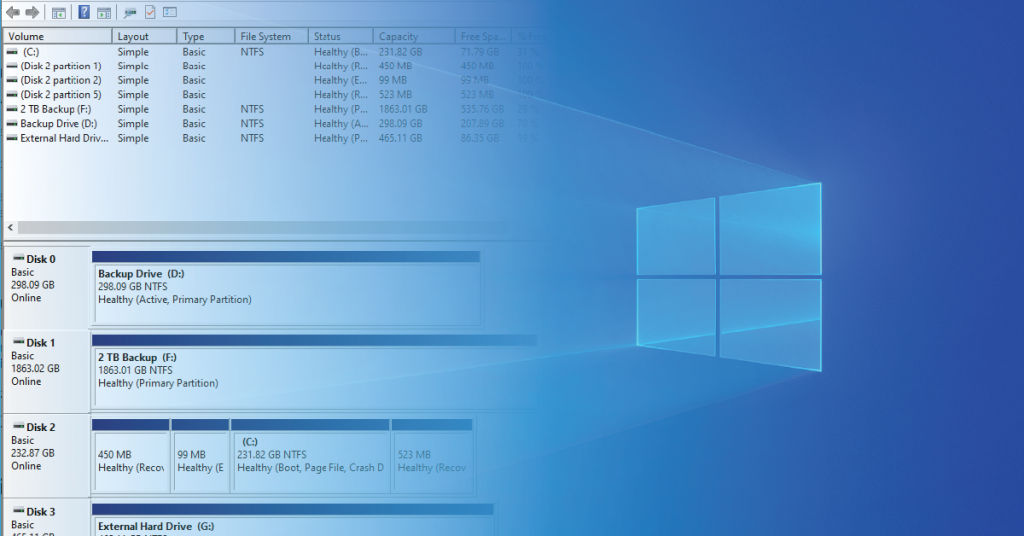
Partition and format external hard drives
IMPORTANT: When formatting an external hard drive, you’ll need to make sure that it’s assigned a drive letter that is different from those currently in use and that it’s formatted to the correct file system.
After you’ve successfully installed the drivers for your external hard drive, you’ll need to create a partition and format the hard drive using Disk Management. If the hard drive isn’t formatted or doesn’t have a partition, then your computer won’t recognize it as a storage device, and you won’t be able to store anything on it. It’s a common mistake one can run into, but it’s a straightforward process.
- Go to Disk Management, right-click the external hard drive you need to format and click Initialize Disk.
- Select the partition layout:
- GPT for hard drives with a capacity larger than 2 TB.
- MBR for hard drives with a capacity of less than 2 TB.
- Right-click the space that says Unallocated, select New Simple Volume…, and then follow the on-screen prompts.
- Select the Format, Volume Label (drive name), and partition size, and then click Next.
- Select the drive letter using the dropdown box, and then click Finish.
- Be sure that the drive letter is different from hard drives currently in use.
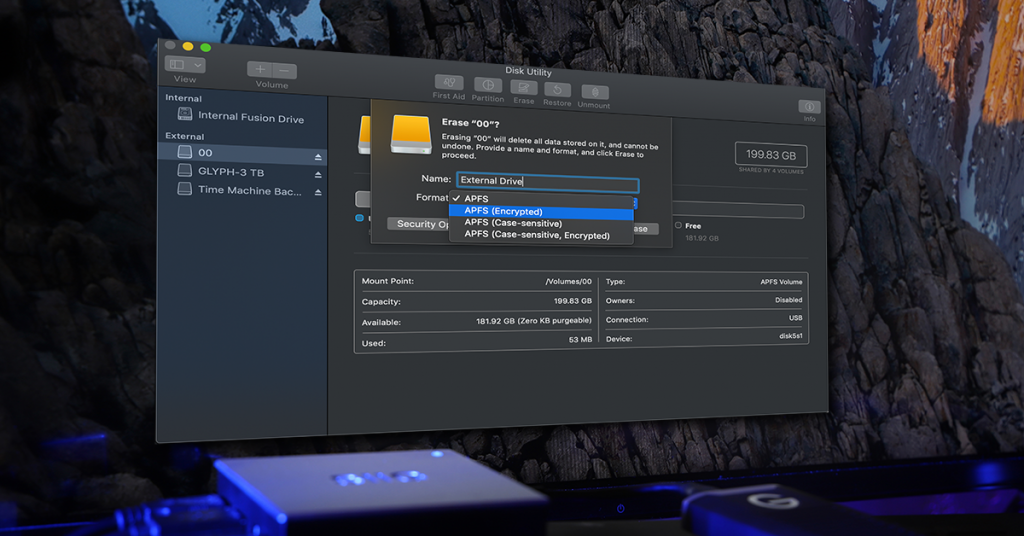
Learn more about how to create partitions on PC and Mac.
Learn more about how to format a hard drive on Windows 10.
Related content
Learn more about how to use Windows 10 Disk Management.
Learn more about hard drive file systems and why they matter.
Learn more about how to safely eject an external hard drive.
Learn more about file management for music production.
When you need help, Sweetwater has the answers!
Our knowledge base contains over 28,000 expertly written tech articles that will give you answers and help you get the most out of your gear. Our pro musicians and gear experts update content daily to keep you informed and on your way. Best of all, it’s totally FREE, and it’s just another reason that you get more at Sweetwater.com.

