
Behringer WING User Layers and Custom Mixing
Getting started
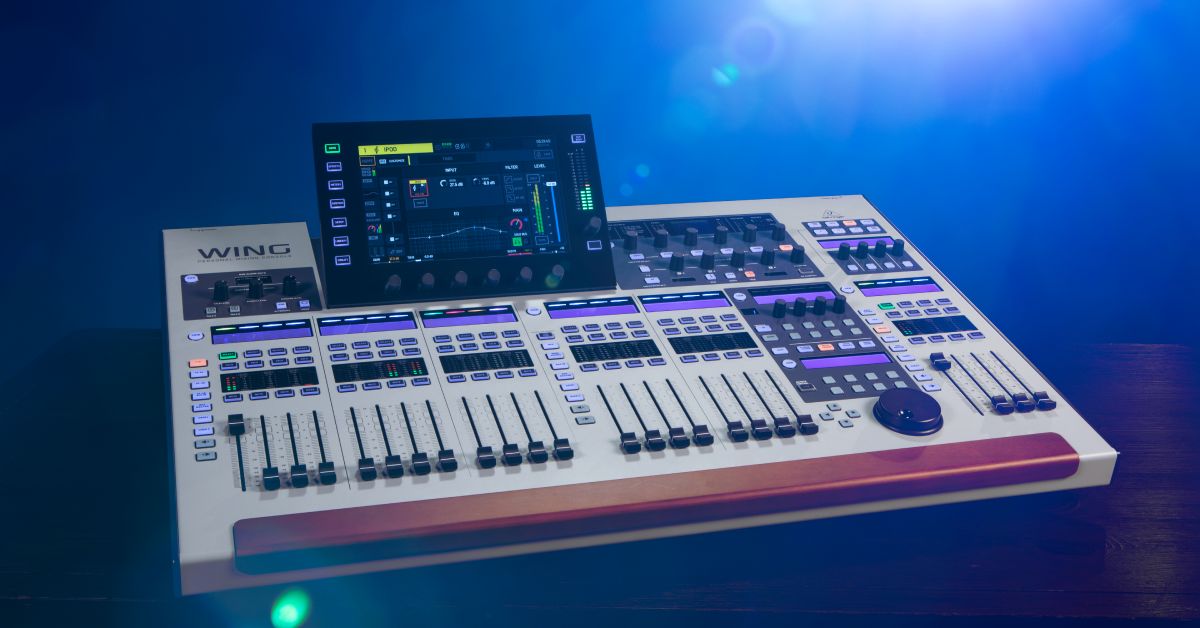
In this guide, we will show you how to use the Behringer WING’s User layers. This information also applies to the WING Black, WING Compact, and WING Rack. You’ll learn a few different ways to help create an optimal fader configuration for your setup. If you haven’t done so yet, follow our WING Setup, Connections, and Routing and WING Source and Channel Setup to get set up. Follow each of the sections below to get started.
- Sources, Channels, and Layers
- Default Layers
- Custom User Layers
- Save and recall WING Snapshots
- Behringer WING Rack and WING Compact Tutorial Videos
Sources, Channels, and Layers
WING is a digital mixer that takes advantage of digital recall to make the sound engineer’s workflow faster, easier, and ultimately improve the sound quality. Traditional mixers have inputs, channels, busses, and outputs, and so does WING. What makes WING unique is how you interact with it to mix and route audio.
- Sources are points in the audio stream that can be ‘tapped’ so that a fader controls it. That can be an input source, channel, mix bus and more. Input Sources are the specific sources assigned to channels, usually a preamp or line level signal source.
- Channels are the WING’s onboard audio processing ‘strips’ and include several sections: input, filter, gate, EQ, compressor, insert, FX, bus sends, etc.
- Layers are the three sections of digitally recallable faders that can be used in their default modes or as customizable User configurations.
Fader Sections and Default Layers
The Left, Center, and Right fader banks each have several default Layer views optimized for general purpose. Press any Section’s View button to access its Layer settings. By default, each Layer button recalls its indicated faders, but each section also has two customizable User Layers. User Layers are best suited for configuring your custom mix layouts, but you can always repurpose each Section’s default Layers to do the same thing. We recommend using each section’s default layers to get started and then create custom User layers once you’re used to the interface.
- Press a fader section’s View button to access the Layers menu.
- While in the Layer’s menu, press the faders icon (top) to access the Layer settings.
Left Fader Section: Channels
The Left section faders and layers are optimized for channel control. Press the Channel and Aux In layer buttons to recall each bank of the WING’s 48 channels. Use these faders to control each channel’s level within the Main mix.
Center Fader Section: DCA and Bus Master
The Center section faders are optimal for controlling Bus and DCA levels.
- Press the SOF Flip button to make each layer’s faders control send levels respective to the selected channel.
- Select a Bus and channel faders will control the respective channel’s bus send level to that specific bus.
- Select a Channel and bus faders will control the channel’s bus send level to that respective bus.
Right Fader Section: Main and Matrix
The Right section faders are usually assigned to the Main mixes. Just like the other sections, each layer can be accessed and browsed with the layer and [< 4] and [4 >] bank buttons. This is particularly useful when two people are adjusting different settings at the same time.
Custom User Layers
Each fader bank also has two fully customizable User Layers. That means there are six configurable layers available per fader section to use however you like. For example, while mixing a live show, you can assign consecutive faders to completely different source signals. That means for the traditional vocalist and monitor mix you could assign four consecutive faders to control the main vocal level, monitor send level, monitor effects level, and monitor master level. Here’s what that looks like on WING:
| Channel | Source | Action |
| User 1: Channel 1 | Local input | Vocal level in Mains |
| User 1: Channel 2 | Channel 1 Bus 1 Send level | Vocal level in Monitor |
| User 1: Channel 3 | Channel 1 Bus 2 (FX) Send level | Vocal FX level in Monitor |
| User 1: Channel 4 | Matrix 1 (Bus 1 + Bus 2) | Monitor level |
You could just send one mix bus to an output for monitoring, but in the example above we sent two mix busses to a matrix bus just to demonstrate what’s possible. Repeat that configuration for each musician on the other faders and you’ll be able to create a unique mix layout optimized for your situation.
Save and recall WING Snapshots
You can save your WING settings as Snapshots. Accessible from the Library, Snapshots are saved configurations which can be recalled to program the entire console or just certain sections, like channels processing, layers, etc. That makes it easy to save mix and stage monitor settings for each performance. Saving your settings is always a good thing to do, but WING makes it easy to recall whatever you need whenever you need it.
- Press the Library button.
- Configure your Snapshot settings.
- Title and save your Snapshot.
Behringer WING Rack and WING Compact Tutorial Videos
Behringer provides these videos that cover the Behringer WING ecosystem.
Related Articles
When you need help, Sweetwater has the answers!
Our knowledge base contains over 28,000 expertly written tech articles that will give you answers and help you get the most out of your gear. Our pro musicians and gear experts update content daily to keep you informed and on your way. Best of all, it’s totally FREE, and it’s just another reason that you get more at Sweetwater.com.


Offer applies only to single-receipt qualifying purchases. Select manufacturers may require that only the manufacturer’s products qualify towards the minimum purchase amount needed to be eligible for promotional financing. Otherwise, an invoice that meets the minimum purchase amount and contains at least one qualifying manufacturer product is eligible for promotional financing. No interest will be charged on promo purchase balance, and equal monthly payments are required on promo purchase until it is paid in full. The payments equal the amount financed divided by the number of months in the promo period, rounded up to the next whole dollar. These payments may be higher than the payments that would be required if this purchase was a non-promo purchase. During the last month(s) of the promo period the required monthly payment may be reduced due to the prior months’ rounding. Regular account terms apply to non-promo purchases. New Accounts as of 07/31/2025: Purchase APR is 34.99%. Penalty APR is 39.99%. Min Interest Charge is $2. Existing cardholders: See your credit card agreement terms. Subject to credit approval.
Offer applies only to single-receipt qualifying purchases. No interest will be charged on the promo balance if you pay it off, in full, within the promo period. If you do not, interest will be charged on the promo balance from the purchase date. The required minimum monthly payments may or may not pay off the promo balance before the end of the promo period, depending on purchase amount, promo length and payment allocation. Regular account terms apply to non-promo purchases and, after promo period ends, to the promo balance. New Accounts as of 07/31/2025: Purchase APR is 34.99%. Penalty APR is 39.99%. Min Interest Charge is $2. Existing cardholders: See your credit card agreement terms. Subject to credit approval.
The estimated required monthly payment shown which excludes taxes and delivery equals the amount financed divided by the number of months in the promo period, rounded up to the next cent. During the last month(s) of the promo period the required monthly payment may be reduced due to this rounding. These payments apply only with the financing offer shown. If you make these payments by the due date each month, you should pay off this amount financed within the promo period, if it is the only balance you are paying off. If you have other balances on your account, this payment will be added to any other minimum monthly payments.
Applies only to select items from this manufacturer. Ask your Sweetwater Sales Engineer for more details.