Over the years, I’ve purchased, traded, sold, and repurchased a fair number of guitar pedals. As a home recordist who doesn’t gig, they’ve decorated my home studio but weren’t getting as much attention as they deserved. Several years ago, I stumbled onto some forum discussions about how people were maximizing their guitar pedals to process everything from virtual instruments to drums and vocals using a re-amp device. This presented me with a whole new way to enjoy my pedals. However, I never found the process completely efficient, and many times I would fall back on plug-ins for their ease of use.
Then, after falling down another gear-discussion rabbit hole, I came across the notion of building a guitar pedal patchbay. The argument in favor of such a method is that it makes pedals more easily accessible to use in both recording and mixing contexts. I was intrigued and decided to give it a shot. My experience has been a positive one. With a guitar pedal patchbay, I’m not only using my guitar pedals more, but I’m also using them in more interesting ways. So, if you’re like me — a home-studio nerd with a pile of pedals and the desire for an efficient setup — you might want to consider building your own guitar pedal patchbay. In this article, I’ll take you through my experience, including planning, installation, and applications. On top of that, I’ve provided options for the critical components you’ll need to make your guitar pedal patchbay a reality!
What You’ll Need
There are some crucial components required for building a guitar pedal patchbay. Of course, you’ll need a rack to put it all in, and you can anticipate using about 3U of rack space. On top of that, you’ll need a patchbay, a sliding rack shelf, enough cables and connectors for all of your pedals (DIY pedal cable kits are a great choice), and a pedal power supply. If you want to use your pedals for post-processing of tracks in your DAW, then make sure to pick up a re-amp device. I also recommend a dedicated multi-input DI box; though, if your audio interface has one or more instrument inputs, then you can use those, as well. Check out the lists below for some of the options available at Sweetwater.
1/4-inch TRS Patchbay

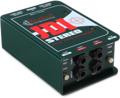
Behringer Ultrapatch Pro PX3000 48-point 1/4″ TRS Balanced Patchbay
Learn More
Neutrik NYS-SPP-L1 48-point 1/4″ TRS Balanced Patchbay
Learn More
dbx PB-48 48-point 1/4 inch TRS Balanced Patchbay
Learn More
Samson S-Patch Plus 48-point Balanced Patchbay
Learn More
- Behringer Ultrapatch Pro PX3000 48-point 1/4-inch TRS balanced patchbay
- Neutrik NYS-SPP-L1 48-point 1/4-inch TRS balanced patchbay
- dbx PB-48 48-point 1/4-inch TRS balanced patchbay
- Samson S-Patch Plus 48-point balanced patchbay
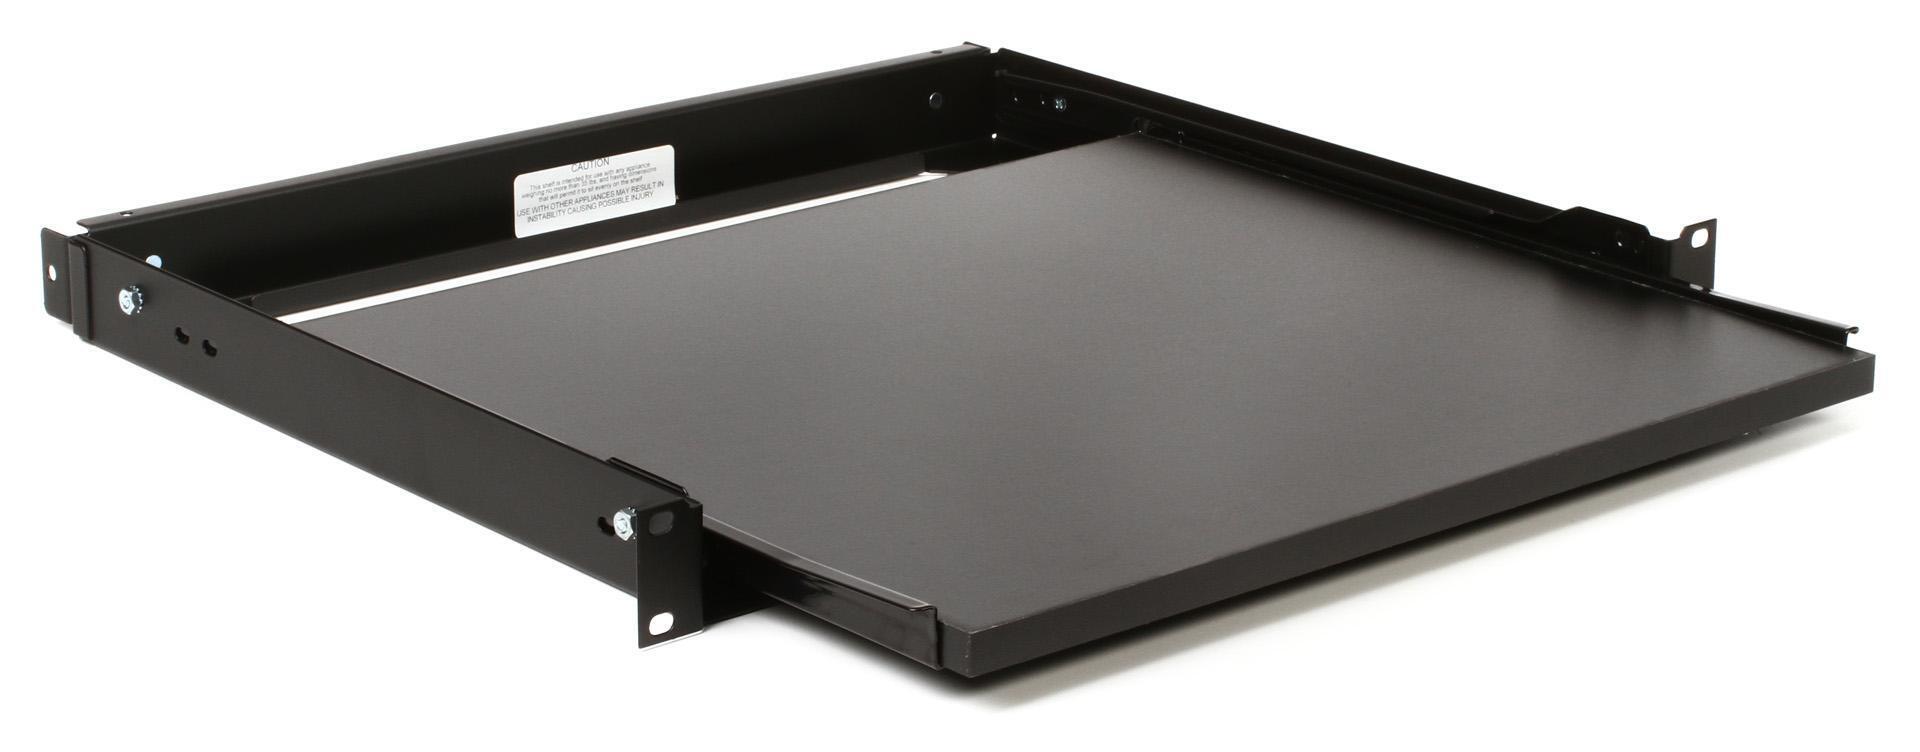
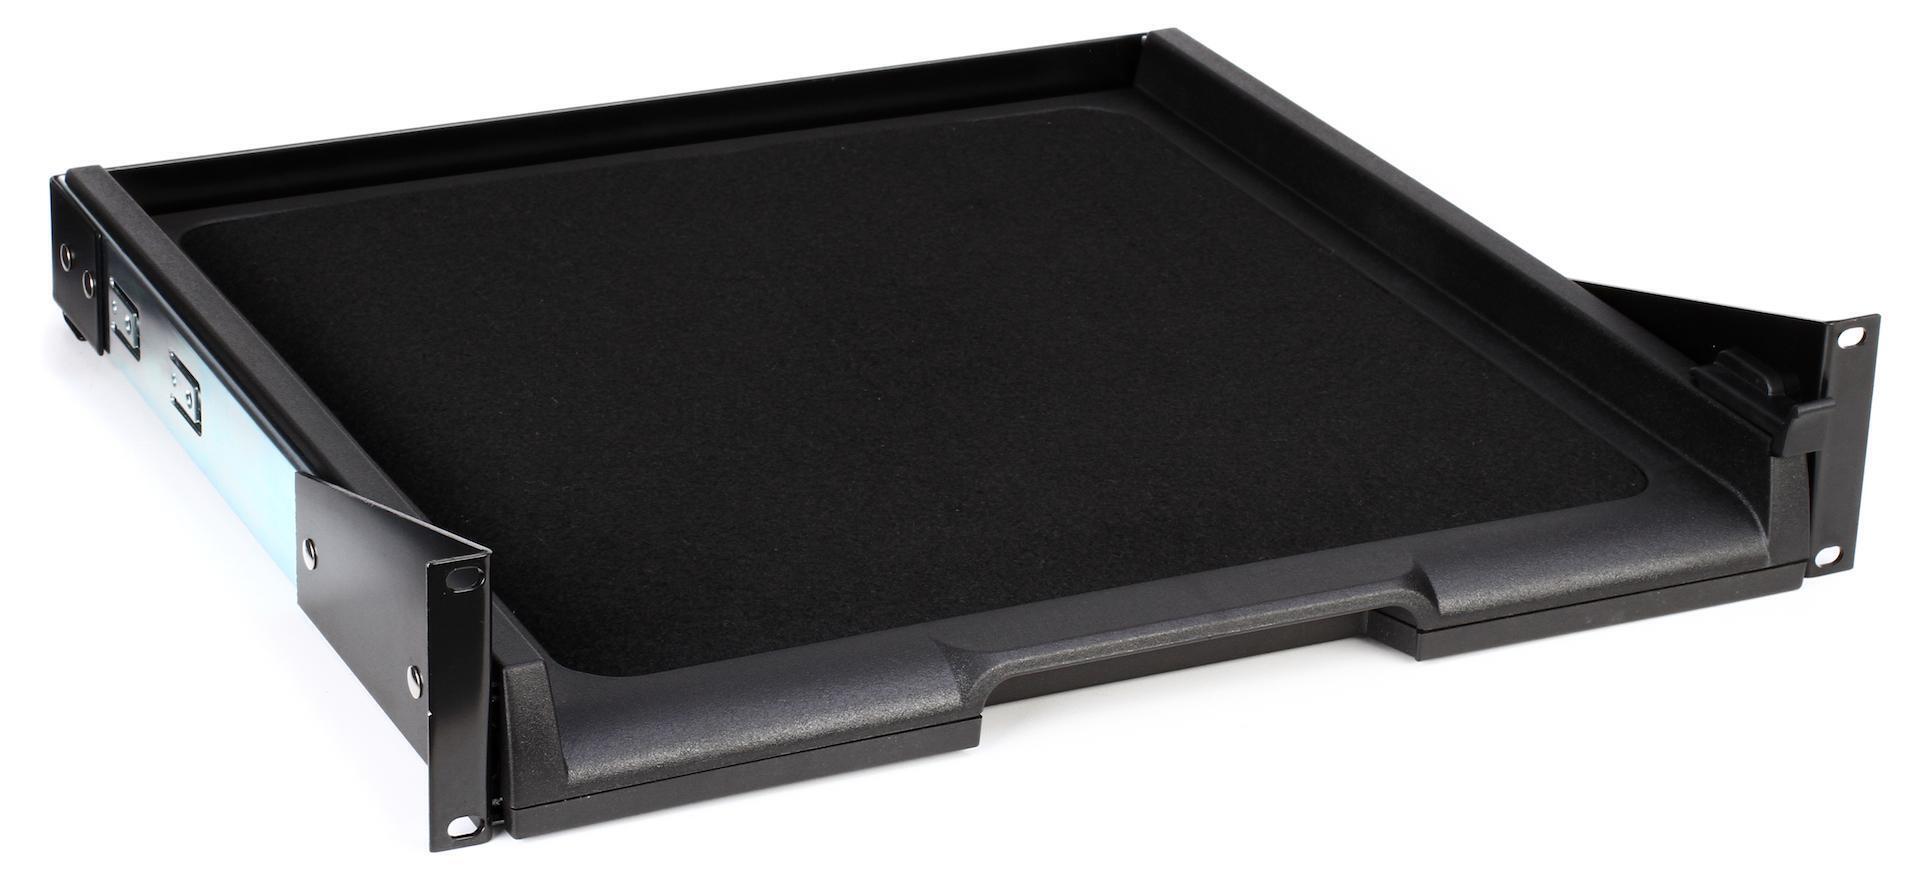
Sliding Rack Shelf
Middle Atlantic Products SSL 1U Sliding Rackshelf
Learn More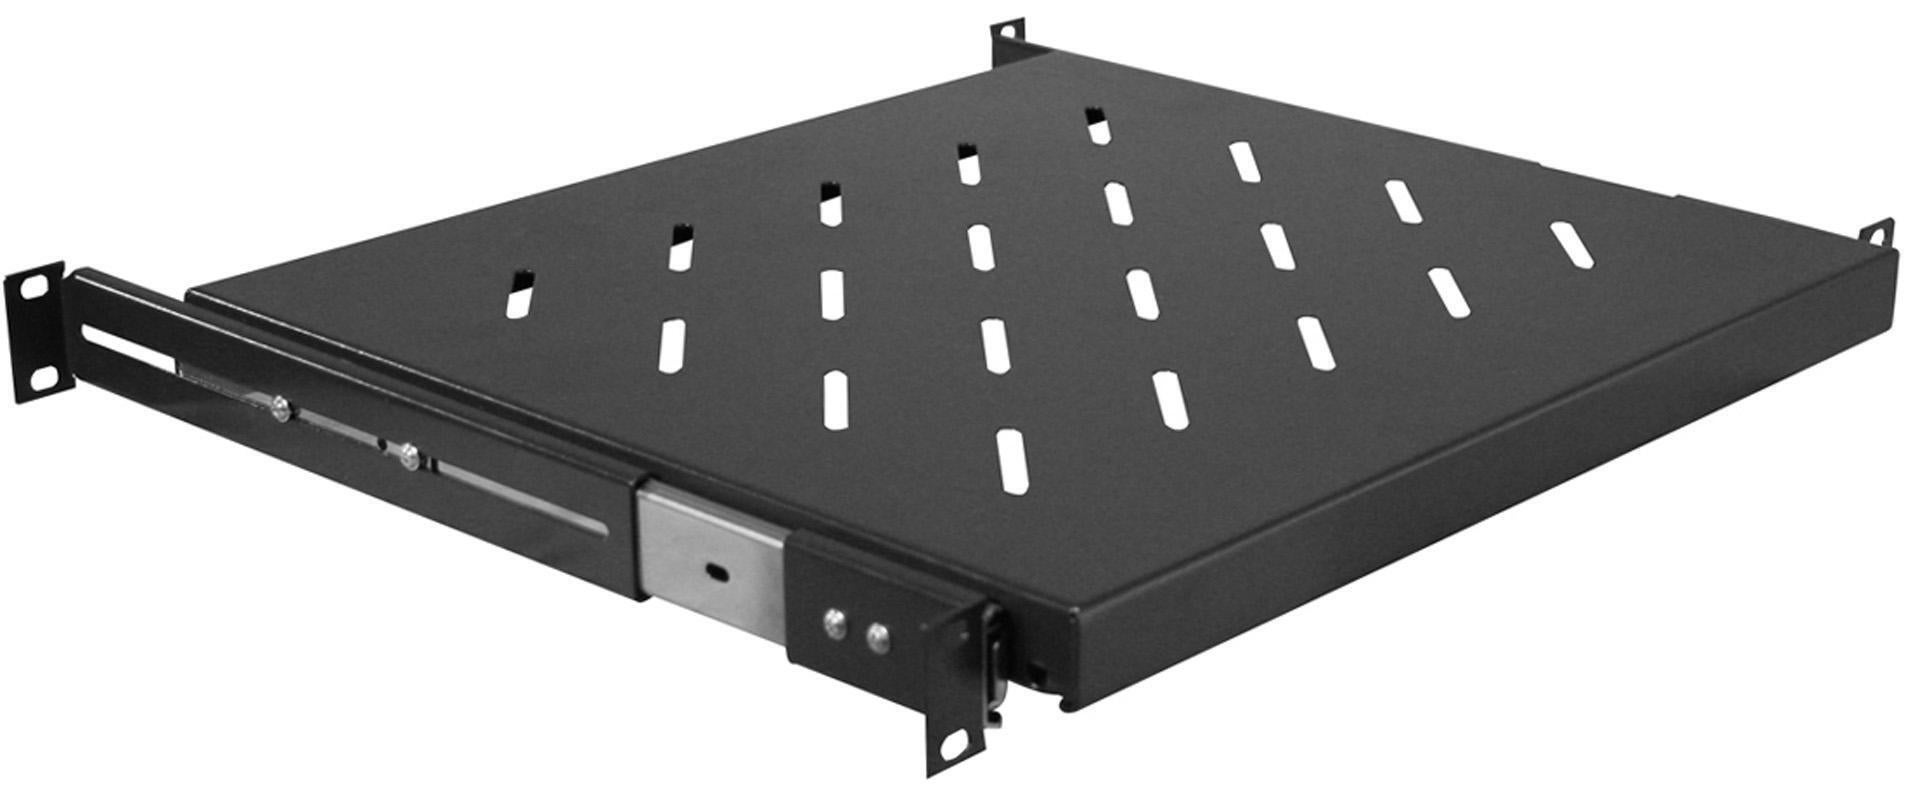
Gator GRW-SHELF1SLD 1U Sliding Rack Shelf
Learn More
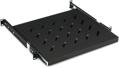
SKB 1SKB-VS-1 Sliding Rack Shelf
Learn More
- Middle Atlantic Products SSL 1U sliding rack shelf
- Gator GRW-SHELF1SLD 1U sliding rack shelf
- SKB 1SKB-VS-1 sliding rack shelf
Cables and Connectors
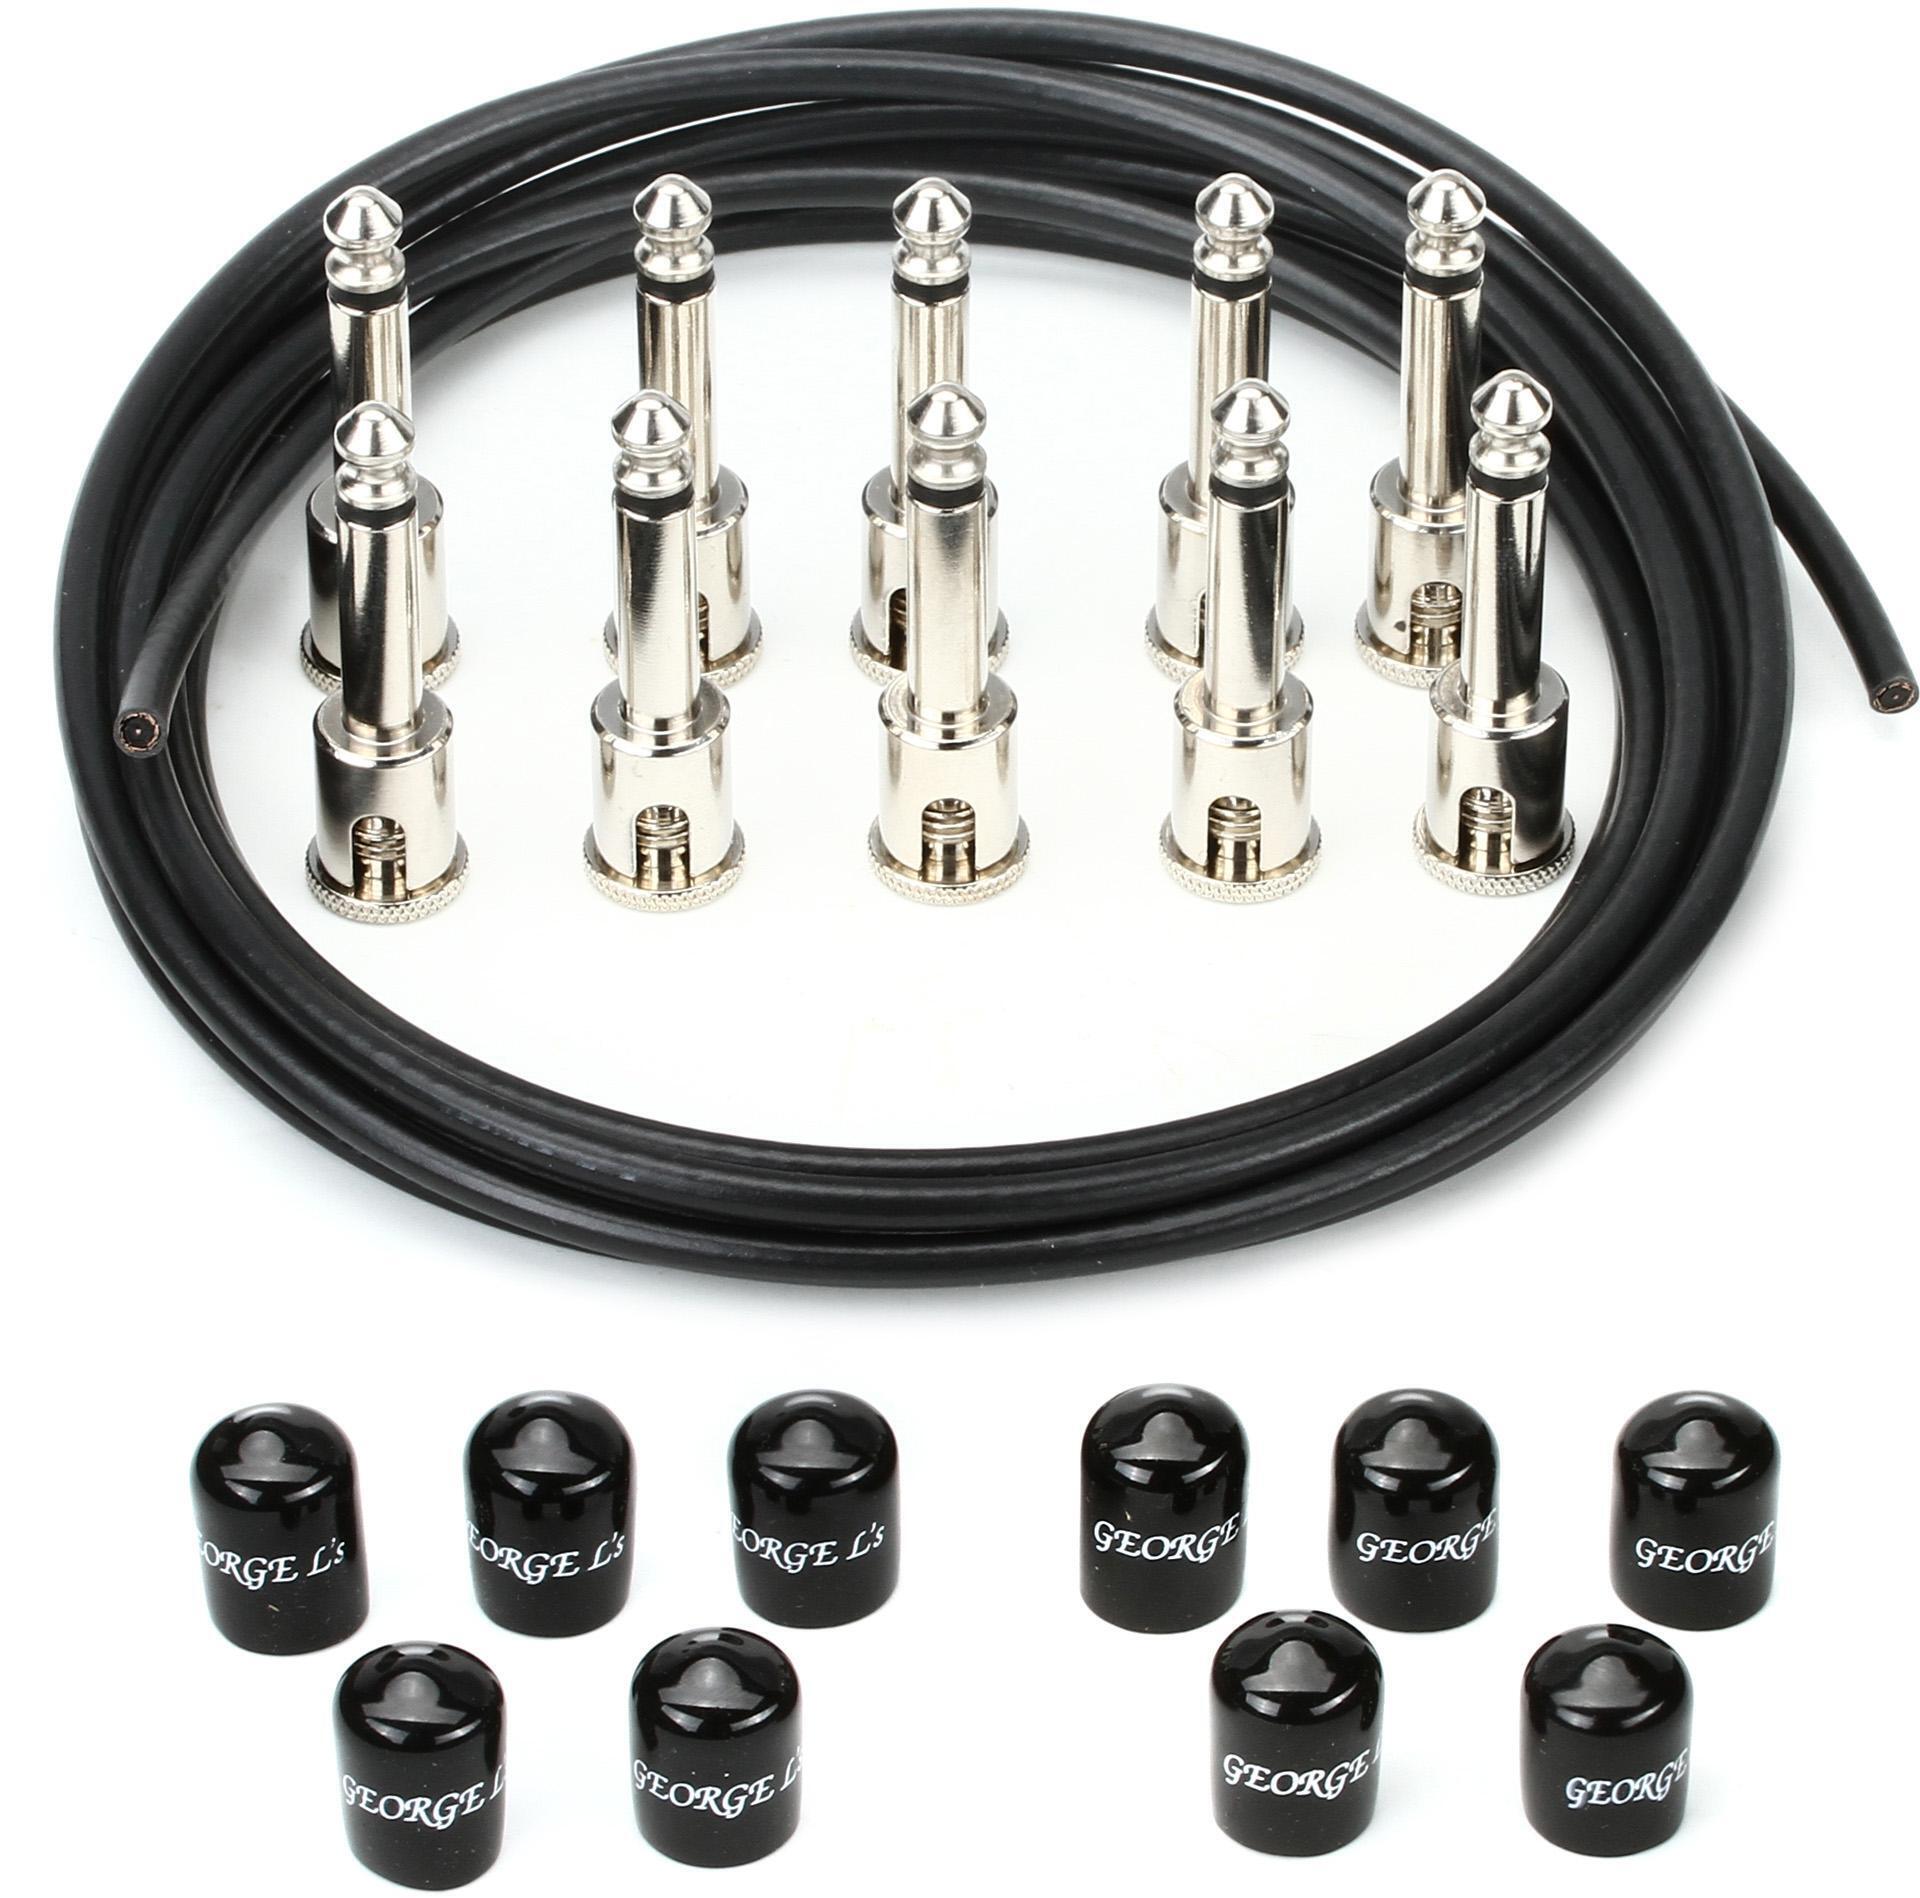
George Ls Effects Cable Kit – Black/Nkl
Learn More
Lava Cable Tightrope Pedalboard Cable Kit – 10 foot – Black
Learn More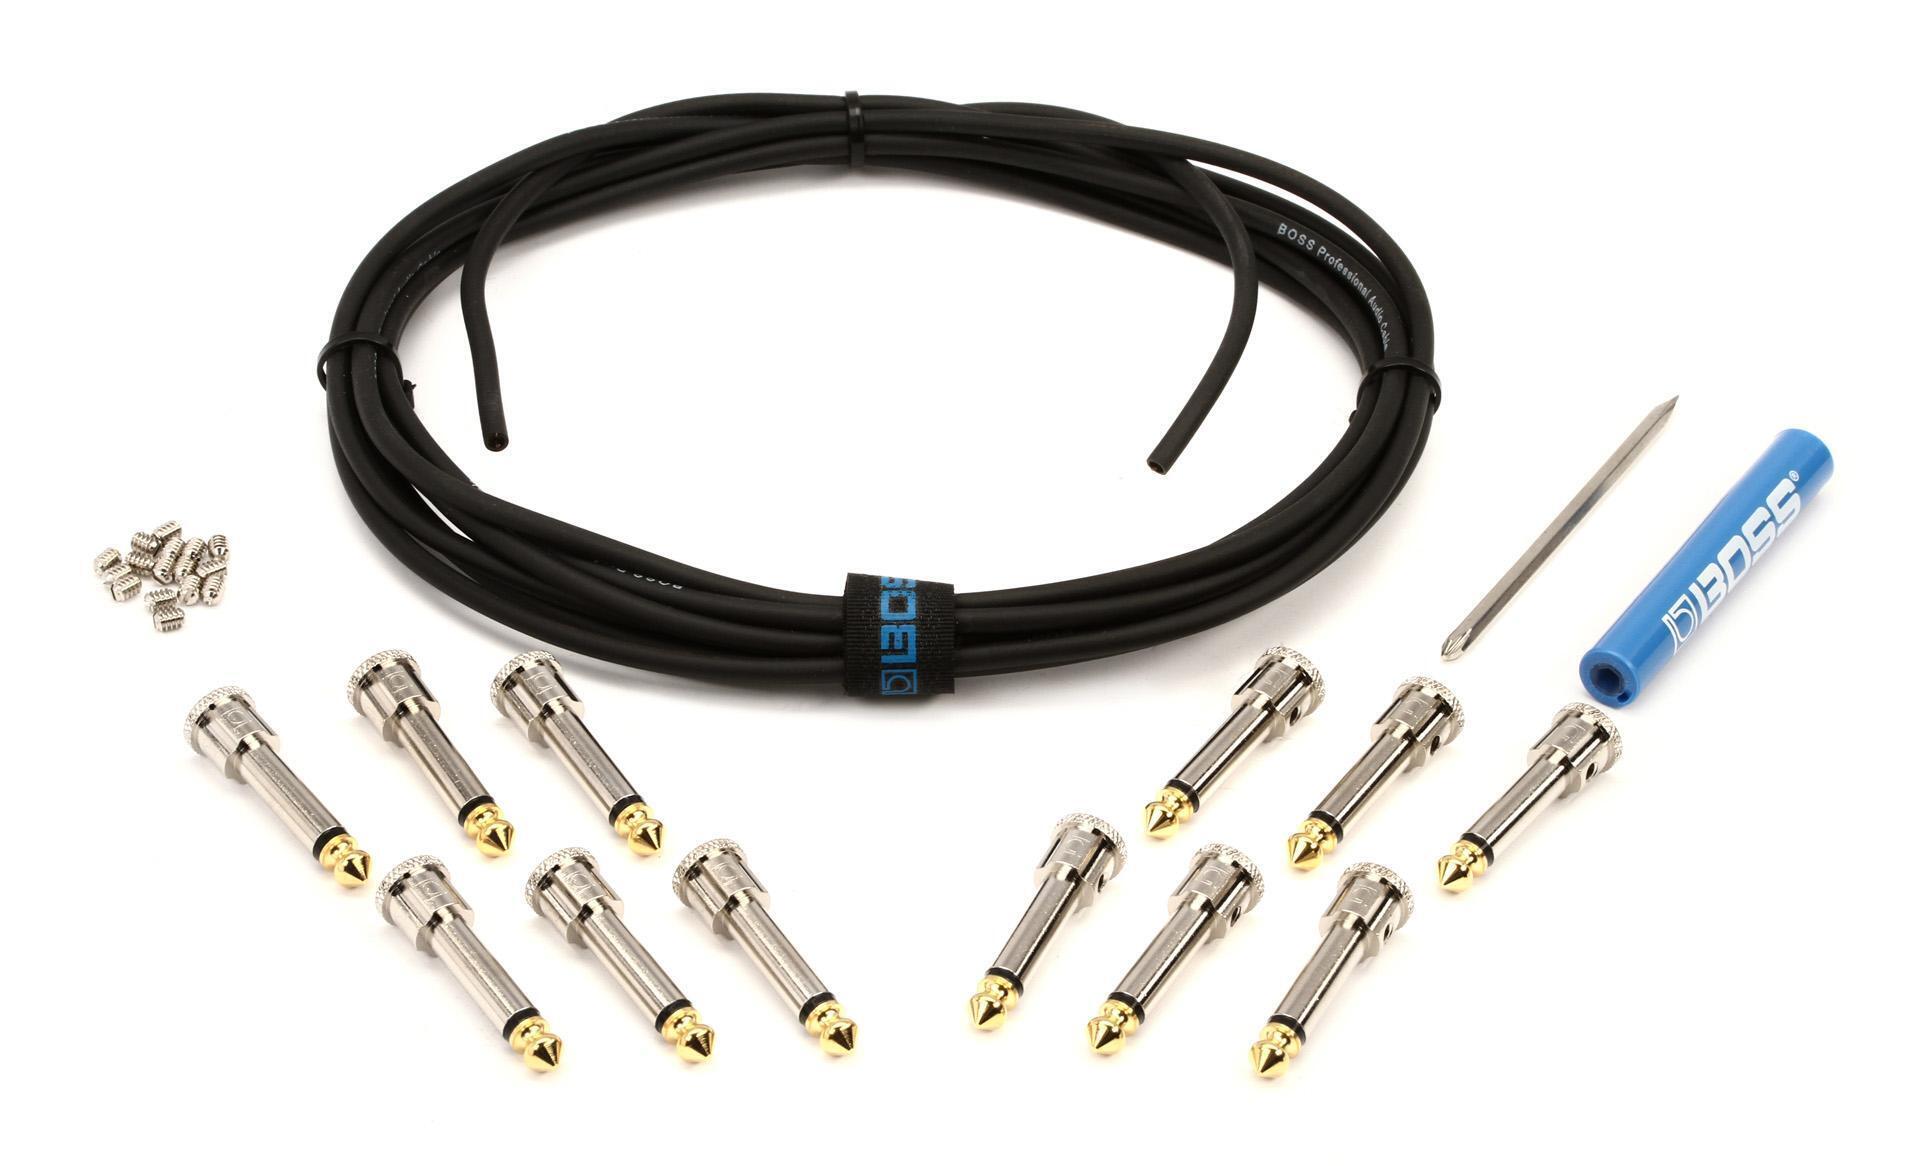
Boss BCK-12 Pedalboard Cable Kit – 12 foot – 12 Connectors
Learn More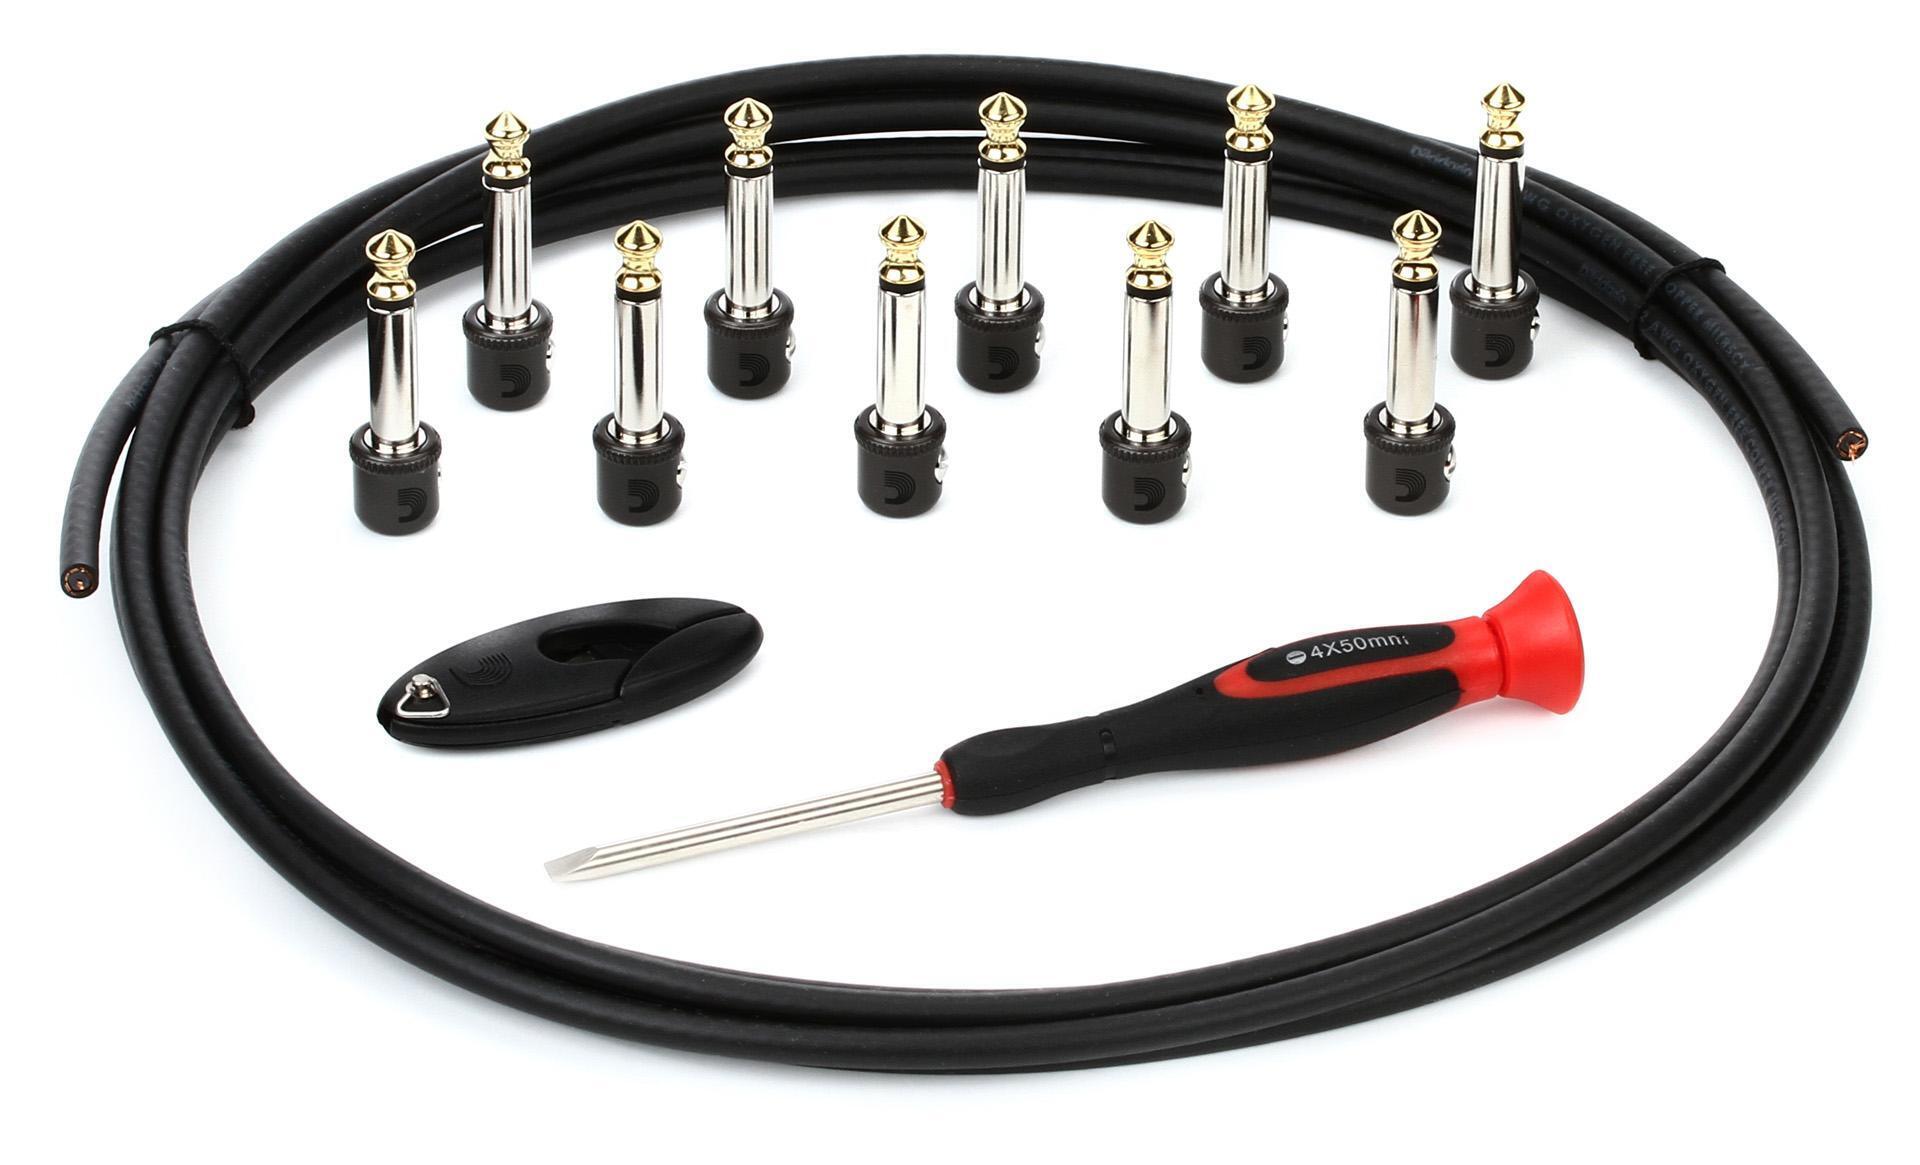
D’Addario Pedalboard Cable Kit – 10 foot – Mini Connectors
Learn More
- George L’s effects cable kit
- Lava Cable Tightrope pedalboard cable kit
- BOSS BCK-12 pedalboard cable kit
- D’Addario pedalboard cable kit
Re-amp Box

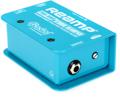
Radial ProRMP 1-channel Passive Re-Amping Device
Learn More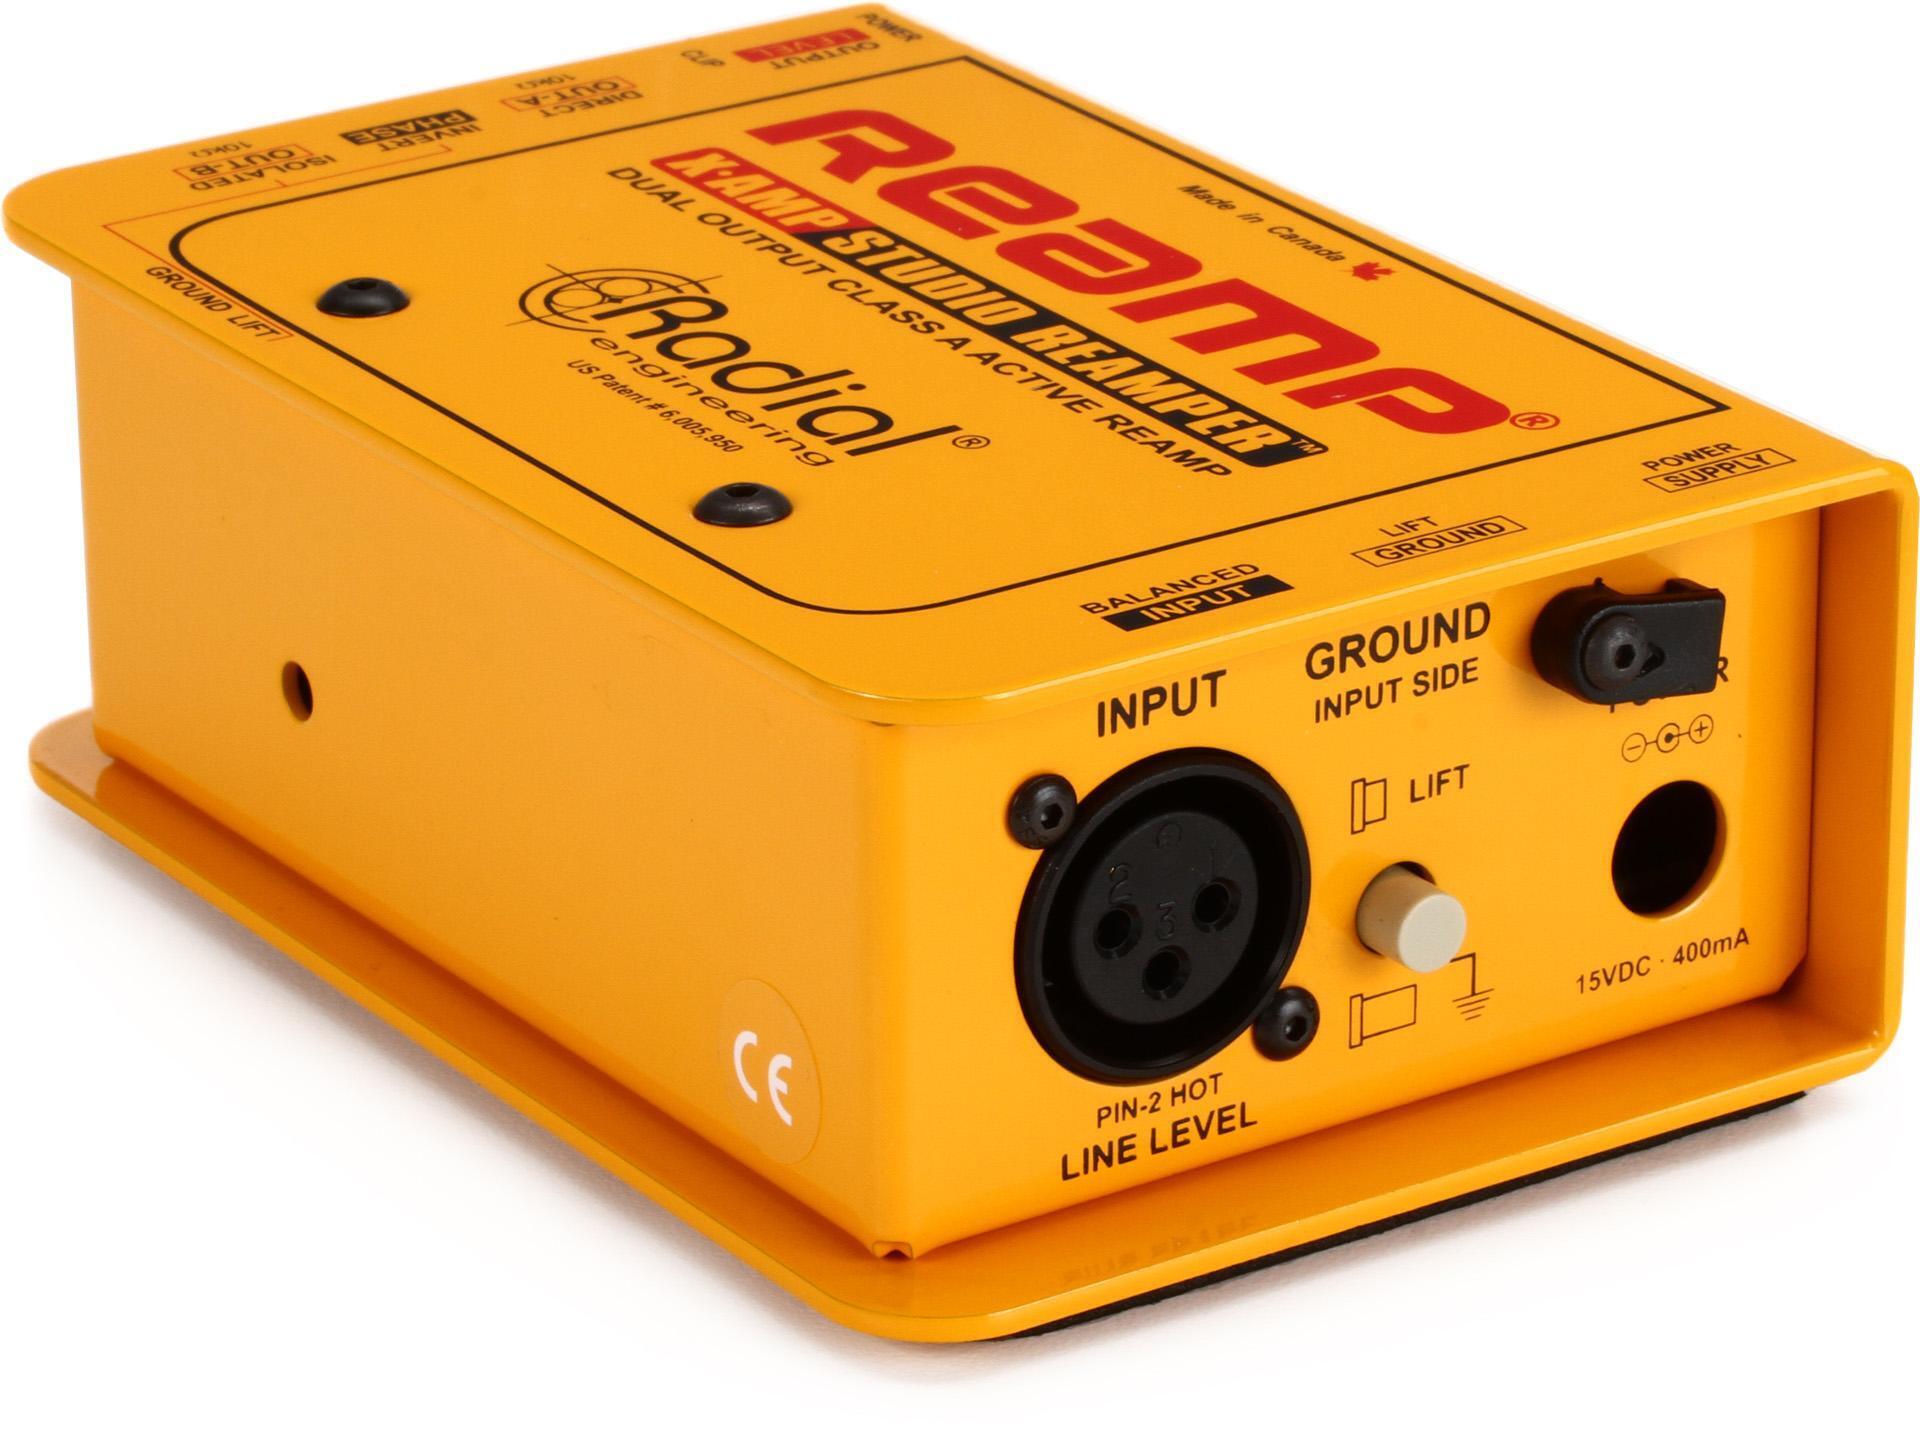
Radial X-Amp 1 In 2 Out Active Re-Amping Device
Learn More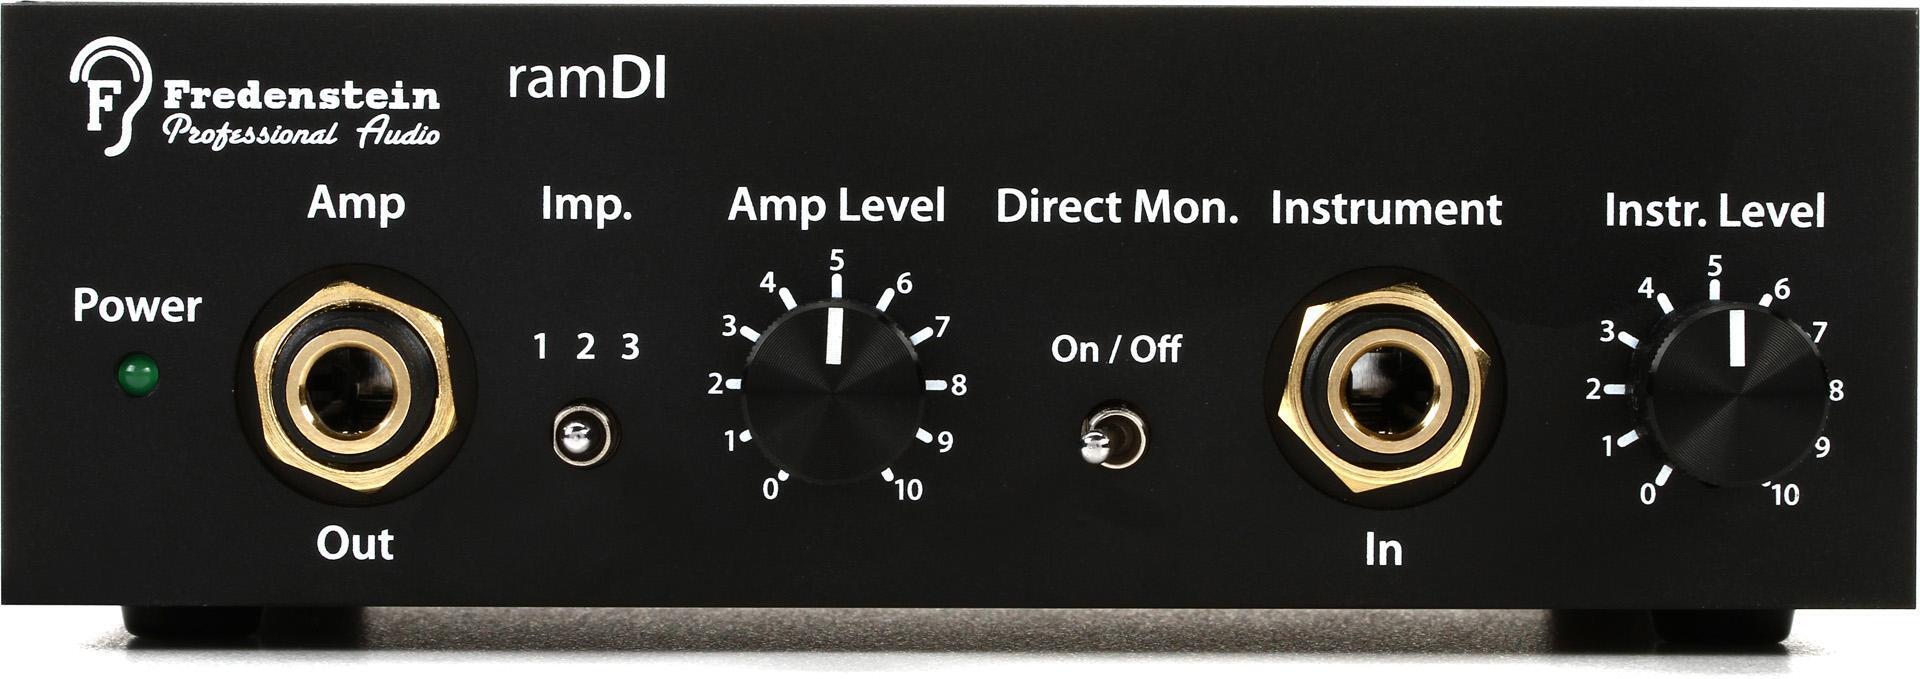
Fredenstein ramDI DI Box/Re-amp box
Learn More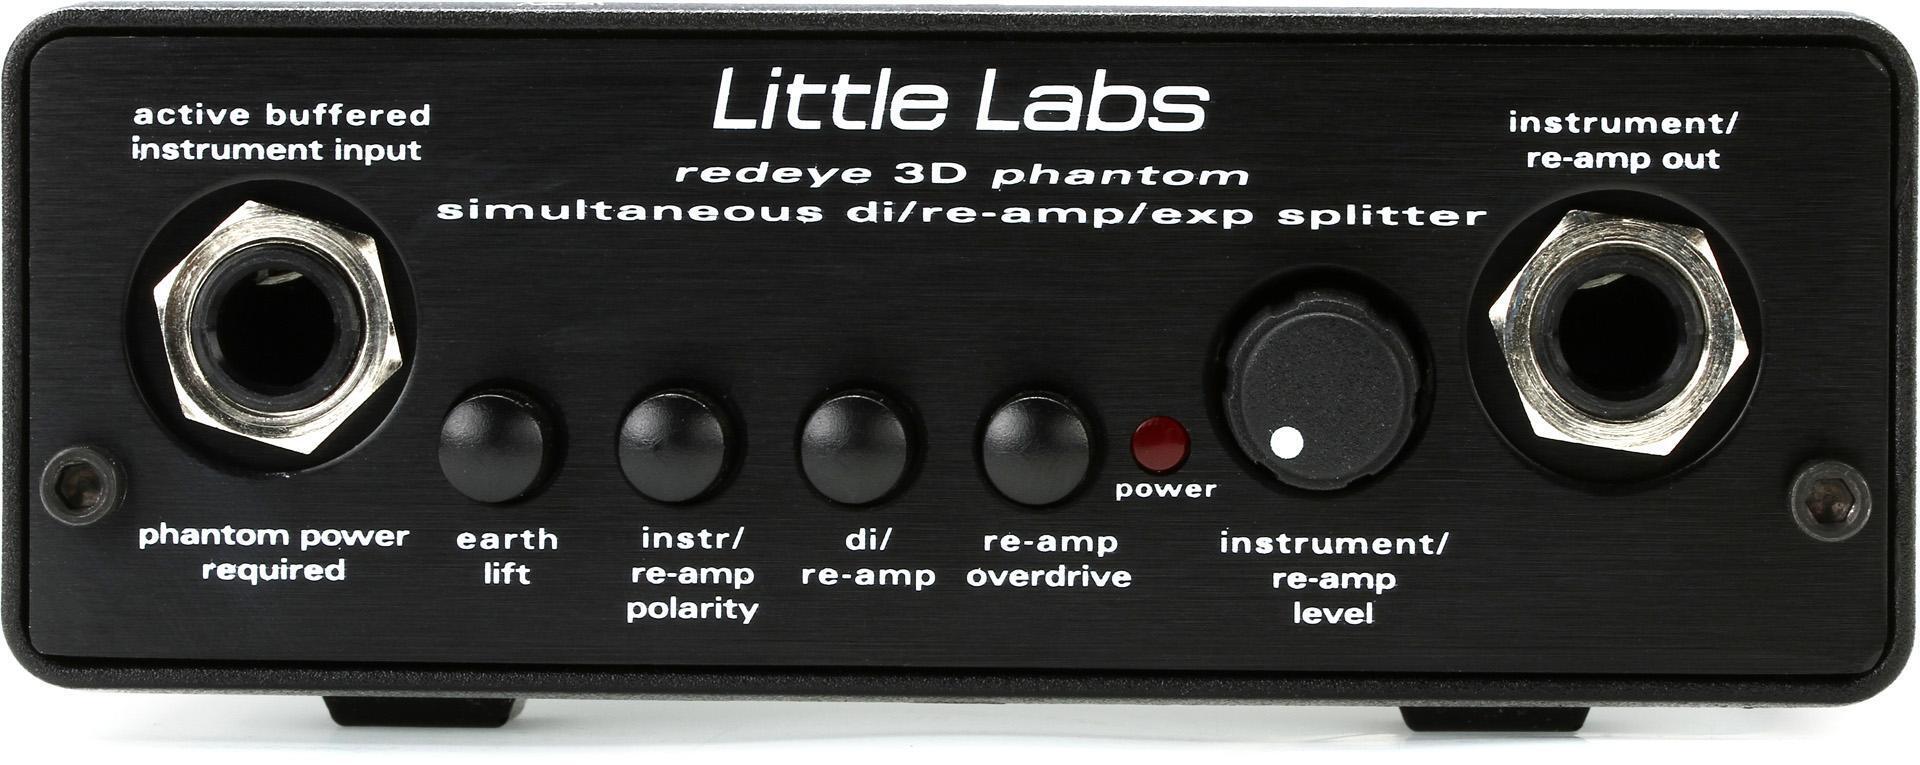
Little Labs Redeye 3D Phantom Direct Box & Re-amp Device
Learn More
- Radial ProRMP 1-channel passive re-amping device
- Radial X-Amp dual-output active re-amping device
- Fredenstein ramDI DI box/re-amp box
- Little Labs Redeye 3D Phantom direct box & re-amp device
DI Box

Behringer Ultra-DI Pro DI800v2 8-channel Active Instrument Direct Box
Learn More
Radial JDI Stereo – Jensen Equipped 2-channel Passive Instrument Direct Box
Learn More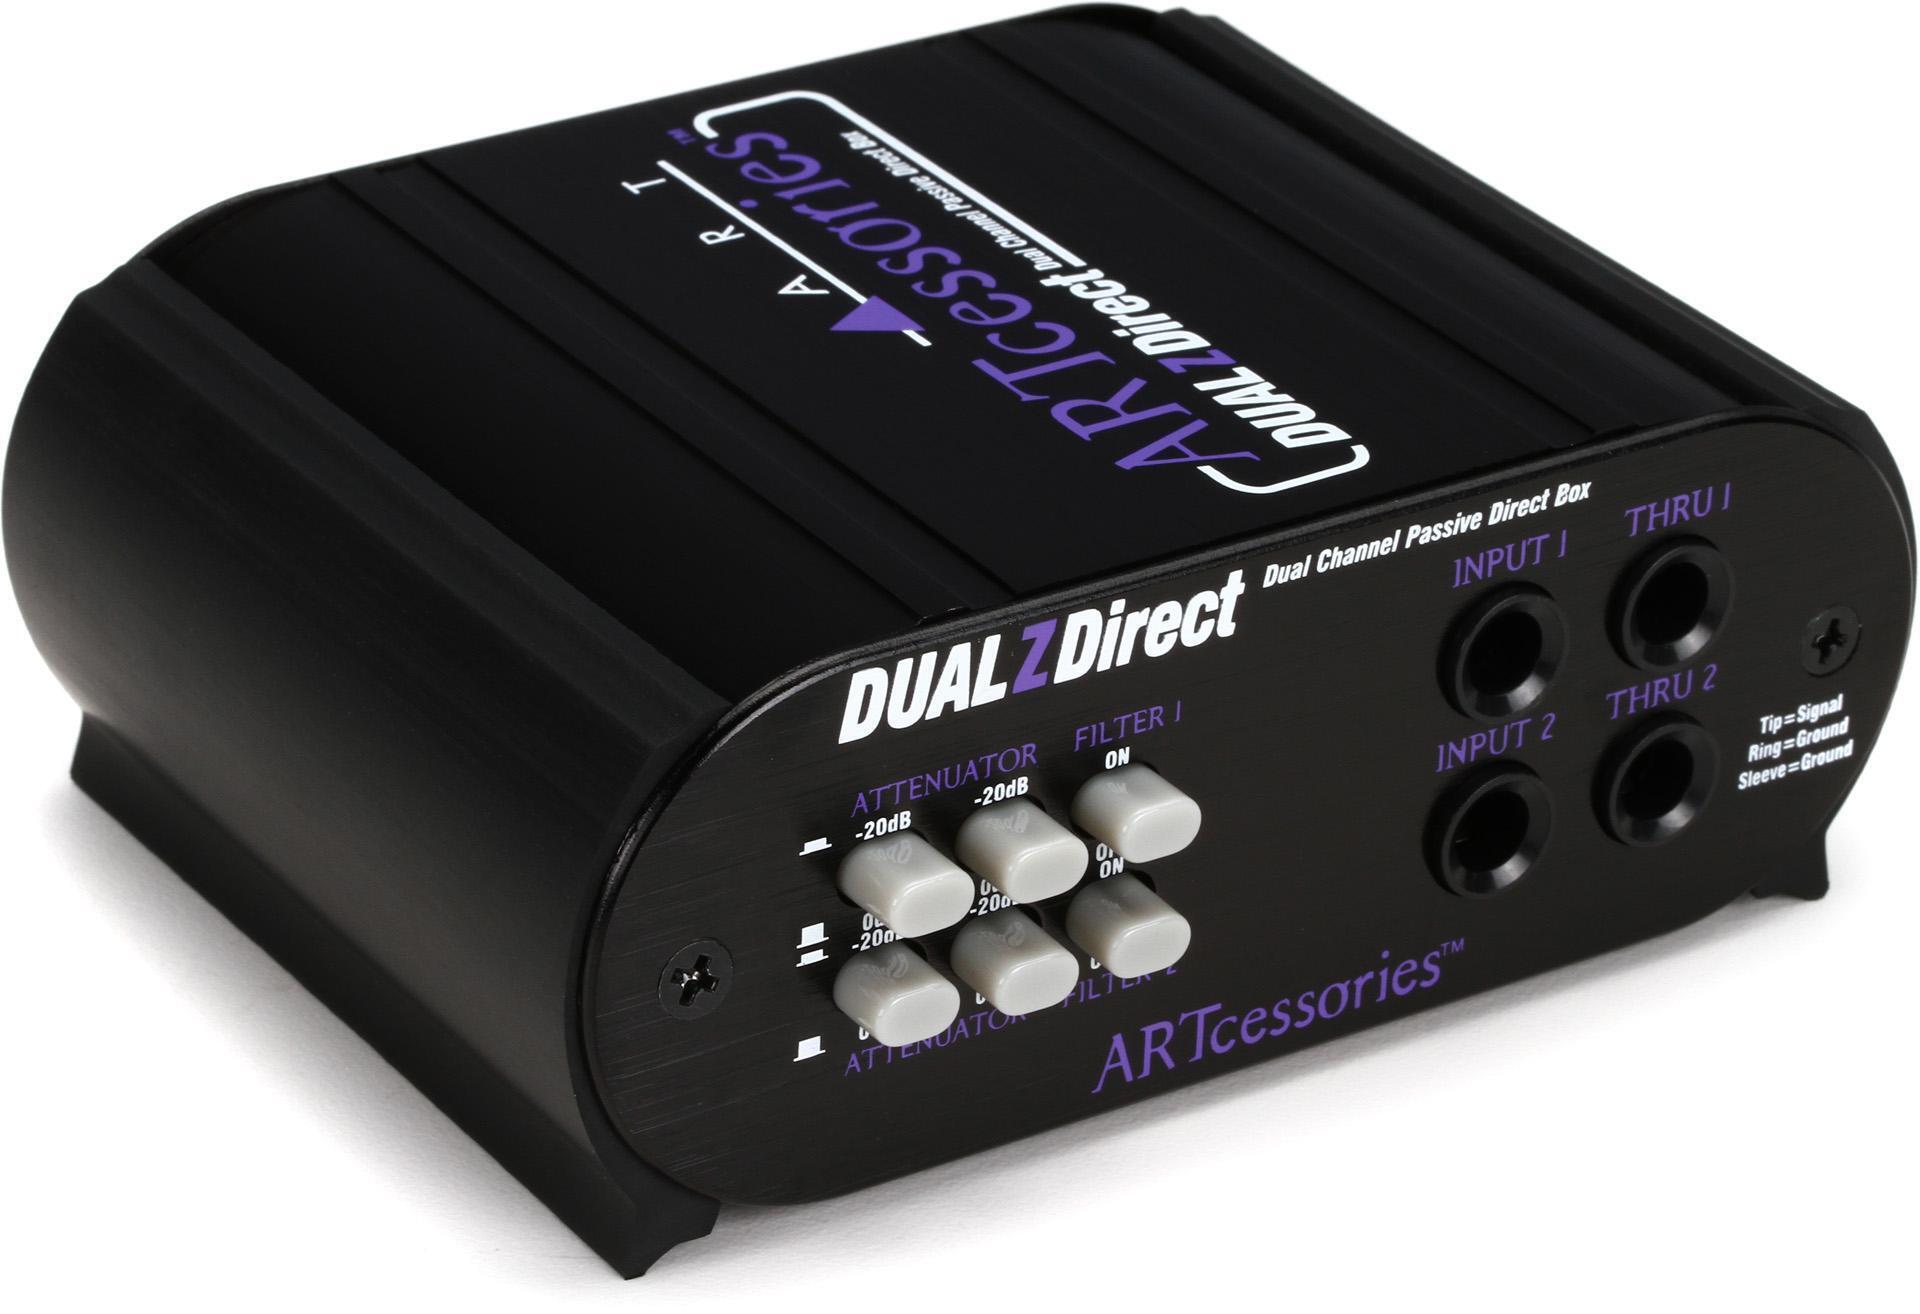
ART DUALZDirect 2-channel Passive Direct Box
Learn More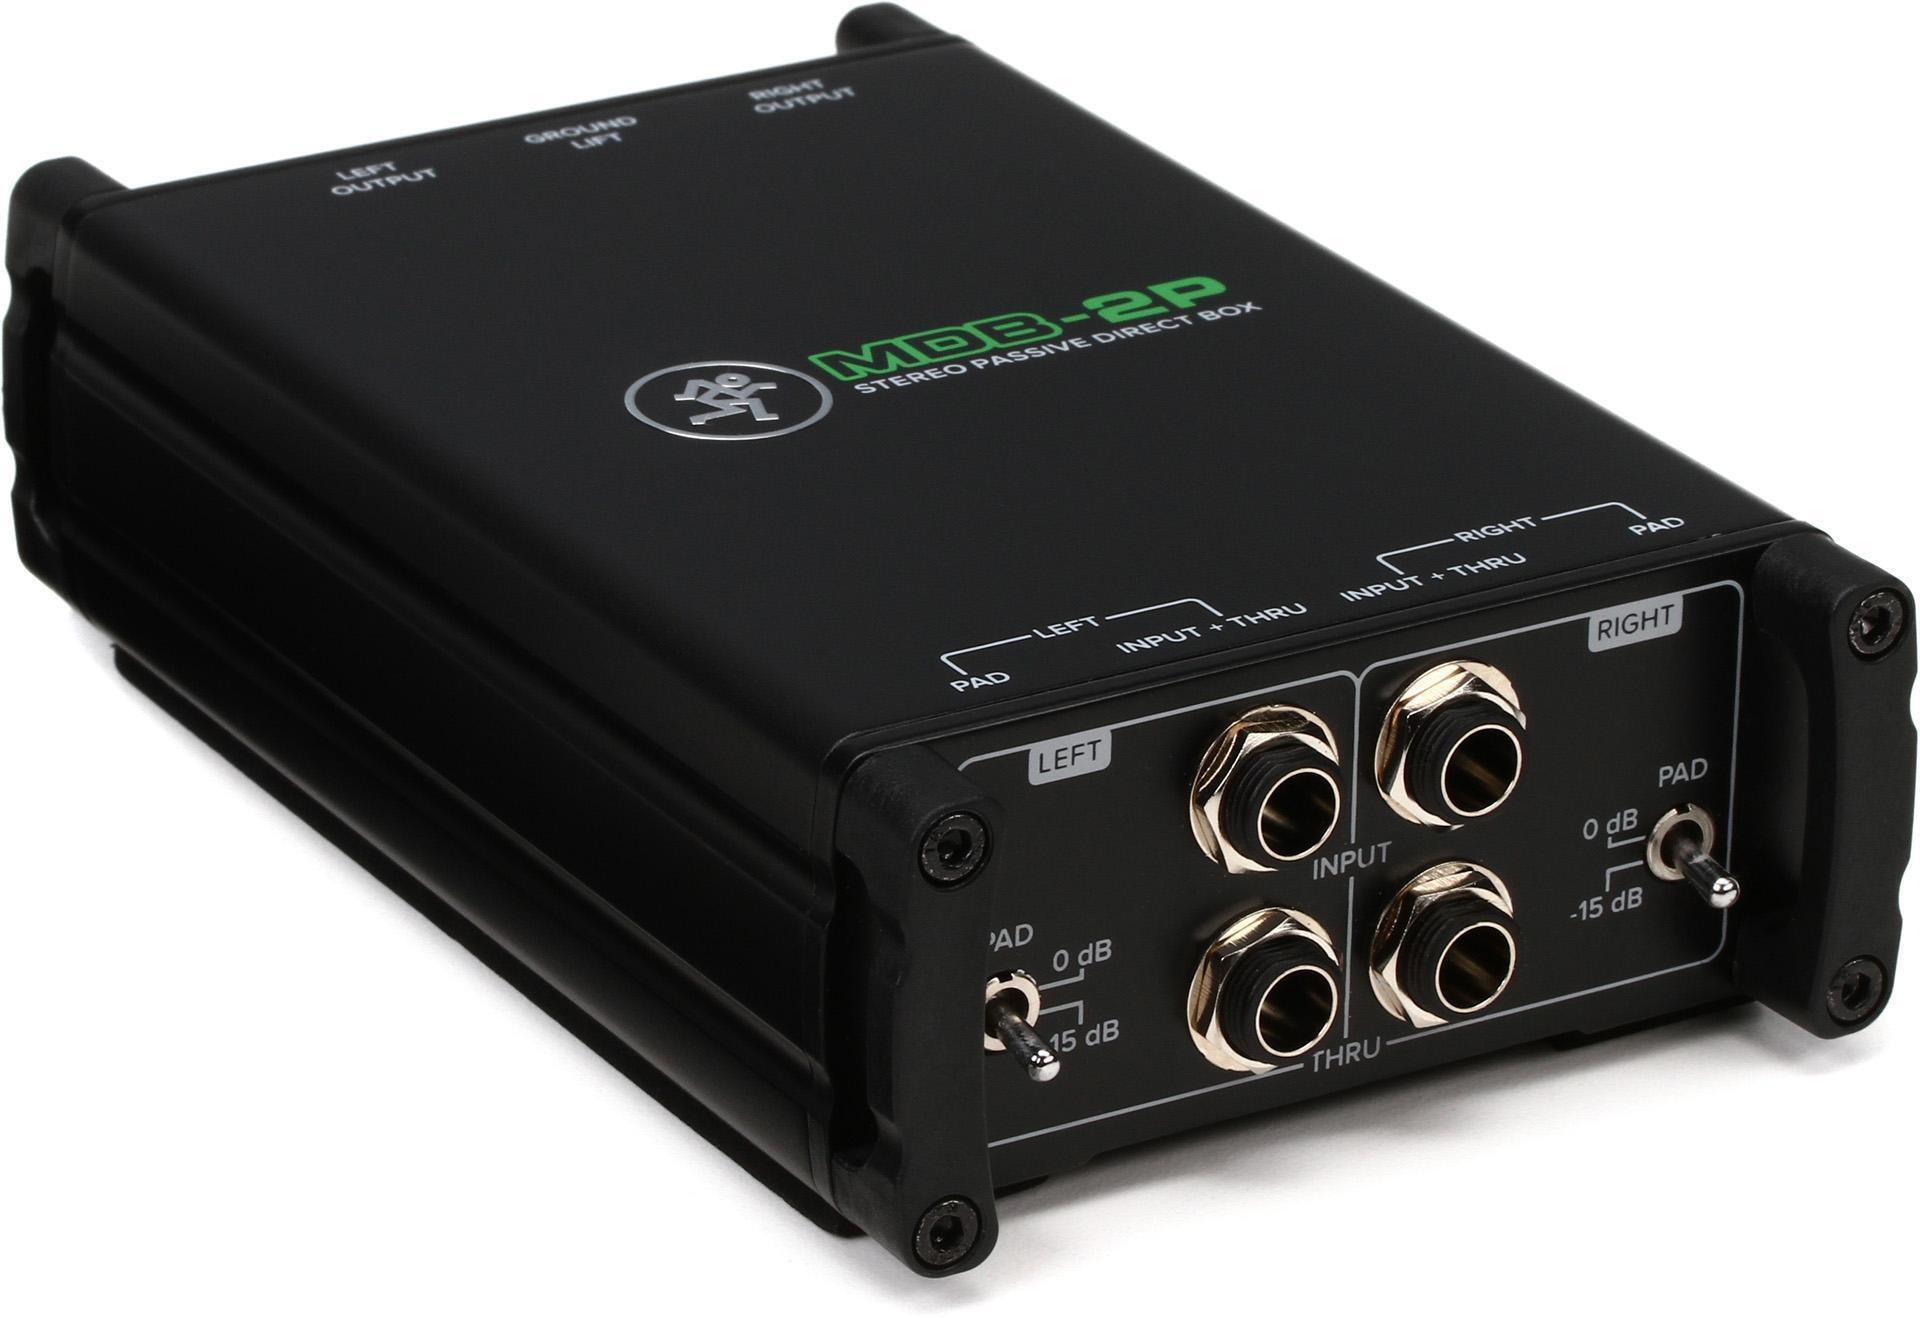
Mackie MDB-2P Stereo Passive Direct Box
Learn More
- Behringer Ultra-DI Pro DI800v2 8-channel active instrument direct box
- Radial JDI Stereo Jensen-equipped 2-channel passive instrument direct box
- ART DUALZDirect 2-channel passive direct box
- Mackie MDB-2P stereo passive direct box
Pedal Power Supply

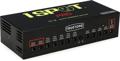
Truetone 1 SPOT PRO CS12 12-output Isolated Guitar Pedal Power Supply
Learn More
Strymon Zuma 9-output Guitar Pedal Power Supply
Learn More
MXR M238 Iso-Brick 10-output Isolated Guitar Pedal Power Supply
Learn More
Voodoo Lab Pedal Power 3 PLUS High Current 12-output Isolated Power Supply
Learn More
- Truetone 1 Spot Pro CS12 12-output isolated guitar pedal power supply
- Strymon Zuma 9-output guitar pedal power supply
- MXR M238 Iso-Brick 10-output isolated guitar pedal power supply
- Voodoo Lab Pedal Power 3 PLUS high-current 12-output isolated power supply
Making a Plan
Before cutting cables, it’s best to make a clear plan of attack — including dry fitting the pedals on the rack shelf; choosing between normalled, half-normalled, or through operation; and designing a patchbay spreadsheet.
Dry fit the pedals on the rack shelf
To begin, install the sliding rack shelf into your rack and dry fit your pedals (before affixing them to the shelf with hook-and-loop fasteners) to make sure they’ll fit. Because your pedals will be connected to the patchbay, their physical positions don’t have to mirror the signal flow. That gives you the freedom you’ll need to comfortably place your pedals on the shelf and to allow room for the patch and power cables. I was able to fit nine pedals and a pedal power supply on the SKB 1SKB-VS-1 sliding rack shelf. If you’re using a rack shelf with vents, then you can potentially run wires underneath the shelf for a cleaner look. Additionally, you can mount your power supply on the bottom of the shelf to free up room for effects — just make sure you have clearance below so that the shelf slides out freely. That may require sacrificing an additional 1U of rack space beneath.
Normalled, half-normalled, or de-normal operation
All right, now for some patchbay basics. Most patchbays you’ll encounter offer up to three operation modes, which are referred to as “full-normal,” “half-normal,” or “de-normal” (through). In full-normal operation, a patchbay’s top and bottom rows are linked with the top jack feeding the bottom jack, and the connection is broken when you insert a patch cord into either jack. In half-normal operation, the top and bottom jacks are also linked, but only the bottom jacks’ connections are broken when patched. The top connection provides a monitor out, which can double as a signal splitter, enabling you to create parallel effects chains or to send a mono signal into both inputs of a stereo effects pedal. De-normal operation does not create any connection between the top and bottom jacks, meaning that a signal flows independently through each patch point.
For my purposes, I chose de-normal operation, meaning that I would have to physically patch every connection on the front panel to chain together multiple effects. However, I did experiment with half-normal operation, and it allowed me to connect all my effects in series, just like a traditional pedal board, using the rear-panel connections. So, I could patch in with a single cable and patch out to my amp or recording interface and easily remove pedals from the signal chain or re-order them. I enjoyed the flexibility; but I found that, with my workflow, which has me patching multiple instruments through effects simultaneously, de-normal operation was best.
Designing a patchbay spreadsheet
There’s something about patchbay routing that tends to tie my brain into knots. Therefore, I find it’s crucial to get everything down on paper so I know exactly where all my inputs and outputs are going to be before connecting a single device. Traditionally, patchbay layouts include the outputs on the upper row and the inputs on the lower row. But, if you choose de-normal operation, you can abandon that convention. How one configures their patchbay is a matter of personal taste. Rather than explore all the different ways it can be done, I thought it would be helpful to show how I’ve set up a guitar pedal patchbay in my home studio.
First, an important thing to consider is that, if you’re using guitar pedals, you’re going to be dealing with unbalanced, instrument-level signals and using 1/4-inch TS patch cords to connect devices. For this reason, I have two patchbays. One is for balanced signals — namely, my preamps and DI outputs — and the other is for instruments, pedals, and effects. The patchbay I use for my unbalanced signals is the Behringer Ultrapatch Pro PX3000, which is a balanced patchbay that operates in the three modes previously discussed. Initially, I tried to find an unbalanced (TS) patchbay, but very few of these are available. Thankfully, you won’t encounter any problems using a balanced patchbay to pass unbalanced signals. The trouble comes if you start mixing balanced and unbalanced signals on the same patchbay, which can lead to signal loss and noise. The rule in my home studio is nothing but TS cables ever gets plugged into the Ultrapatch Pro PX3000.

On the Ultrapatch Pro PX3000, there’s a clear separation between the first 12 pairs of patch points and the second 12 pairs. Right away, I decided to use that as a handy visual indicator and to put instruments and sources on the left of the patchbay and effects on the right.
The sources include outputs from a Radial ProRMP passive re-amp box, a Behringer Odyssey analog synth, a Moog Grandmother analog synth, a Novation Bass Station II, 10 outputs from a vintage E-mu Drumulator, four outputs from an Alesis HR-16 drum machine, and an output from an instrument cable that is always plugged in and at the ready for guitars and bass. The effects cover all of my guitar pedals, which run the gamut from a vintage Electro-Harmonix Small Stone to a Catalinbread Belle Epoch delay. Additionally, on the “effects” side, I include the external inputs for the synthesizers to use their envelopes and filters as effects processors. I also have an output to my guitar amp with a cable running from the rear of the patchbay to the input of a guitar amp; the patch input is on the front panel.
For convenience, I use an 8-channel Behringer Ultra-DI Pro normalled to the inputs of a Focusrite OctoPre via the second patchbay I referenced earlier. When deciding in what order to place the pedals on the patchbay, I grouped similar effects — distortions, modulators, delays, etc. This setup gives me a tremendous amount of flexibility to track any source through a combination of effects and to reprocess recorded tracks from my DAW.
For more information on patchbays, check out “How to Use a Patchbay” on Sweetwater’s SweetCare Knowledge Base.
Assembling the Patchbay
Now that you’ve got your guitar pedal patchbay planned, it’s time to assemble! I’ll be upfront — prepare for a significant amount of work. There are many feet of cabling involved, far more than for a pedalboard, and cutting cables to length takes time and patience. But, having been through this, I will share some of the lessons I learned.
The most important lesson is to check, double-check, and triple-check your cable lengths before cutting them and assembling them. Remember, not only do you need enough cable to get from your pedals to the back of your patchbay, but you also need enough slack for the drawer to slide in and out easily — but not so much that the cables tangle when the drawer is pushed in. It’s a lot to think about!
What helped me was having a long cable with a single connector attached to one end, which I would use to test the clearance. I plugged in the cable to whichever pedal I was working on, then I sat behind the rack and slid the drawer in and out with the other end of the cable held to the back of the patchbay at the destination jack. When I found a length of cable where everything slid smoothly and remained out of the way, I measured the length and used that to cut my cable. There were a couple of times when the cables I cut were a touch short and tugged on the patchbay jacks. I was forced to recut them, but I saved the too-short cables and used them to make short front-panel patch cables. Also, consider how the cable is going to run across the rack shelf; you’ll have to include that distance in your measurement.
Another important lesson I learned was to check every cable I made to ensure it worked before moving on to the next. You can use a cable tester for this. Alternatively, I plugged the cables into a practice amp and touched their tips to see if they passed a signal. For the most part, the cables came out fine the first time around, but there were a few that I had to remove the connectors, trim the ends, and reattach the connectors. As I fitted each pedal with its pair of cables, I used these handy hook-and-loop cable ties from Sweetwater to keep the runs tidy. They’re easy to manipulate while adjusting the cables, and they hold everything firmly in place while you’re perfecting the fit.

Once all the cables were connected from the pedals to the patchbay and I reconfirmed that they passed signal, I used zip ties to bundle the cables and the hook-and-loop ties to attach the cable bundles to the rack shelf. Additionally, I used zip ties to clean up the cables coming off the back of the shelf. Another lesson I learned is, when grouping cables, check that you’ve left enough slack to slide the drawer in and out smoothly. My advice is to group them by hand or with a removable hook-and-loop tie first and test the clearance before committing to a zip tie.
Applications for Recording and Post-processing
This is the fun part! Once you’ve put all the sweat into your guitar patchbay (maybe hurled around a few choice words in the process when you cut a cable wrong!), you now get to reap the benefits. Obviously, you can use your guitar pedals for your electric string instruments, but where things get interesting is when you apply them to other sources. For instance, there’s nothing like a fat monophonic-synth patch running through an analog phaser or chorus pedal. It’s incredibly satisfying and will yield different results from plug-in effects.
Another fun use is with drum machines equipped with multiple outputs. You can experiment with processing individual drum sounds through different pedals to create striking, distinctive drum tones. If you don’t have a drum machine, then you can use the same process with software drum machines and even live drums through a re-amp device. One of my go-to tricks is to send a mono acoustic-drum mix through a fuzz distortion and blend it back in with the main mix. I’m also a big fan of applying chorus to hi-hats and cymbals to help them slip into a mix.
Vocal processing is another application where you can get creative with guitar pedals; try out all your effects pedals on your vocals and see what happens. For my recordings, I’ve used the Belle Epoch for short and long vocal delays, added texture and grit with overdrive and distortion pedals, and played around with phase and chorus. Of course, I have all these effects in my DAW, but the pedals have their own unique personalities, and I am a sucker for physical knobs — something about them sparks my creativity in a way that using a mouse never does.
Another cool part of having a guitar pedal patchbay is the ease of re-ordering effects. There’s a lot of chatter on the Internet over the ideal guitar-pedal signal chain. There are some common conventions, but there are also plenty of examples of people breaking conventions with awesome results. Swapping the order of your pedals is a bear on a pedalboard; but, with a pedalboard patchbay, it’s a breeze!
Ultimately, a guitar pedal patchbay is just another way to facilitate the creative process in the studio. While it takes an investment of time, money, and upfront work, what it gives back in terms of efficiency is worth the effort, and it’s a great way to get more out of your pedals.
One final tip: I keep a second pedal power supply on the top of my rack. So, if I borrow pedals from friends, I can power them up and patch them right into my system!
To learn more about re-amping, please visit “3 Essential Re-amping Tips” and “Re-amping Virtual Instruments in Logic Pro X.”
Conclusion
Are you interested in incorporating a guitar pedal patchbay into your home-studio setup? Reach out to your knowledgeable Sweetwater Sales Engineer at (800) 222-4700. They’re happy to help you select the additional gear you need to turn your pedals into powerful studio processors!