
How to Use a Patchbay
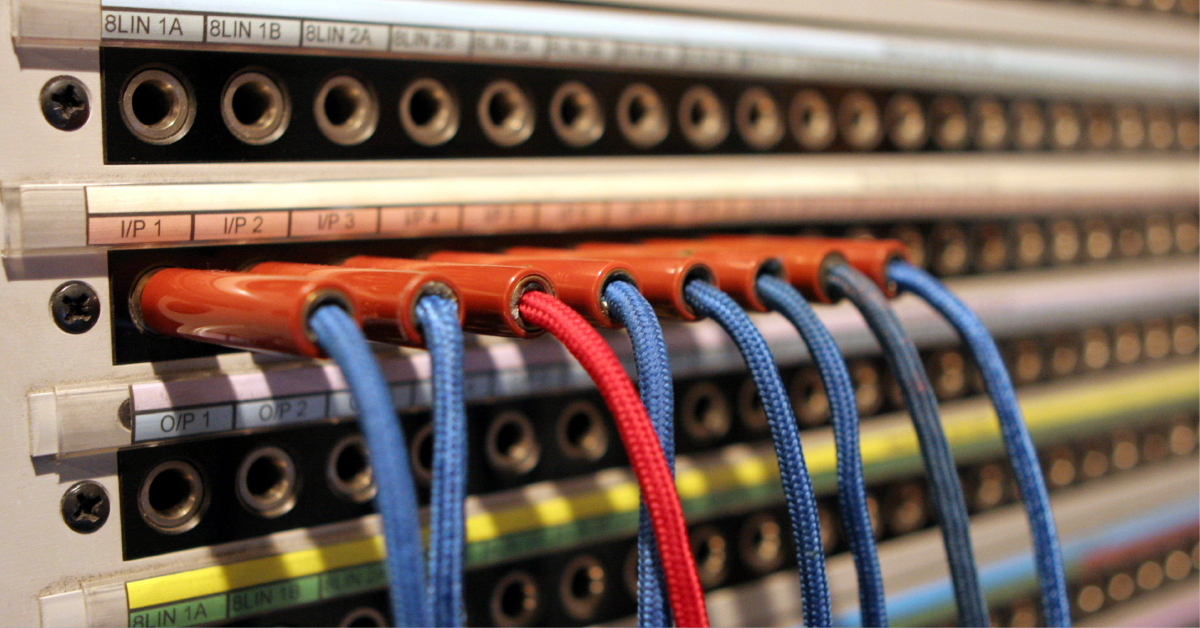
How to use a patchbay
If you’ve ever had questions about audio patchbays, this article is for you. In this guide, we will explain what a patchbay is, explain normalling, show examples of each, and also provide some tips to get up and running in no time.
What is a patchbay?
An audio patchbay connects all of the inputs and outputs of your outboard gear into a centralized hub. This allows you to route one device to the next without needing to go behind a rack full of gear in order to change one thing. While it takes time and planning, it’s easy to use a patchbay once everything is connected. You just need to know how the gear will be used.
Before you begin
Before you start connecting your gear to a patchbay, there are a few things you need to know. The top set of jacks are for outputs, and the bottom jacks are for inputs. When patching gear together on a patchbay, think of the signal flow like a waterfall. It always flows from the output of one device down to the input of another. If you patch an output to another output or vice versa, you’ll break the signal flow resulting in an audio dropout.
Patchbay normalling
Not to be confused with normalizing, normalling simply boils down to how the audio signal is routed through the patchbay. Outputs and inputs are connected to each other inside the patchbay (OUTPUT 1 is matched with INPUT 1, etc.) unless a patch cable is used. Knowing your workflow will depend on when you would use one configuration over another. So think about this and other factors before installing your gear.
Full-normal vs. Half-normal
The most common configurations when using an audio patchbay are full-normal and half-normal. Two of the most asked questions is “What’s the difference between the two?” and “When would I use one over the other?” To answer that, let’s look at some examples below.
Full-Normal patchbay
A full-normal audio patchbay configuration means each output goes through the corresponding input directly below it without the use of a patch cable on the front. Connecting a patch cable to the output on the front will break the input connection and signal will only be sent through the patch cable.
For example: if you have an audio patchbay where a microphone preamp is connected to OUT 1-4 and an audio interface is connected to IN 1-4. The output of the mic preamp will automatically flow down to the matching inputs on the interface, so no patch cable is required. However, if you wanted to send OUT 1 to IN 4, you need to connect a patch cable from OUT 1 to IN 4.
Full Normal signal flow
Half-Normal patchbay
When you make a half-normal patchbay connection, you split the signal to two separate inputs. Unlike a full-normal setup, the signal flow isn’t broken when you connect a patch cable to the output. The signal is sent into the input of one device as well as the input of another. This allows you to record a dry and wet signal at the same time.
Here’s an example: If the mic preamp is connected OUT 1-4 and the interface is connected to IN 1-4 but you also want to send the signal to a compressor, you would simply patch the output of the preamp to the input of the compressor on the front of the audio patchbay.
Half Normal signal flow
A note on Non-normalling
Unlike full and half-normal, non-normalling on a patchbay is when the output does not flow down to the corresponding input unless you connect a patch cable. It can be beneficial, particularly in effects processing and feedback loop situations. Here’s a video from our friends at Bittree for details on non-normalling.
Non-Normal Patchbay Setup
Patchbay tips
Once you learn the basics of how audio patchbays are integrated into your studio setup, you can get creative with how you route your audio. Below are a few helpful patchbay tips to speed up your workflow and make the process less stressful!
Cables and labels
Before connecting your gear in the back of an audio patchbay, use some white tape and label the ports. This makes it easier to remember where everything is connected. Labeling your cables or using colored cables will undoubtedly help, too.
Create a patchbay diagram
While there’s no right or wrong arrangement for connections, be methodical with how you set it up and create a clear wiring diagram, also called a patchbay diagram. Some manufacturers will also include blank templates that you can use, as well. Creating a diagram you can refer to at any time will save you a lot of time.
Double-check phantom power
Phantom power is typically only used for microphones. If you’re patching microphones, use a balanced patch bay; the microphones won’t work without it. Connecting gear while phantom power is engaged can produce a very loud pop, which may damage your speakers. Ensure that you connect your equipment before engaging phantom power and disengaging phantom power before disconnecting your gear.
When you need help, Sweetwater has the answers!
Our knowledge base contains over 28,000 expertly written tech articles that will give you answers and help you get the most out of your gear. Our pro musicians and gear experts update content daily to keep you informed and on your way. Best of all, it’s totally FREE, and it’s just another reason that you get more at Sweetwater.com.

