
Zoom AMS Quickstart Guide
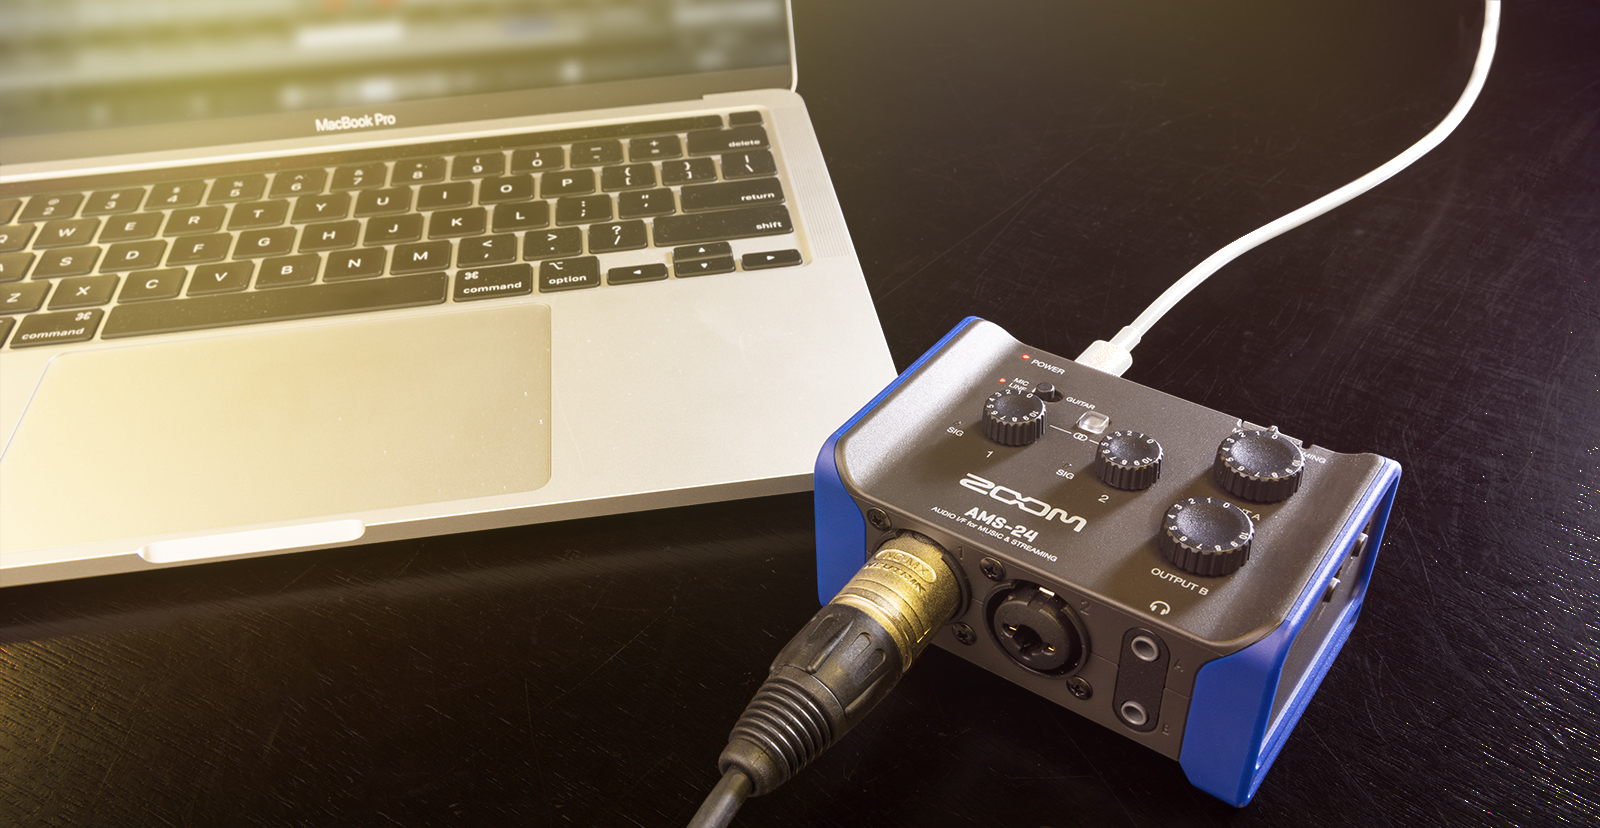
The Zoom AMS is a great solution for your audio recording and streaming needs, so in this guide we will show you how to set up, connect, and use the interface for the first time. Follow the sections below for the first time. Also be sure to check out the AMS-22, AMS-24, and AMS-44 Operation Manual for more information!
Setup and connections
Zoom AMS interfaces are plug-and-play interfaces that connect to any computer or mobile device using a standard USB-C cable running on the USB 2.0 protocol for maximum compatibility. All AMS interfaces are bus-powered when connected to a computer, meaning no external power supply is needed. However, they will require external power when used with a mobile device.
Connecting Your Gear
ATTENTION WINDOWS USERS: You must download the Zoom AMS ASIO driver before connecting the interface to your computer.
To connect, plug in your Zoom AMS interface with the included USB-C cable directly to your computer. Once connected, update your computer’s audio settings and set your AMS interface as the default playback and recording device.
- Turn the Input and Output knobs all the way down.
- Connect the interface to your computer, navigate to your OS sound settings and set it as the default input and output device.
- PC: Right-click the sound icon on the Windows taskbar, select Sounds, then click the Playback tab. Locate and select the interface, click Set Default, then click OK to close the menu. Do the same in the Recording tab.
- Mac: Click the Apple icon from the Menu Bar and select System Preferences. Click Sound, then select the AMS under the Input and Output tabs.
- If you have a Zoom AMS-44 interface, make sure that the power slider is set to USB.
- Connect your monitors, headphones, and any input devices.
- If using a condenser microphone, make sure you connect it to the AMS interface BEFORE turning Phantom Power (+48V) on.
- Play some music or a video, and slowly turn the Output knobs to the right until it’s at a comfortable listening level.
- Begin playing your instrument or speak into the mic at normal performance level, and turn the associated Input knob up to a point where it clips, then turn it down slightly. This ensures you get the most accurate input level possible.
- Launch your DAW and set it as the primary playback and recording device.
Recording with the AMS-44 Audio Interface
My interface isn’t showing up!
If your Zoom AMS interface does not connect, try reconnecting by unplugging and plugging it back in. If you use a USB hub, try connecting directly to your computer. Visit our Windows and Mac guides for more tips on resolving audio device connectivity.
Mobile Device Setup
NOTE: The 5V USB-C connector is for power connection and will not transfer data.
You will use two USB-C cables to connect your AMS interface to a mobile device. One for data connection and one to connect a USB-C compatible wall charger or mobile battery, especially for the AMS-22 or AMS-24.
- If you’re an Android user, be sure to check the Zoom Android device compatibility chart to ensure your device is fully compatible.
- If you own a Zoom AMS-44 and are using battery power with your mobile device, be sure the power slider is set to Battery.
- AMS-44 users can use two AA batteries when connected to a mobile device.
- Continuous operation life differs on what type of batteries are used.
- We highly recommend using brand-name batteries for the best performance possible.
- Most iPad models nowadays have a USB-C connector. However, if you have an iOS device with a Lightning connector, you must use an official Apple Lightning to USB 3 adapter.
How to Stream Audio With the Zoom AMS
If you’re a podcaster or livestreamer, the Zoom AMS interfaces have you covered. They have made it easy since you only need the interface and streaming service! No additional routing software is necessary, so you have more time entertaining the masses and spend less time setting up.
- Connect your input and output devices, then connect the audio interface to your computer or mobile device.
- If you own a Zoom AMS-24 or AMS-44, make sure the power slider is set to Streaming.
- Disable Direct Monitoring on the interface and in the streaming software! If it’s enabled, a feedback loop can occur, resulting in a very loud noise and can cause damage.
- Set the Loopback switch to ON. This is useful if you’re mixing background music on the computer, as well as the sound input from the interface while streaming live.
- When you turn the loopback switch on, you can hear the signal being sent to your device in real-time. Using this feature is especially useful for video streaming or podcasts.
- Launch your streaming software, set the interface as the default playback and recording device, then start streaming!
Streaming with the AMS-22 Audio Interface
Streaming with the AMS-24 Audio Interface
Related Articles
When you need help, Sweetwater has the answers!
Our knowledge base contains over 28,000 expertly written tech articles that will give you answers and help you get the most out of your gear. Our pro musicians and gear experts update content daily to keep you informed and on your way. Best of all, it’s totally FREE, and it’s just another reason that you get more at Sweetwater.com.

