
TASCAM Mixcast 4 Setup Guide
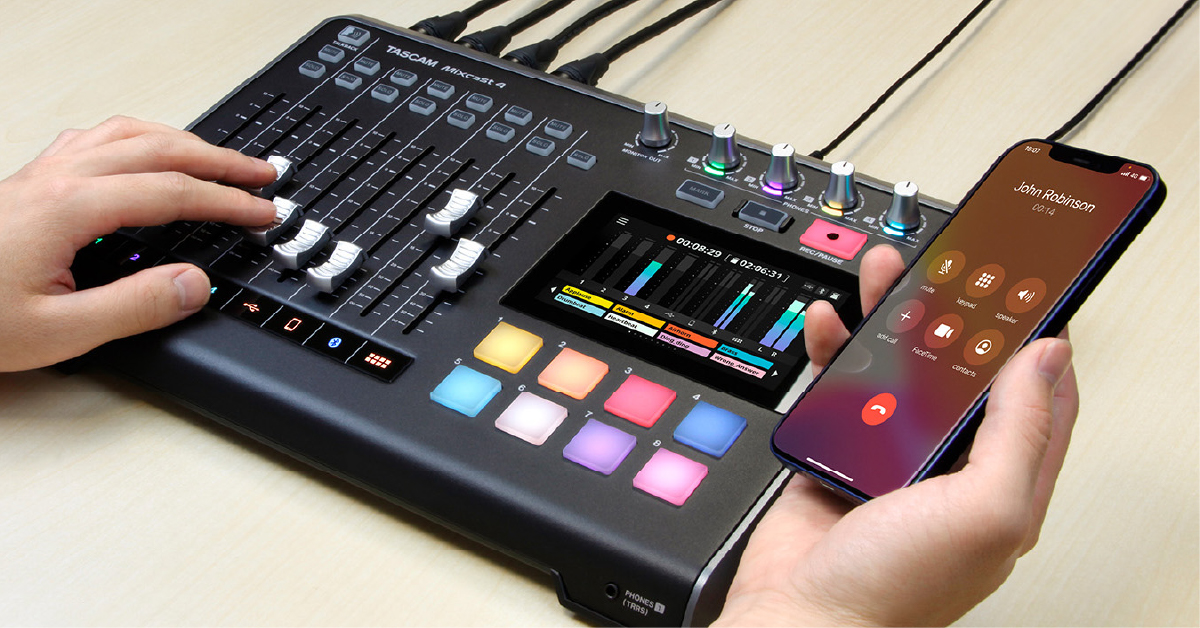
The TASCAM Mixcast 4 is an excellent addition to your podcast setup. In this guide, we’ll show you how to register, set up, and go through the connections for the first time. Follow the sections below to get started.
Register the Mixcast 4
When you open the box, the first thing you’ll need to do is create an account and register the device with TASCAM. Once you register the interface, you’ll get exclusive content and product support from TASCAM. Keep your Sweetwater invoice handy, as you’ll need it during the process.
- Log in to your TASCAM account. If you don’t have an account yet, you can create one here.
- Once you log in, click Register Products, then use the dropdown box to select Mixcast 4.
- Enter the serial number (located on the bottom of the unit) and click Registration.

Click the image to register your Mixcast 4
First-time setup
When you first turn on the Mixcast 4, you’ll be greeted with a quick setup window that will give you a quick rundown on the “workflow” — starting with connecting your gear and using it with the TASCAM Podcast Editor software.
Connecting hardware
- Connect microphones to the XLR combo jack.
- If connecting a mobile device or tablet, use the TRRS connection located on the back, then flip the switch from LINE IN to TRRS.
- If connecting a gaming headset, use the 1/8-inch PHONES jack in the front.
- Portable devices (smartphones, tablets, etc.), gaming headsets, and some computers have TRRS ports. While you can use a TRS cable to connect to the Mixcast 4, an electrical short between the microphone and ground conductors is created, so one of the channels will essentially be muted. Because of this, we recommend either using a TRRS cable or a TRS to TRRS adapter for full functionality.
- Connect your speakers to the LINE OUT jacks and headphones to the PHONES jacks.
Pair devices via Bluetooth
You can pair a Bluetooth device to the Mixcast 4 to stream audio. The process is very simple:
- Press the Menu icon (top left of the screen) and tap the Device icon.
- Next, press the Bluetooth icon, press the Pairing button, then use your Bluetooth device to complete the pairing. Check out our Android and iOS guides for more information.
Condenser microphones
If you’re using a condenser microphone, connect it to the input jack of your choosing. Next, tap the Menu icon, tap the Device icon, and select the input channel to which you’ve connected the microphone. Lastly, tap Condenser in the microphone settings window.

Press the Device icon

Select the input

Press Condenser to engage Phantom Power.
Adjusting the levels
Once everything is connected, you’ll need to get good levels from all of your channels.
- Set the channel’s onboard fader to 0.
- Tap the Menu icon, tap the Device icon (first option), and select the channel you will adjust.
- Start performing at the loudest level you plan to record at, and use your finger to increase and decrease the level within the Input menu.
- Once you start clipping, turn it down just a little bit in the Input settings to give yourself enough headroom.
- Adjust the channel’s onboard fader to a comfortable listening level.
Drag the fader up and down to adjust the input level
Recording on the Mixcast 4
After you have everything set up the way you want, it’s time to record. You can record in a few different ways: directly to an SD card or to your computer via the free TASCAM Podcast Editor software.
SD card
Recording to an SD card is a straightforward process. All you need to do is insert a compatible SD card, format it, then press the record button! If you have data already stored on your SD card, be sure to back it up, as formatting will erase everything.
IMPORTANT: Be sure to format the SD card on the Mixcast 4. Not formatting on the device may result in errors and less-than-optimal performance.
- Insert the SD card. Once inserted, a message will appear stating that a file isn’t found.
-
Press
Yes
to begin formatting. Once formatted, an SD card icon will appear at
the top right of the home screen.
- If you’ve confirmed that you have a compatible SD card and it still isn’t showing up, make sure that the write protection switch on the side of the card is in the unlocked position.
-
Press
the Record
button
to begin recording and press the Stop
button.
- When you press Stop, you will be asked whether or not you want to stop the recording. The recording will continue until you press Yes.
-
Once
you stop the recording, you will be prompted to rename the file.
- We recommend using a standard naming convention, such as podcast title – episode name (or number) – date (e.g., My Podcast – Episode 1 – 10/19/21), to identify files quickly in the future.
TASCAM Podcast Editor
The TASCAM Podcast Editor is like a DAW in that you can record, edit, import, and export audio directly on your computer. You can even import projects you recorded on the Mixcast 4, so you can edit the audio. Here are the steps to get you started, but be sure to check out TASCAM’s Podcast Editor video below for an in-depth look on how to use it!
- Go to the Mixcast 4 download page, scroll down to the Software section, and click the Podcast Editor for your OS to begin the download.
- Windows users: You will also need to install TASCAM’s ASIO driver for your Mixcast 4 to work correctly with your computer. The download is listed right below the Software section.
- Navigate to your Downloads folder, then extract and launch the Podcast Editor installer.
- Connect the Mixcast 4 to your computer and launch the software. When prompted, enter your TASCAM account credentials.
- Click New Project, enter the project name, choose the project location, then click Create.
- If you’re importing a project from your Mixcast 4, click Read from Mixcast, then select all of the files you wish to import.
- Click the Menu icon at the top left of the software, click Audio Interface, and make sure that the Mixcast 4 is both the input and output device.
- Click Input on the track to assign the channel to a specific input.
- Click the Rec button next to each track you plan on recording. This will record arm the track(s).
- Next, press the Record button at the top of the software to begin recording. Press the Record or Stop button to stop.
- After you’ve made all of your edits, navigate to the software’s Menu, click Export, and then update the export settings.
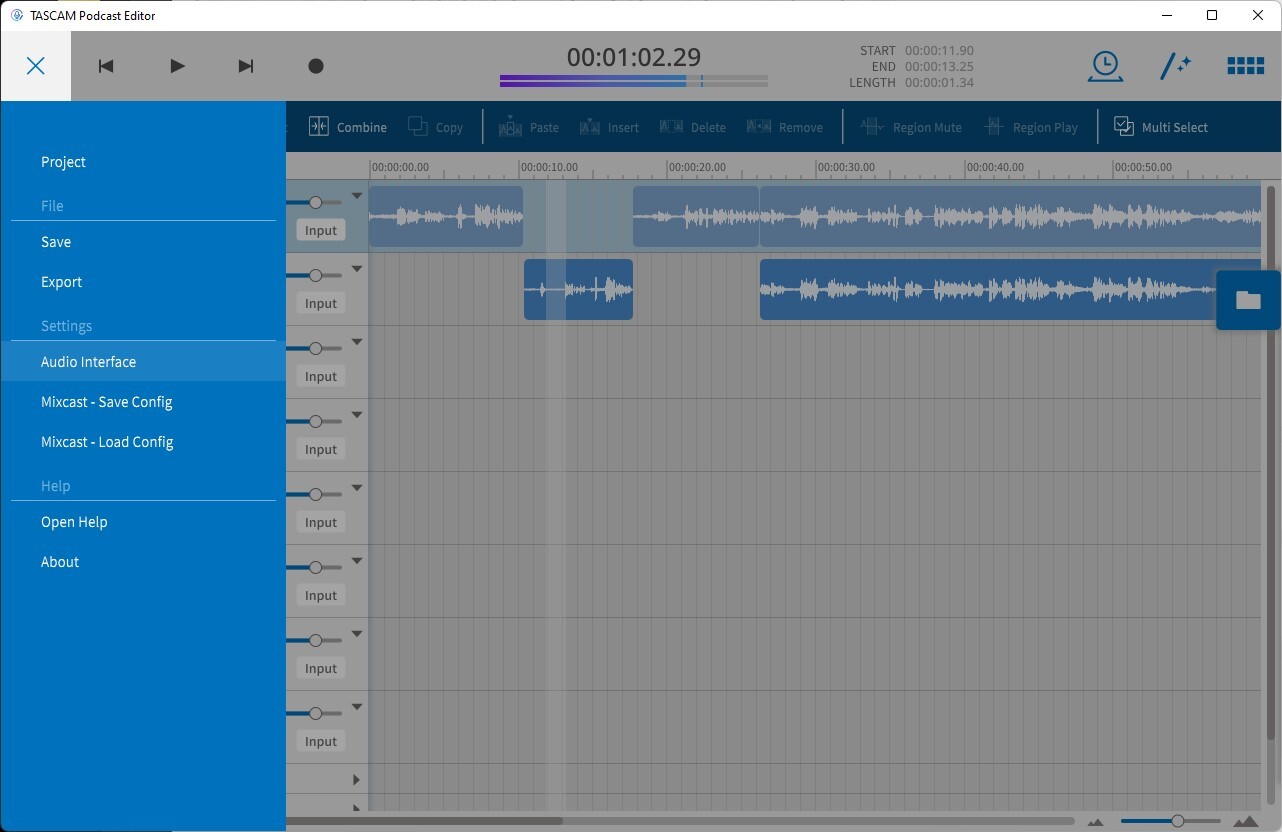
Click Audio Interface to set the Mixcast 4 as your default input and output device.
USB Mix Minus
If you’re streaming an incoming phone call, disable the USB Mix Minus, as that will prevent the audio from the caller being returned to them. To disable this, tap the Menu icon, tap the Hardware settings icon, then press Audio.
What Is Podcast Editor and How Can It Help My Workflow?
Recording to Podcast Editor
Additional TASCAM resources
Setup and Getting Started
Recording Your Podcast to an iOS Device
How to Utilize the Sound Pads
How Do I Connect Callers and Online Guests?
Related Articles
When you need help, Sweetwater has the answers!
Our knowledge base contains over 28,000 expertly written tech articles that will give you answers and help you get the most out of your gear. Our pro musicians and gear experts update content daily to keep you informed and on your way. Best of all, it’s totally FREE, and it’s just another reason that you get more at Sweetwater.com.

