
Singular Sound BeatBuddy 2 Quickstart Guide
NOTE: This article is about the BeatBuddy 2. For the original BeatBuddy and BeatBuddy 10th Anniversary Edition, consult our guide here.
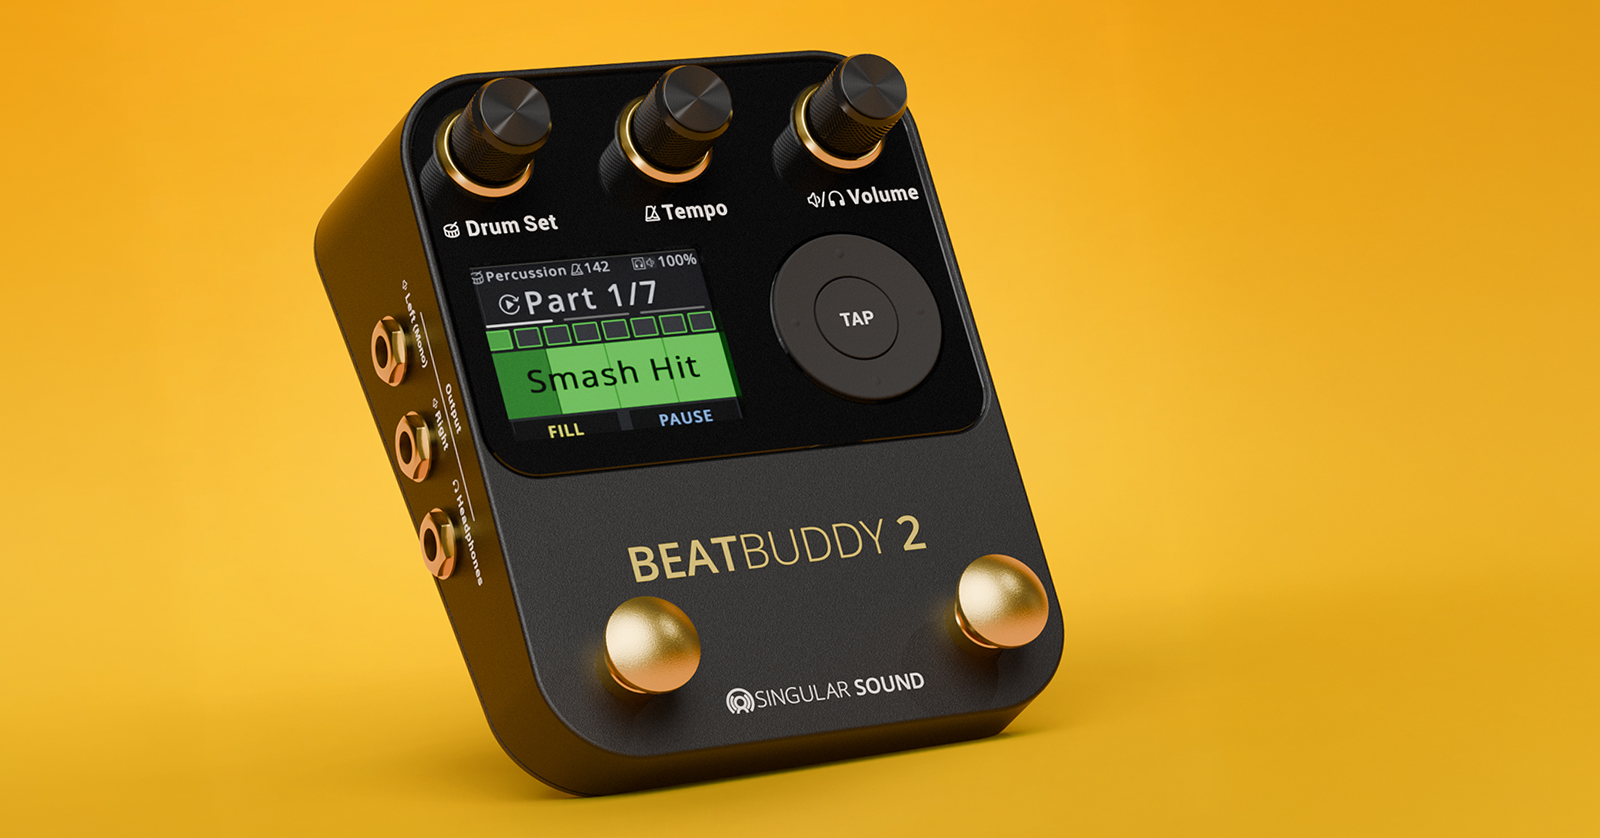
Singular Sound’s BeatBuddy 2 is the perfect drum machine pedal for any solo musician. It’s easy to use, which makes it a great counterpart in studio and live settings. The free BeatBuddy Manager Online editor/librarian app makes it even easier to craft custome beats, arrange songs, and more. In this guide, we’ll show you how to set up, navigate, and use the BeatBuddy 2 for the first time.
Pedal Setup and Navigation
Incorporating the BeatBuddy 2 into your rig is simple. Like other effects pedals, you need to connect your guitar to the Left (Mono) input and then use an instrument cable to connect the BeatBuddy 2’s Left (Mono) output to the guitar amp or mixer input. If you’re using a keyboard or another stereo instrument, then use TRS cables and connect via the Left andRight inputs.
Pedal Connections
Here are a few additional setup tips to get you started.
- When using an effects pedalboard, put the BeatBuddy 2 at the end of the pedal chain. This ensures the sound integrity of the BeatBuddy 2 without affecting your guitar tone.
- The BeatBuddy 2 can still play drumbeats without an instrument connected.
- Use BeatBuddy 2’s Headphones output to send beats to a stereo or the guitar amp’s auxiliary input.
BeatBuddy 2 Controls
The BeatBuddy 2’s controls are self-explanatory and easy to use.
DIAGRAM: BEATBUDDY 2
- The Drum Set knob allows you to scroll through the 13 factory-default kits.
- You can add up to 300 drum kits (along with songs), which you can find on Singular Sound’s Beat Boutique.
- The Tempo knob adjusts the tempo of the drum loop. Press and hold the knob to set the tempo as the song’s default.
- The Volume knob adjusts the volume of the selected output. Press the knob to choose between the headphones and main outputs.
- The main volume will not affect the level of the instrument connected to your BeatBuddy 2.
- By default, you will use the two large footswitches to play, pause, stop, and transition beats.
- You can assign specific functions to an expression pedal, Footswitch+, or SuperSwitch connected to the BeatBuddy 2’s Multiswitch input(s).
- Use the Tap button to enter tap-tempo mode. Once you’re in tap-tempo mode, use the tempo knob or the left footswitch to tap the current song’s tempo.
- The directional touchpad allows you to navigate the various menus and folders. Press the pad up and down to navigate through menus, and press the pad left and right to enter and exit folders.
How to Use the BeatBuddy 2
Once you have everything set up and connected the way you want it, it’s time to start playing.
- Press righton the touchpad to switch between songs.
- While stopped, tapthe leftfootswitch to begin playing the beat. Press and hold the leftfootswitch to enter tap-tempo mode.
- Tapthe leftfootswitch while playing to insert a randomized fill.
- Press and hold the left footswitch to transition to the next part.
- Double-tap the left footswitch to end the song.

BeatBuddy Manager Online App

The BeatBuddy Manager Online app showing Song view
The BeatBuddy Manager Online is an app that runs in a web portal. You can use it to create BeatBuddy projects, importing files, editing song files and drum sets on your computer screen where it’s easy to see multiple parameters and whole song structures at once.
BeatBuddy Manager Online works with the original BeatBuddy, the BeatBuddy 10th Anniversary model, and the BeatBuddy 2.
To use BeatBuddy Manager Online, you start by removing your SD card from your BeatBuddy and attaching it to your computer using an SD card reader.
On your computer, you copy all the files from the SD card to a folder on your hard drive.
Then, through a compatible web browser (Google Chrome, Microsoft Edge, Opera or Vivaldi are listed) you can open the BeatBuddy Manager Online landing page and log in to your account.
The BeatBuddy Manager Online app will then access the files you copied from your SD card. You can get to work creating and editing projects which will be saved to your computer’s hard drive.
You can then load your work from your computer’s hard drive back onto your SD card, eject it from your computer, and insert the SD card into your BeatBuddy unit to take to the gig.
To get started with the BeatBuddy Manager Online, follow the instructions in Singular Sound’s BeatBuddy Manager Online (BBMO) Tutorials video tutorial playlist on YouTube.

Download the BeatBuddy Manager Online owner’s manual for reference material for all the features. From the BeatBuddy Manager Online home page, click on “BBMO Manual.” This will take you to the Singular Sound Forum page with a link to the newest version of the manual.
Related Articles
When you need help, Sweetwater has the answers!
Our knowledge base contains over 28,000 expertly written tech articles that will give you answers and help you get the most out of your gear. Our pro musicians and gear experts update content daily to keep you informed and on your way. Best of all, it’s totally FREE, and it’s just another reason that you get more at Sweetwater.com.

