
Line 6 POD Go Quickstart Guide
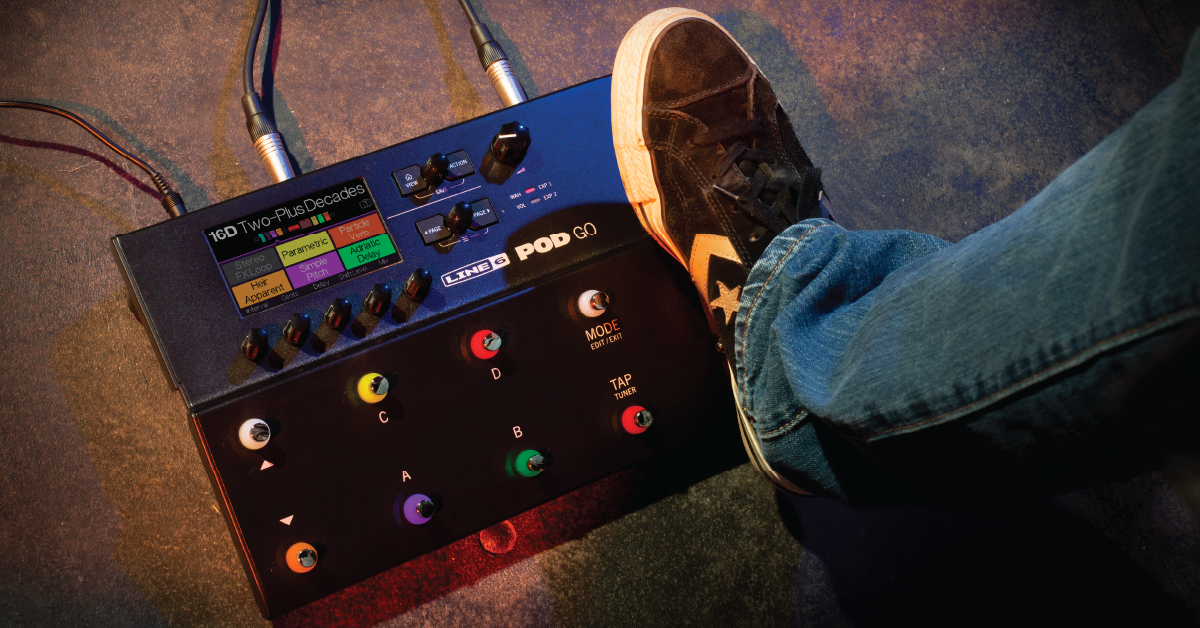
Getting started with the Line 6 POD Go
Here at Sweetwater, we’re here to give you the best experience possible. That’s why the SweetCare team tested one to show you how to set up and connect the Line 6 POD Go for the first time. Follow the sections below to get started.
POD Go setup and connections
There’s tons of flexibility and plenty of ways to incorporate the Line 6 POD Go to your rig. While some factors come into play, such as what type of amp you’re using and how you’re connecting it, setup is a breeze no matter which situation you’re in. You may want to connect it to your guitar amp, use it as part of your effects chain, mixer or PA system, and even your computer for recording purposes to get the best tone possible. Follow each of the sections below to learn how to get connected.
Connect POD Go to a guitar amp
The most common way to use the POD Go multi-effects pedal is to connect it directly to your guitar amp. Just like every other effects pedal, you may have, you’ll connect the POD Go directly from the AMP OUT to your guitar amp’s Input. By default, the POD Go’s output will mirror the MAIN OUTS. This includes the Cab or IR block (an element of a preset’s signal chain) that’s loaded in the current preset.
So before you connect your POD Go to a guitar amp, turn the level of both your amp and guitar down, then double-check and make sure that the Main Out level is set to Instrument. This is because guitar amps are expecting instrument level signal. Sending an already amplified signal to your amp isn’t the greatest because it’ll be really loud, and you might blow a speaker. Follow the steps below to change the Main Out source:
- Press and hold both Page < and Page > buttons to enter the Global Settings menu.
- Use the second encoder knob to change the Main Out Source to Instrument.
Change the amp’s output source
A nifty feature of the Line 6 POD Go is that you can change the signal flow of your amp’s output. The POD Go includes Cab and IR blocks (elements of a preset), which gives you some great tones. If you prefer your amp’s sound and strictly want the effects (i.e., distortion, delay, chorus), you can completely bypass any of the Cab or IR blocks without needing to edit any preset. Follow these steps to bypass the Cab and IR blocks:
- Press and hold both Page < and Page > buttons to enter the Global Settings menu.
- Use the third encoder knob to change the Amp Out Source to Pre Cab/IR.
Connect to a mixer or PA system
IMPORTANT: When connecting to a mixer, PA system, or powered speakers, you’ll need to change the Main Outputs to Line Level.
You can also connect the POD Go directly to a mixer or PA system using balanced TRS to XLR male cables. This is especially useful in live situations so that the front of house can adjust your levels directly from the mixing board. The great thing is that no DI box is required to connect, either. Since you’ll be using the effects from the POD Go, you’ll need to make sure that the mixer’s settings, such as EQ and compression, are all flat. Also, be sure to turn off Phantom Power (+48v).
- Press and hold both Page < and Page > buttons to enter the Global Settings menu.
- Use the second encoder knob and turn it, so Line is displayed.
Connect to an FX loop
The Line 6 POD Go also has Send and Return connections to incorporate other pedals in your signal chain. It’s great when you want to use your guitar amp’s preamp or add another external pedal to part of the POD Go’s signal chain. What’s cool about the POD Go FX loop is that you can move the FX loop block anywhere within the preset. Follow these steps to move the FX Loop block:
- Press View, then use the top encoder knob to select the FX Loop block.
- Next, press Action, then use the top encoder knob to move it. Press Action again to exit.
Using the 4-cable method
You can also use the 4-cable method on the POD Go with the Send and Return connections. This means you’ll be able to send the effects to the guitar input, as well as the FX Loop. For a deep dive on using the 4-cable method, check out our article down below, and also be sure to learn more about it in the POD Go user manual.
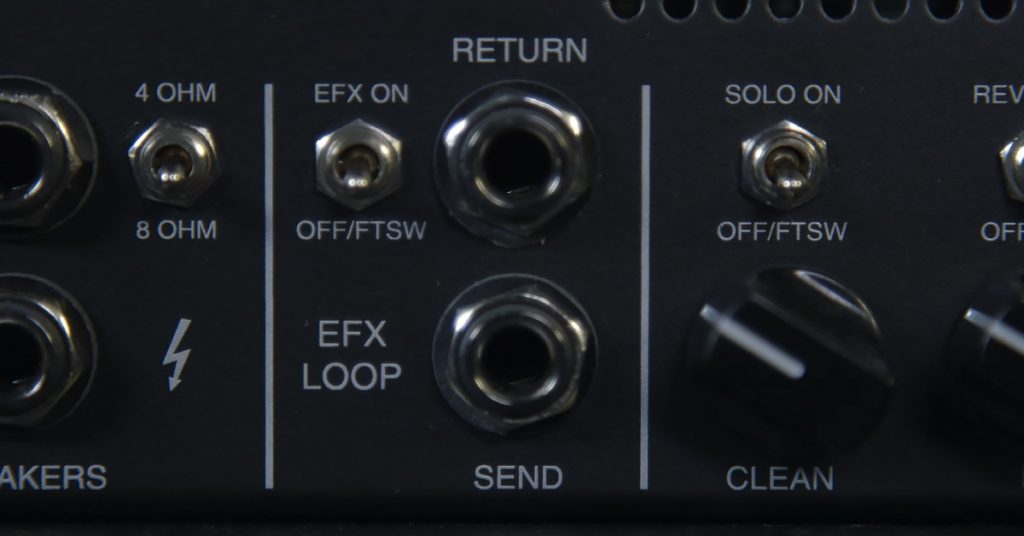
Learn more about how to use your guitar amp’s effects loop!
Learn More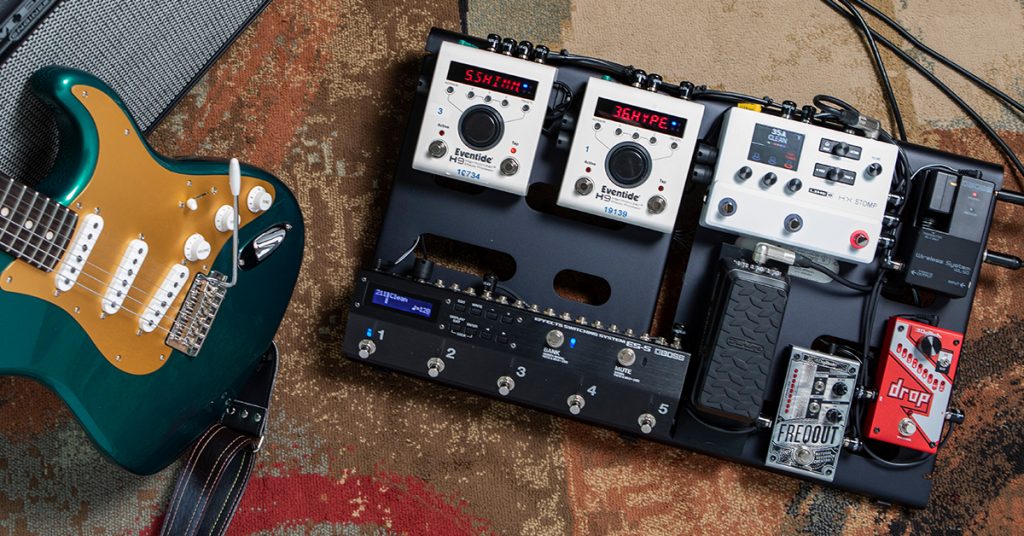
Learn more about the 4-cable method for connecting to a multi-effects pedal!
Learn MoreHow to connect the POD Go to your computer
Not only is the POD Go great on stage, but it’s also equally as great in the studio since it acts as a 4-input 4-output audio interface for reamping and recording.
Install the driver on your Windows PC
- Go to the Line 6 Downloads page.
- In the menus across the top, select “Pod Go,” “Drivers,” and “Windows 10.” Click the Go button.
- Download the newest driver for Windows and follow the installation instructions.
Install the driver for macOS
- Go to the Line 6 Downloads page.
- In the menus across the top, select “Pod Go,” “Drivers,” and “Mac OS X.” Click the Go button.
- Download the newest driver for macOS.
If you are on a Mac with Apple silicon, before you run the installer, you must boot your Mac into Recovery mode and make a change to the Security Policy for the Mac to enable kernel extensions.
Follow the instructions in the Line 6 Apple Silicon Driver Installation/Removal Notes.
Learn more in our SweetCare guide Enabling Kernel Extensions on Mac with Apple silicon.
For more information about utilizing the Line 6 POD Go as an audio interface, including how to reamp using the POD Go, check out the user manual.
How to record a dry DI track
- Go to your DAW’s input and output settings and set the POD Go as the default recording and playback device.
- Create one MONO track and set its input to POD Go USB 3 or 4, then create one STEREO track and update the track’s input to POD Go USB 1/2.
- Arm both tracks and start recording.
- The MONO track will record the dry sound, and the STEREO track will record the processed sound directly from the POD Go’s preset you’ve selected.
POD Go not showing up on your computer?
If the POD Go isn’t showing up on your computer after connecting it, reconfigure your setup and try a different USB port and/or cable. If you’re still having issues with the POD Go not connecting, check out our guides on resolving audio interface issues on Windows and Mac.
Learn more about how to troubleshoot audio interface issues on PC!
Learn More
Learn more about how to troubleshoot audio interface issues on Mac!
Learn MoreAdditional Line 6 resources

Line 6 POD Go manuals
POD Go Quick Start Part One: Connectivity and Play View
POD Go Quick Start Part Two: Editing Presets
POD Go Quick Start Part Four: Saving Presets
POD Go Live | Setting Up Expression Pedals/Footswitches with Doc Brown
POD Go Quick Start Part Three: Using Snapshots
POD Go Live | Building a Preset from Scratch with Doc Brown
POD Go Live | Using Snapshots with Doc Brown
When you need help, Sweetwater has the answers!
Our knowledge base contains over 28,000 expertly written tech articles that will give you answers and help you get the most out of your gear. Our pro musicians and gear experts update content daily to keep you informed and on your way. Best of all, it’s totally FREE, and it’s just another reason that you get more at Sweetwater.com.

