
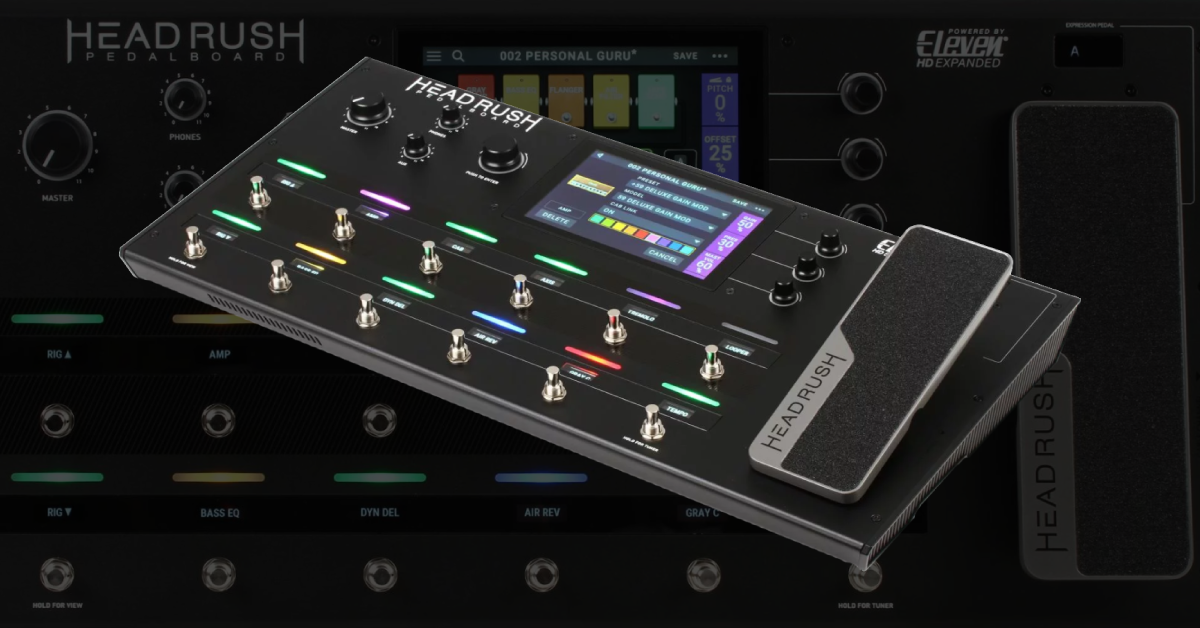
Headrush Pedalboard and Gigboard Setup Guide
The Headrush Pedalboard and Gigboard are both powerful tools to have in your studio and live arsenal, so in this guide, we’ll show you a few methods for setting these up for the first time. Follow the sections below to get started.
Headrush user manual and quickstart guides: While the Pedalboard and Gigboard both have the same engine, each pedal operates a little differently. Be sure to check your Headrush device’s manual and quickstart guides for more information on your particular Headrush pedal.
Headrush setup and connections
Headrush effects boards are built with creativity in mind, so the way you can incorporate them into your guitar rig is endless. Depending on your setup, you may want to connect it to a guitar amp or directly to a PA system or mixer. You can also use it in your effects chain, and if you’re in the studio, connect it directly to your computer and use it as an audio interface!
Connect it to a guitar amp
The most common way to connect to your Headrush is directly to your guitar amp. Like other guitar effects pedals, you’ll connect the Headrush’s L (MONO) output straight to the guitar amp’s input. Depending on what output device you’re using (guitar amp, PA system, mixer, etc.), you’ll need to use the Amp/Line switch to select the appropriate output level.
- The Amp setting’s output level is +6dB, and the output level of the Line setting is +18dB.
Before connecting your Headrush to a guitar amp, turn the level of both the amp and guitar down, then make sure that the Amp/Line switch is set to Amp. This is because guitar amps are expecting an instrument-level signal. If connecting the Headrush to your guitar amp and it’s set to Line, the signal is already amplified. This means when you start playing, it’ll be really loud, and you may potentially blow a speaker.
How to change the output settings on a Headrush Gigboard
The Headrush Pedalboard has an Amp/Line switch that you can use to switch between the two output settings. However, you must access the Gigboard output settings via the Global Settings menu. Here’s how to switch between Amp and Line on the Headrush Gigboard.
- Press the … located at the top right of the screen, then press Global Settings.
- Navigate to the Audio Configuration section, then select Line or Amp.
Headrush Gigboard | Global Settings
HeadRush Pedalboard Tutorials | Global Settings
Connect it to an effects loop
Using the Headrush in an effects loop is straightforward. All you need to do is use the Headrush’s FX Send and Return jacks to incorporate your external effects pedals. This is especially useful when you want to use the guitar amp’s preamp or just add even more effects to your signal chain! Once connected, you just need to add an Effects block to your Headrush preset!
- Press an empty block on the preset.
- On the menu that appears, scroll down and press FX-Loop, then press Default to add an effects loop block.
HeadRush Gigboard | FX Loop
How to use the four-cable method
The four-cable method is a very popular way to integrate effects into multiple sources. This means you can have one set of pedals in before the guitar amp’s preamp, and another group after the preamp; in the effects loop. Many use this for more flexibility and a more focused tone. Here’s how to use the four-cable method with your Headrush.
- Connect your guitar to the Headrush input.
- Connect the FX send of the Headrush to the guitar amp’s input.
- Connect the FX send of the guitar amp to the FX return on the Headrush.
- Connect the FX return of the guitar amp to the L (Mono) output on the Headrush.
- Press an empty block on a Headrush, scroll down and press FX-Loop, then press Default to add an effects loop block.
HeadRush Pedalboard Tutorials | Advanced Rig Building & 4 Cable Method
Create a custom rig
Once everything is connected, it’s time to build your own custom rig. It’s really easy, too! A great feature of the Headrush is that you can move any block, including the guitar head and cab, to any part of your signal chain. This is especially useful if you want to create a “virtual” effects loop.
The Headrush multi-effects pedals have tons of effects pedals and IR’s and with every firmware update, more and more keep being added which means the tone possibilities are limitless, so follow these steps to create a rig from scratch.
- Press … at the top right corner of the display, then press New Rig.
- Press an empty slot (block) to open the Model Selector and navigate through the amp, cabs or effects.
- Once you’ve found the preset of your choosing, press that to assign it to the empty block.
- To rearrange the effects chain, press and hold the effect block while dragging it to a new slot.
- Double-tap the block to update its settings.
- After your custom rig has been created, save it by pressing Save in the top right hand corner of the display.
HeadRush Pedalboard Tutorials | Creating a Rig
HeadRush Gigboard | Creating a Rig
Additional resources


Headrush Pedalboard Tutorials
Headrush Pedalboard Tutorials | Pedal Modes
Headrush Pedalboard Tutorials | Looper
HeadRush Pedalboard Tutorials | Hardware Assign
Headrush Gigboard Tutorials
Headrush Gigboard | External Amp Control
HeadRush Gigboard | Hardware Assign and Scenes
HeadRush Gigboard Q&A
Related Articles
When you need help, Sweetwater has the answers!
Our knowledge base contains over 28,000 expertly written tech articles that will give you answers and help you get the most out of your gear. Our pro musicians and gear experts update content daily to keep you informed and on your way. Best of all, it’s totally FREE, and it’s just another reason that you get more at Sweetwater.com.


Offer applies only to single-receipt qualifying purchases. Select manufacturers may require that only the manufacturer’s products qualify towards the minimum purchase amount needed to be eligible for promotional financing. Otherwise, an invoice that meets the minimum purchase amount and contains at least one qualifying manufacturer product is eligible for promotional financing. No interest will be charged on promo purchase balance, and equal monthly payments are required on promo purchase until it is paid in full. The payments equal the amount financed divided by the number of months in the promo period, rounded up to the next whole dollar. These payments may be higher than the payments that would be required if this purchase was a non-promo purchase. During the last month(s) of the promo period the required monthly payment may be reduced due to the prior months’ rounding. Regular account terms apply to non-promo purchases. New Accounts as of 07/31/2025: Purchase APR is 34.99%. Penalty APR is 39.99%. Min Interest Charge is $2. Existing cardholders: See your credit card agreement terms. Subject to credit approval.
Offer applies only to single-receipt qualifying purchases. No interest will be charged on the promo balance if you pay it off, in full, within the promo period. If you do not, interest will be charged on the promo balance from the purchase date. The required minimum monthly payments may or may not pay off the promo balance before the end of the promo period, depending on purchase amount, promo length and payment allocation. Regular account terms apply to non-promo purchases and, after promo period ends, to the promo balance. New Accounts as of 07/31/2025: Purchase APR is 34.99%. Penalty APR is 39.99%. Min Interest Charge is $2. Existing cardholders: See your credit card agreement terms. Subject to credit approval.
The estimated required monthly payment shown which excludes taxes and delivery equals the amount financed divided by the number of months in the promo period, rounded up to the next cent. During the last month(s) of the promo period the required monthly payment may be reduced due to this rounding. These payments apply only with the financing offer shown. If you make these payments by the due date each month, you should pay off this amount financed within the promo period, if it is the only balance you are paying off. If you have other balances on your account, this payment will be added to any other minimum monthly payments.
Applies only to select items from this manufacturer. Ask your Sweetwater Sales Engineer for more details.