
Focusrite iTrack Solo Quickstart Guide
Getting started with the Focusrite iTrack Solo
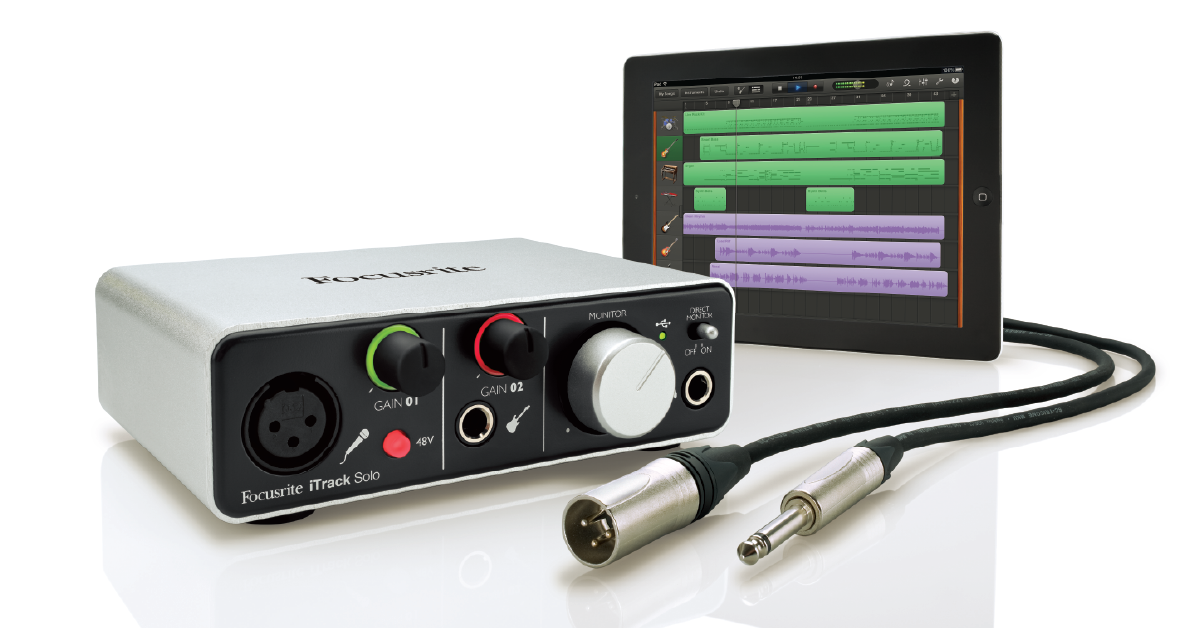
In this guide, we will show you how to register, set up, and connect your Focusrite iTrack Solo interface with both your iPad, as well as your PC or Mac computer. Follow the instructions below to get started.
- How to register the iTrack Solo
- Install Focusrite iTrack Solo driver (Windows users only)
- Set up and connect your iTrack Solo
- Update your computer’s sound settings
How to register the iTrack Solo
Before you get up and running, the first thing you’ll need to do is register your iTrack Solo interface with Focusrite. Once the interface is registered, you’ll receive a free copy of Ableton Live Lite, as well as the Focusrite Scarlett plug-in suite to get your creative juices flowing.
- Log in to your Focusrite account. If you don’t have a Focusrite account, you can create one here.
- Once you’ve logged into your account, go to the Focusrite product registration page.
- Use the dropdown box, select your iTrack Solo, enter your serial number (located at the bottom of your iTrack Solo), and then click Set Serial Number.
- Fill out the required information on the next page and click Submit.
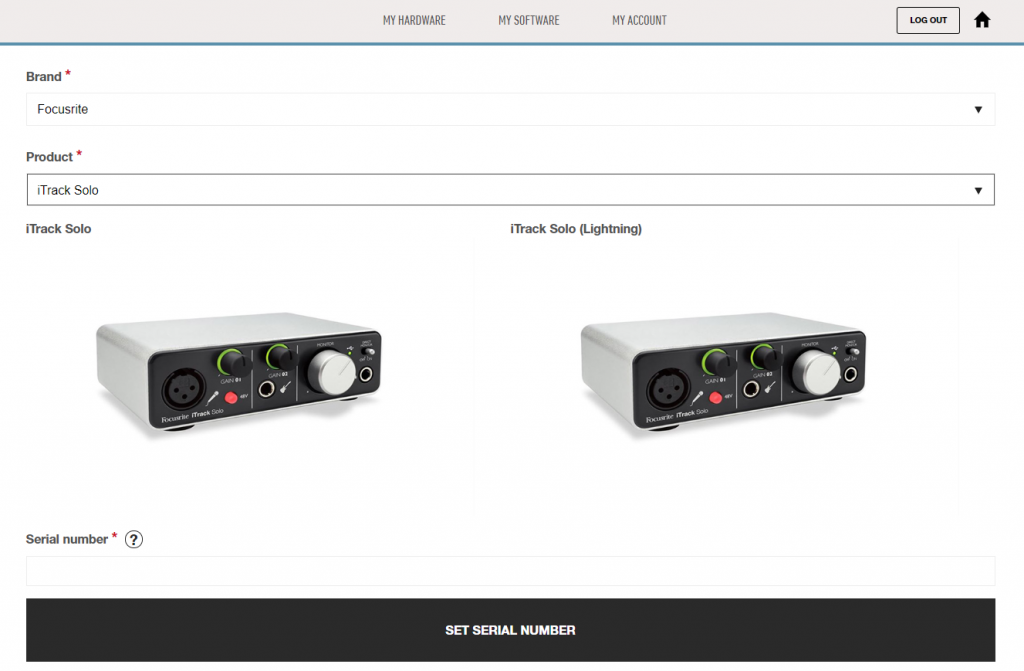
Click the image to register your Focusrite iTrack Solo
Where to find your bundled iTrack Solo software
Once your iTrack Solo interface has been registered to your account, Focusrite will deposit licenses for Ableton Live Lite and the Scarlett plug-in suite. To access your software downloads, go to your account home page, then click My Software. For instructions on how to download and activate the Scarlett plug-in suite and Ableton Live Lite, click the links below.

Learn more about how to activate the Focusrite Scarlett Suite!
Learn More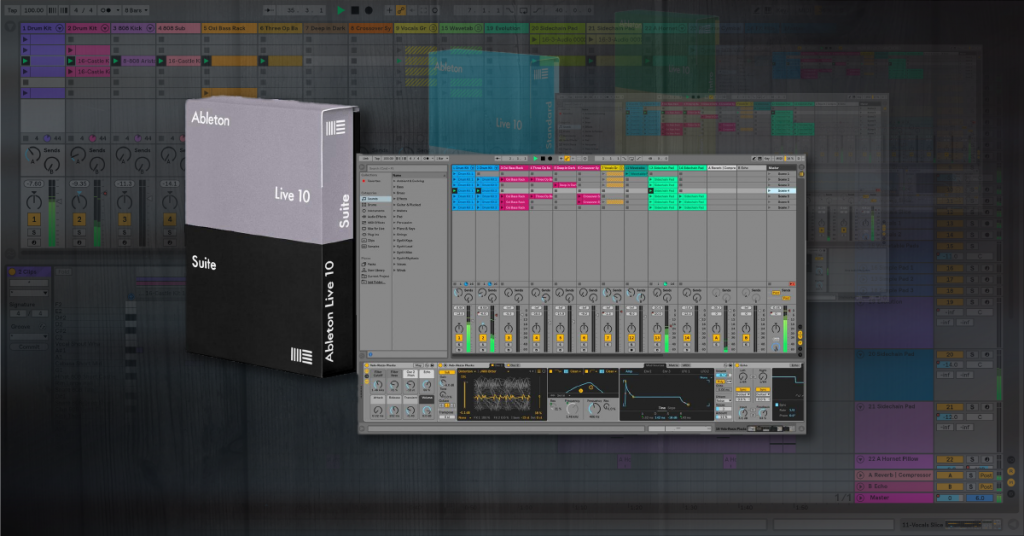
Learn more about how to activate Ableton Live Lite!
Learn MoreInstall Focusrite iTrack Solo driver (Windows users only)
The Focusrite iTrack Solo is class-compliant on Mac, which means no additional driver software is required. If you are using a PC, the iTrack Solo requires additional driver software to work correctly. Before you connect the interface, its driver software must first be installed. Mac users can skip this section and continue to Set up and connect your iTrack Solo.
- Go to the Focusrite Downloads page.
- Select your Brand (Focusrite), then Product Range (iTrack Solo), or Product Type (iTrack Solo).
- Find and click the latest software version compatible with your operating system to download it.
- Open your computer’s Downloads folder, then launch the installer.
- Follow the onscreen instructions, then restart your computer.
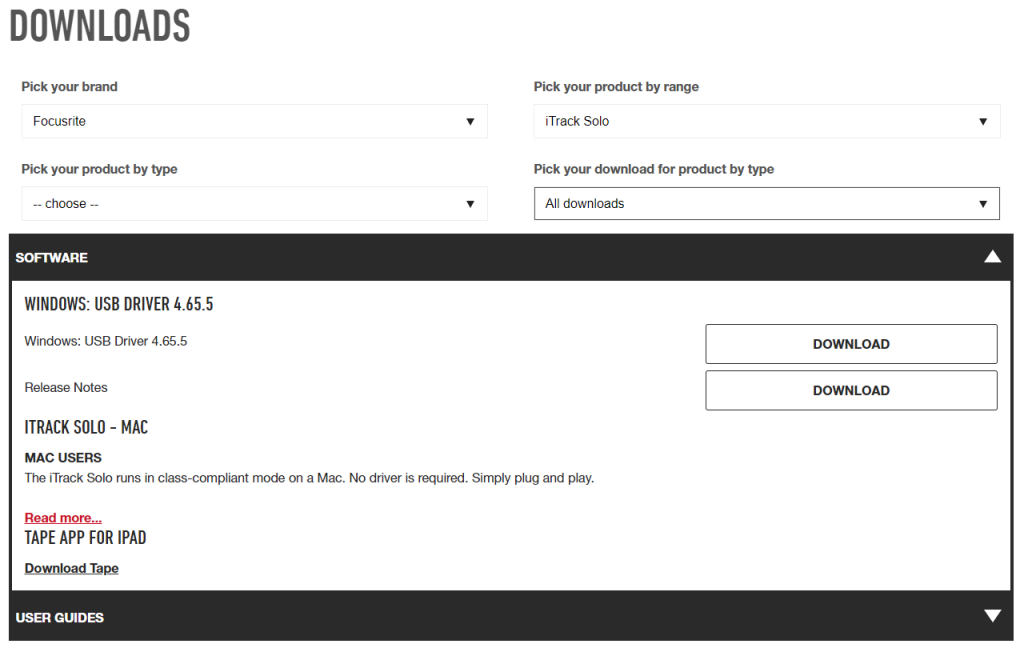
Click the image to download the iTrack Solo USB driver for Windows.
Set up and connect your iTrack Solo
After registration and installation, it’s time to connect the iTrack Solo. The iTrack Solo interfaces have a USB 2.0 port and a proprietary Device Link so you can connect to your iOS device. When connecting your iTrack Solo to your computer, all you need is an available USB port. After that you just need to update your computer’s sound settings.
Connecting your iTrack Solo to your iPad
The iTrack Solo is bus powered when connected to your computer. However, it will need a USB power adapter when using it with your iPad. The USB power adapters are included when you purchase an iOS device, but any USB power adapter will suffice, such as the Apple Power Adapter. It’s important to note that your iOS device will not be charged when connected via the USB power supply.
Once you’ve connecting your iTrack Solo to your iPad, launch your iOS DAW of choice, such as GarageBand, and update the app’s input. Let’s use GarageBand as an example.
- Launch GarageBand, then add a track.
- Press the instrument plug icon on the left on the app to open GarageBand’s input settings.
- Press Left Channel if you’re recording using your microphone, or Right Channel if you’re recording using an instrument connected to the 1/4″-inch jack.
Tap the instrument plug icon.

Update the channel input.
Getting interference when using the iTrack Solo with an iPad
To ensure that you have the cleanest recording and playback as possible, go to the iPad’s settings and turn on Airplane mode.
Update your computer’s sound settings
When your computer plays audio, the sound is output through a selected audio device. To choose your iTrack Solo as a Mac or PC’s audio device, you’ll need to update the Sound settings. These settings will apply to most apps and features, but most audio software has its own audio settings, too.
That means your DAW or other related audio software needs to know what the audio device is and what inputs and outputs are being used. To test audio playback with your new iTrack Solo, update the computer’s Sound settings and then play sound from a web browser, like a video from our YouTube channel.
Mac
- From the Menu Bar, click the Apple icon and select System Preferences.
- Click Sound.
- Under the Output and Input tabs, select your iTrack Solo.
PC
- From your Windows taskbar, right-click the sound icon and select Open Sound Settings.
- Select your Focusrite iTrack Solo from the Output and Input dropdown boxes.
- Test your output by scrolling down to and selecting Sound Control Panel, click the Playback tab, right-click the iTrack Solo, then click Test.
iTrack Solo isn’t showing up on my computer
If your iTrack Solo isn’t showing up on your computer, reconnect the interface by unplugging and plugging it back in. If you have not done so yet, try reconfiguring the USB connections so that Focusrite iTrack Solo is connected directly to your computer. Sometimes USB hubs cannot provide enough power for bus-powered devices, which is especially true for hubs that do not have their own power supply (aka passive hubs). If the problem persists, try a different USB port or cable. Visit our Windows and Mac guides for more tips on resolving audio device connectivity.
Learn more about how to troubleshoot audio interface issues on PC!
Learn More
Learn more about how to troubleshoot audio interface issues on Mac!
Learn MoreRelated content

Learn more about optimizing your Windows 10 computer for music production!
Learn More
Learn more about optimizing your Mac computer for music production!
Learn More
Learn more about how to get up and running with Ableton Live!
Learn More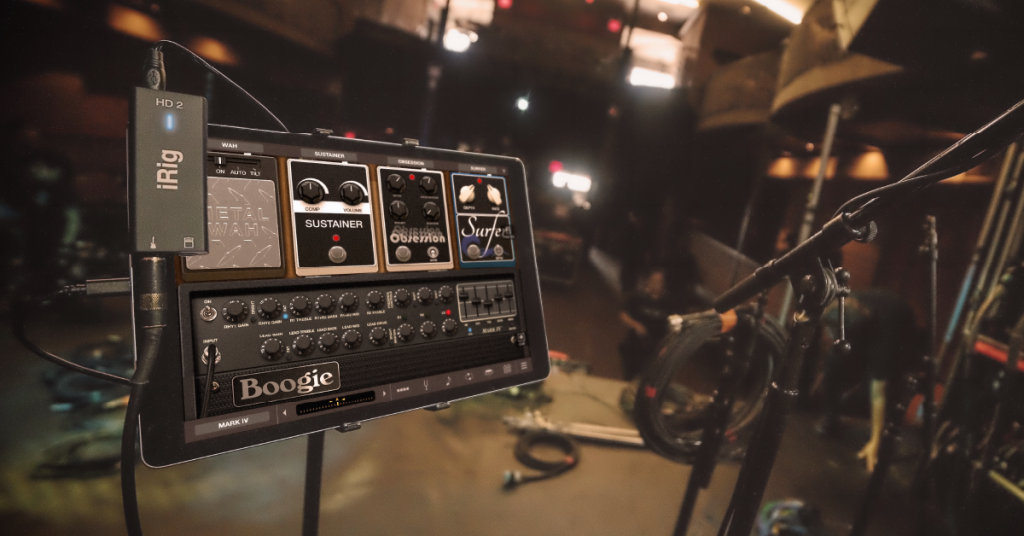
Learn more about how to practice effectively using an iPad!
Learn MoreAdditional resources
How to record using iPad and iTrack Solo
Recording onto iPad Equipment
Set up and record with iTrack Solo
When you need help, Sweetwater has the answers!
Our knowledge base contains over 28,000 expertly written tech articles that will give you answers and help you get the most out of your gear. Our pro musicians and gear experts update content daily to keep you informed and on your way. Best of all, it’s totally FREE, and it’s just another reason that you get more at Sweetwater.com.


Offer applies only to single-receipt qualifying purchases. Select manufacturers may require that only the manufacturer’s products qualify towards the minimum purchase amount needed to be eligible for promotional financing. Otherwise, an invoice that meets the minimum purchase amount and contains at least one qualifying manufacturer product is eligible for promotional financing. No interest will be charged on promo purchase balance, and equal monthly payments are required on promo purchase until it is paid in full. The payments equal the amount financed divided by the number of months in the promo period, rounded up to the next whole dollar. These payments may be higher than the payments that would be required if this purchase was a non-promo purchase. During the last month(s) of the promo period the required monthly payment may be reduced due to the prior months’ rounding. Regular account terms apply to non-promo purchases. New Accounts as of 07/31/2025: Purchase APR is 34.99%. Penalty APR is 39.99%. Min Interest Charge is $2. Existing cardholders: See your credit card agreement terms. Subject to credit approval.
Offer applies only to single-receipt qualifying purchases. No interest will be charged on the promo balance if you pay it off, in full, within the promo period. If you do not, interest will be charged on the promo balance from the purchase date. The required minimum monthly payments may or may not pay off the promo balance before the end of the promo period, depending on purchase amount, promo length and payment allocation. Regular account terms apply to non-promo purchases and, after promo period ends, to the promo balance. New Accounts as of 07/31/2025: Purchase APR is 34.99%. Penalty APR is 39.99%. Min Interest Charge is $2. Existing cardholders: See your credit card agreement terms. Subject to credit approval.
The estimated required monthly payment shown which excludes taxes and delivery equals the amount financed divided by the number of months in the promo period, rounded up to the next cent. During the last month(s) of the promo period the required monthly payment may be reduced due to this rounding. These payments apply only with the financing offer shown. If you make these payments by the due date each month, you should pay off this amount financed within the promo period, if it is the only balance you are paying off. If you have other balances on your account, this payment will be added to any other minimum monthly payments.
Applies only to select items from this manufacturer. Ask your Sweetwater Sales Engineer for more details.