Apogee Symphony Desktop Setup Guide
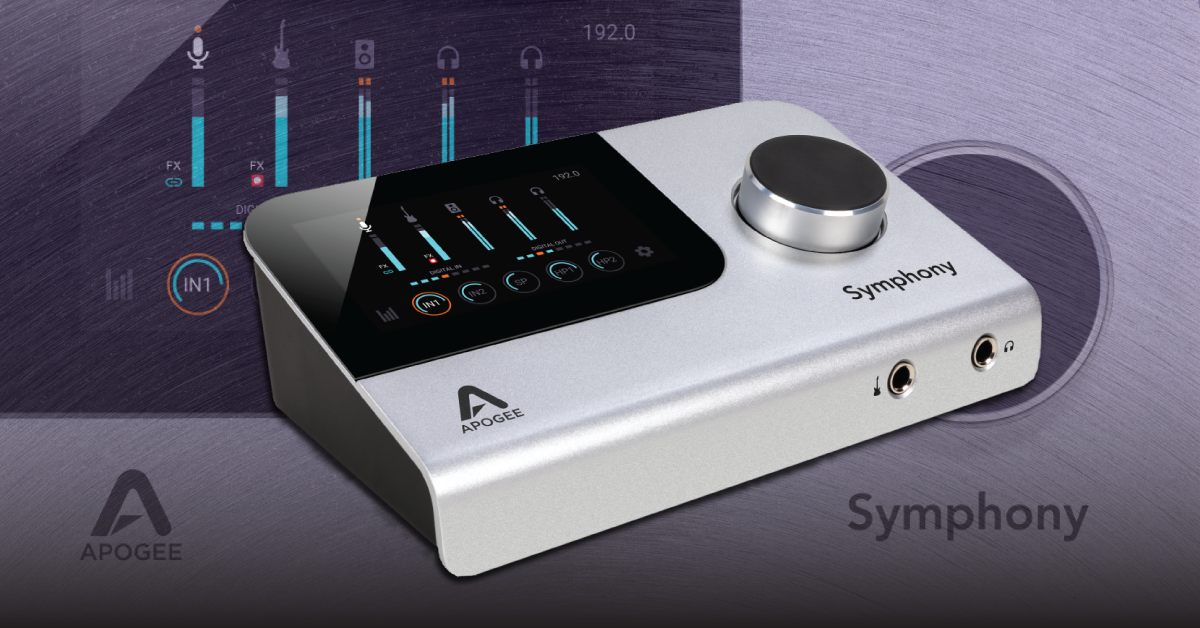
Getting started with the Apogee Symphony Desktop interface
In this guide, you will learn how to set up an Apogee Symphony Desktop audio interface. We will show you how to connect it to your computer and get audio in and out of the device. Follow each of the sections below to get started.
- Apogee Symphony Desktop setup page
- Register the Symphony Desktop
- How to set up and connect the Apogee Symphony Desktop
Apogee Symphony setup page
Apogee has created a step-by-step setup guide to get started with your Apogee Symphony Desktop. It will walk you through the registration process, how to install and activate Apogee plug-ins, and even detailed videos on first-time use. Click the image below to get started and enjoy your new Apogee interface! Return to this page at any time for more information and step-by-step instructions.

Click the image to begin the registration process
Register the Symphony Desktop
To unlock the Symphony Desktop’s full potential, you first need to register it with Apogee. Upon registration, you’ll receive free Apogee effects plug-ins and also get access to the latest firmware files, so your interface is up to date. Keep your Sweetwater invoice handy, as you’ll need to enter some of its information during the registration process.
- Go to the Symphony Desktop page, enter your email address, then click Submit.
- On the next page, fill out the required info, then click Submit to complete.
- You will then be redirected to a confirmation page which includes download links for your new Apogee plug-ins and drivers.
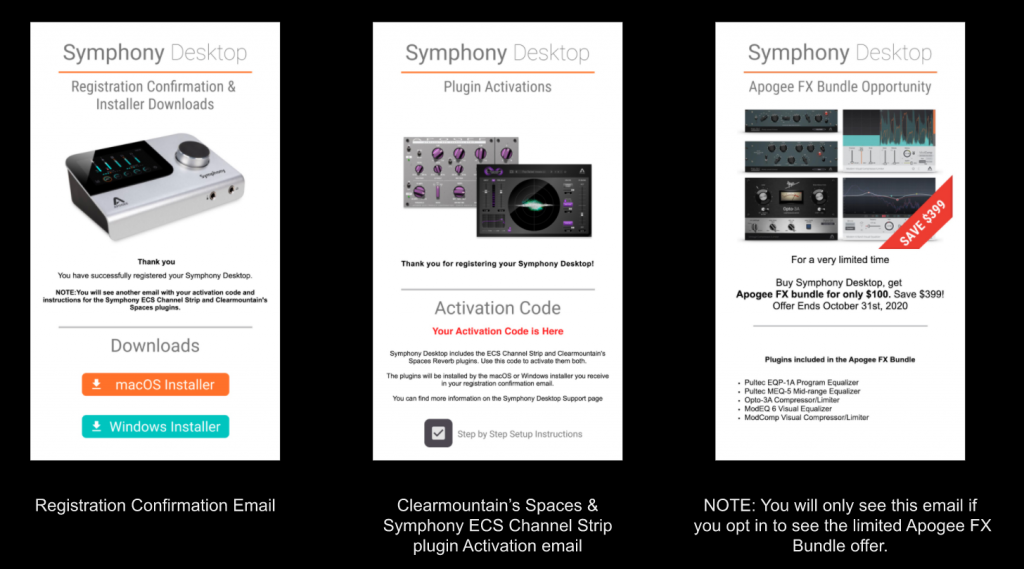
- You’ll receive emails from Apogee which will include software activation codes.
Registration and software installation emails you will receive.
How to set up and connect the Apogee Symphony Desktop
Now that you’ve successfully registered your interface with Apogee, it’s time to get everything set up and connected. The Symphony Desktop is a class-compliant USB audio interface. It connects to both PC and Mac computers via the native Windows/macOS audio class drivers but is optimized for Apogee’s custom driver/control software. Install the latest version available from Apogee to get the most from your Symphony Desktop experience. Be sure you’re connecting the interface via the USB-C port, not the USB-A.
IMPORTANT: The power supply has a locking mechanism that requires you to twist the barrel connector. If you are experiencing power issues, be sure that it’s fully secured by turning the connector and then lightly tugging it.
- Download and install the latest software here.
- You’ll receive another download if you opted in to beta test the Desktop Control Center app.
- Register your Symphony Desktop, and then restart your system.
- Connect the interface to your computer or iOS device and power it on.
- If you’re connecting the Symphony Desktop to an iPhone, you’ll need to use an Apple Lightning to USB Camera Adapter.
AC Power
Power ON
Connect DC Power
Update Touch Screen Control
Update the Touch Screen Control application
Apogee will release firmware updates to the Touch Screen Control application (the software that the touch screen operates uses) from time to time, which often includes new features and applies bug fixes. When you register your interface with Apogee, you’ll automatically be set up to receive notification emails from Apogee, which lets you know when there’s a firmware update.
IMPORTANT: You’ll need to follow these instructions anytime you see the “Update Required” message on the display.
- Connect the included USB thumb drive to your computer, then navigate to the location where you downloaded the Symphony Desktop Installer.
- Double click the .zip or .dmg file, click and drag the SymphonyDesktopUpdate file from that folder to your USB thumb drive, then safely eject the drive.
- Connect the thumb drive to the USB HOST port on the back of the Symphony Desktop interface, touch the gear icon, then swipe right to page three.
- Tap the Update button, tap Check for Update then tep Yes to the Update.
- Press Yes once more to begin the update.
- Once complete, the interface will automatically turn off then back on.
Update Installer
Update Instructions
Update Required
Install the Desktop Control software
IMPORTANT: The Desktop Control Software is currently in Beta testing. The software will be available to Mac users with the 1.1 update, and Windows users with the 1.2 update.
While you can virtually do anything using the touchscreen, the Desktop Control Software is the standalone application where you can make even more changes with the Symphony Desktop interface.
When you run the Desktop Control software installer for the first time, you can also install your free Apogee plug-ins, as their installer files are included.
- Go to your Downloads folder and locate the Symphony Desktop Installer.
- Double-click the .zip or .dmg, then run the SymphonyDesktopInstaller file.
- PC users: The free bundled plug-ins are included in the Desktop Installer file.
- Mac users: You must run each plug-in installer separately.
- Once the installation is complete, reboot your computer.
Apogee software activation instructions
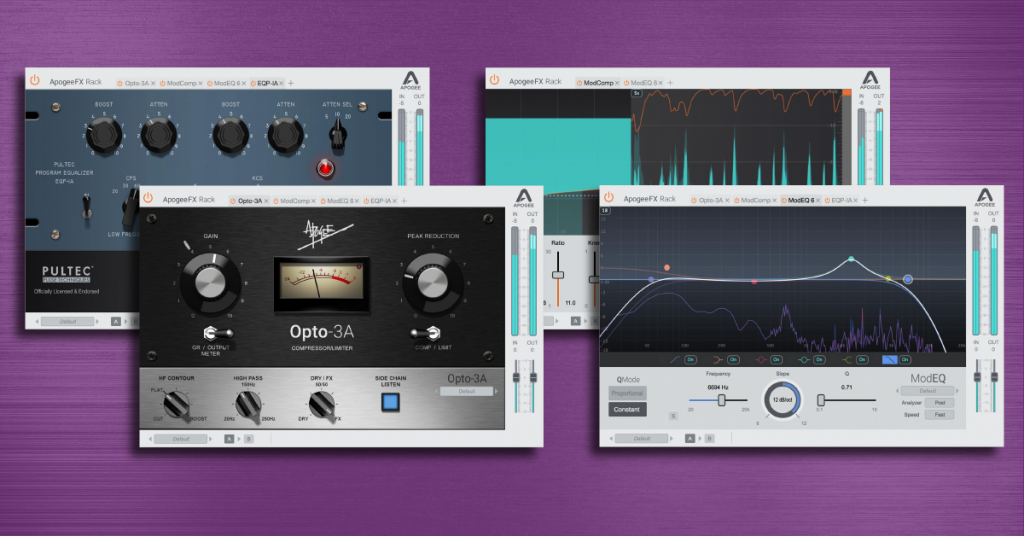
After you’ve installed the Symphony Desktop application, you can then activate your free Apogee plug-ins. For more information on how to activate your plug-ins, check out our Apogee Software Activation Instructions.
Learn about how to activate your Apogee effects plug-ins!
Connecting your gear
Now that you’ve got everything taken care of, let’s get set up and connected! The Symphony Desktop operates on the USB 2.0 protocol for maximum compatibility, so while you can connect it to a USB 3.0 port, it’s best to save that port for another piece of gear that uses the USB 3.0 protocol.
- Turn the Volume knob all the way down, then connect your speakers.
- Connect the USB cable from the interface to your computer, then power it on.
- Navigate to your OS sound settings and set it as the default input and output device.
- PC: Right-click the Speaker icon on the Windows taskbar, select Sounds, then click the Playback tab. Locate and select the interface, click Set Default, then click OK to close the menu. Do the same in the Recording tab.
- Mac: Click the Apple icon from the Menu Bar and select System Preferences. Click Sound, then select the Apogee under the Input and Output tabs.
- If applicable, connect your headphones to the jack on the front (and back if you’re using them)
- Play some music or a video, and slowly turn the main Volume (and headphone) knob up until it’s at your desired listening level.
- Launch your DAW, select your Symphony Desktop interface as the primary playback and recording device.
The Symphony Desktop isn’t showing up on my computer
If the interface isn’t showing up when connecting it to your computer, reconnect the interface by unplugging and plugging it back in. If you have not done so yet, try reconfiguring the USB connections so that the Symphony Desktop is connected directly to your computer. If the problem persists, try a different USB port or cable. Visit our Windows and Mac guides for more tips on resolving audio device connectivity.
Learn more about how to troubleshoot audio interface issues on PC!
Learn MoreLearn more about how to troubleshoot audio interface issues on Mac!
Learn MoreRelated content
Learn more about optimizing your Windows 10 computer for music production!
Learn MoreLearn more about optimizing your Mac computer for music production!
Learn MoreLearn more about computer updates for music production.
Learn MoreLearn more about how to reduce latency, clicks, and pops while recording.
Learn MoreWhen you need help, Sweetwater has the answers!
Our knowledge base contains over 28,000 expertly written tech articles that will give you answers and help you get the most out of your gear. Our pro musicians and gear experts update content daily to keep you informed and on your way. Best of all, it’s totally FREE, and it’s just another reason that you get more at Sweetwater.com.


