
MOTU 828 Quickstart Guide
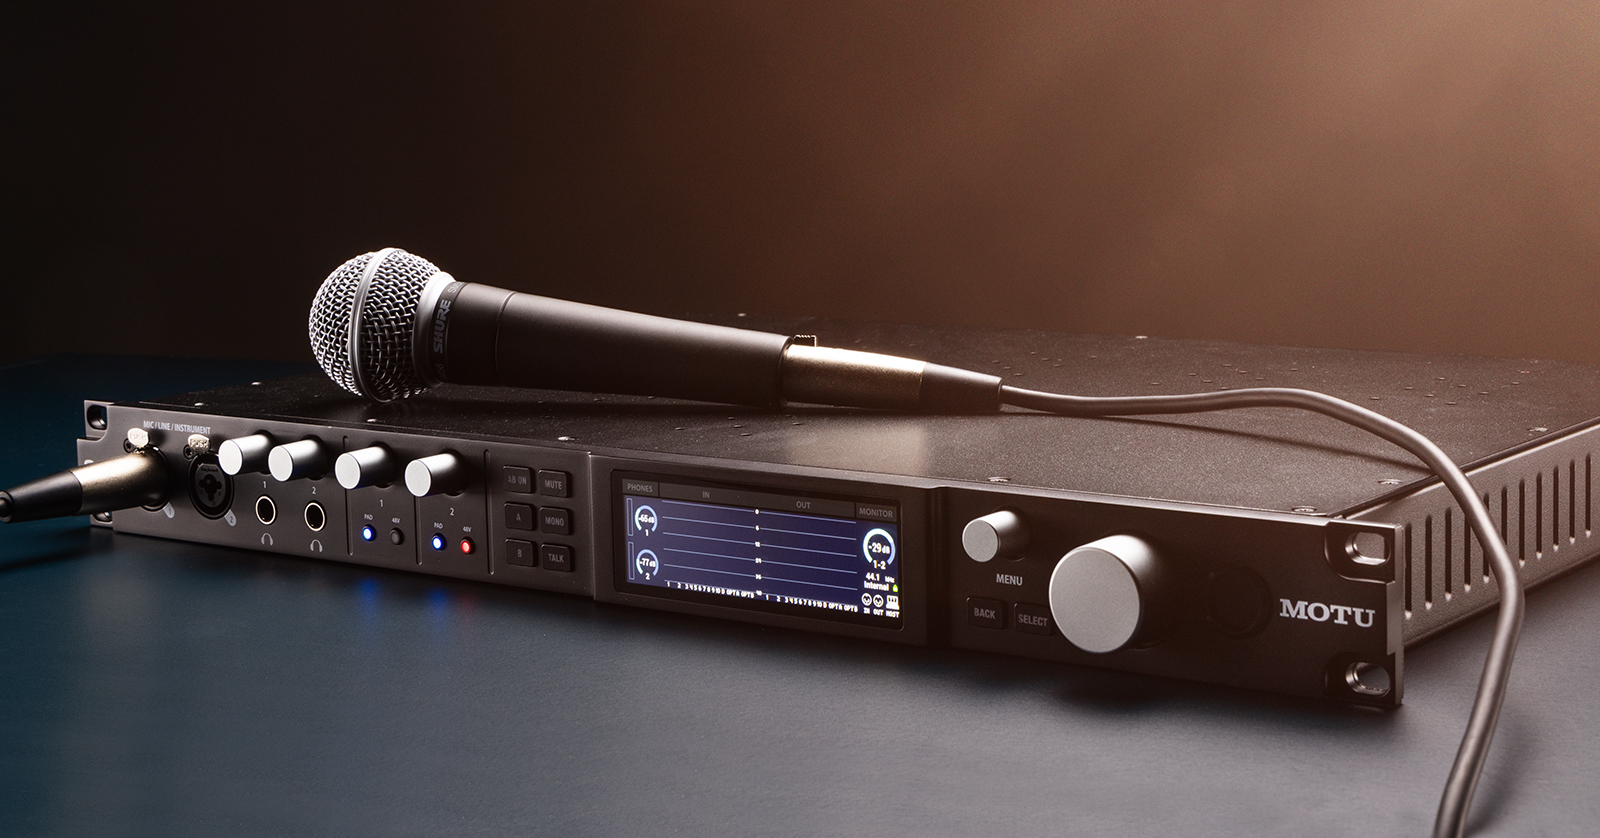
In this guide, we will show you how to set up and connect the MOTU 828 audio interface. You’ll learn to set it up with your computer and configure the sound settings. Follow the sections below to get started. This guide will get you up and running, so check out the 828 User Guide for more information!
Register and Download the 828 Driver
Your MOTU 828 audio interface is bundled with MOTU Performer Lite and Ableton Live Lite DAW software. That means you just need to install the software and connect your interface to get up and running.
NOTE: While the MOTU 828 is class-compliant on macOS, you must install the software to gain access to low-latency functions and the CueMix 5 software.
- Go to MOTU’s 828 Getting Started page, then scroll down and click REGISTER HERE. Fill out the necessary information.
- Once you’ve registered, go back to the Getting Started page. Click DOWNLOAD 828 INSTALLER to download the driver software installer for your OS.
- Navigate to your Downloads folder, launch the installer, and follow the on-screen instructions.
- Once installation is complete, restart your computer.
828 PC users: start here
828 Mac users: start here
Setup and Connections
The MOTU 828 has plenty of analog- and digital audio connections, allowing for plenty of routing flexibility. Here are a few tips for setting up your MOTU 828.
NOTE: The included USB cable is USB-C to USB-C. If your computer doesn’t have a USB-C port, you must purchase a USB-C to USB-A cable separately.
Audio I/O
- The Pad button is used for signals that may overdrive the input. It will not affect the 1/4-inch input of the combo jacks.
- When using a condenser microphone, enable Phantom Power after connecting it, and turn it off before disconnecting it.
- If you’re using a footswitch, the USB connection will reset so the footswitch input can be recognized as a keyboard to trigger keystrokes on your computer.
- All 1/4-inch inputs are DC-coupled.
- You can re-amp on the 828. Connect a guitar to Input 1 and a microphone to Input 2, then connect a re-amp box to one of the line outs.
Digital I/O
- S/PDIF is disabled if the unit uses a 176.4kHz- or 192kHz sample rate.
- ADAT connections provide 16 additional channels at 44.1kHz and 48kHz. They can provide eight additional channels at 88.2kHz and 96kHz.
- Bank A ADAT inputs and outputs function independently, which is helpful if you want to mix and match other optical formats.
828: Basic connections and monitoring
Getting Ready to Record
Once everything is set up and connected, it’s time to record!
- Connect your guitar or mic to Inputs 1 and 2 on the front inputs. Connect any line-level devices to the rear inputs.
- Adjust the input settings on the hardware using the encoder knob. You can also set up additional routing in CueMix 5.
- Update the input- and output routing in your DAW.
Re-amping
One great thing about the MOTU 828 is that you can re-amp your instrument. Re-amping lets you record and process a clean signal through guitar pedals or guitar amps after recording. Re-amping on the 828 couldn’t be easier.
- Launch CueMix 5 and disable Path Thru for Inputs 1 and 2. Make sure the channel faders are all the way down!
- Connect your guitar to Input 1, a microphone to Input 2, and a passive re-amp box to any of your amp’s line-out connections.
- Create two audio tracks dedicated to each input.
- If you are recording in stereo, pan Input 1 hard left or hard right (depending on what output in the pair you’re using for the amp’s output).
- Begin playing. Raise the fader in CueMix 5 until you reach a reasonable level.
Additional MOTU 828 Resources
Loopback Explained
CueMix 5
Related Articles
When you need help, Sweetwater has the answers!
Our knowledge base contains over 28,000 expertly written tech articles that will give you answers and help you get the most out of your gear. Our pro musicians and gear experts update content daily to keep you informed and on your way. Best of all, it’s totally FREE, and it’s just another reason that you get more at Sweetwater.com.

