
Apogee Duet 3 Setup Guide
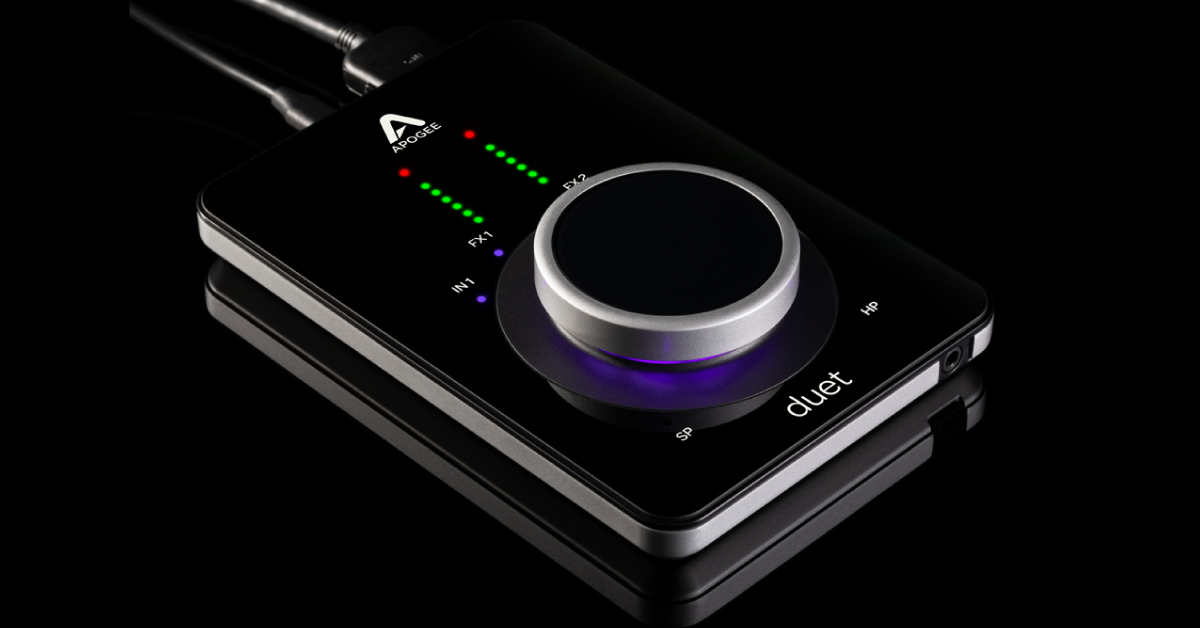
In this guide, we will show you how to register, set up, and connect an Apogee Duet 3 interface for the first time. Follow the sections below to get started.
Register the Duet 3
Before you can start using the Duet 3, you first need to register the interface with Apogee. Once registered, you’ll receive download links for the Apogee Control software, which is necessary for operation.
- Log in to your Apogee account. If you don’t have one, you can create an account here.
- If you just created an account, Apogee will send you an email that you will need to verify your account beforehand.
- On your account home page, click the Product Registration, then click Add Product Registration.
- Fill out the registration form, including the serial number located on the bottom of the Duet, then click Create Product Registration.
Apogee Duet 3 Getting Started – How to Register
Download and install Apogee Control 2
Once you’ve registered the interface, you’ll need to download the Apogee Control 2 software and drivers for your OS.
- Check your email address for download links sent to you from Apogee. If you don’t see the email, be sure to check your spam folder!
- Click on the link provided in the email to download the installer for your OS.
- Navigate to your Downloads folder, then launch the installer.
- Mac: Double-click the installer, then follow the on-screen instructions. You will need to reboot your computer after installation is complete.
- Windows PC: Right-click the .zip file and click Extract All… to extract the installer, then double-click the .exe to begin the installation. After installation is complete, restart your computer.
Update the firmware
After you’ve completed the installation process, you may be prompted to update the firmware. These updates are released periodically to add new features and address known bugs, so we always advise you to keep your device up-to-date for the most optimized performance possible!
- Disconnect the Duet 3 from your computer, and close Apogee Control 2 and any DAW or other software (e.g., browser, music streaming application).
- Press and hold the controller knob and reconnect the interface to your computer.
- After you see a firmware update notification, you can let go of the controller knob.
- Click Yes to begin the firmware update.
Setting up your gear
After everything is taken care of, it’s time to get recording! Connecting your gear to the Duet 3 is straightforward, so follow these steps to get started.
- Turn the volume knob all the way down, then connect your speakers.
- If you have headphones connected, turn its volume knob all the way down, as well.
- Connect the USB cable from the interface to your computer, then power it on.
- Navigate to your OS sound settings and set it as the default input and output device.
- PC: Right-click the Speaker icon on the Windows taskbar, select Sounds, then click the Playback tab. Locate and select the interface, click Set Default, then click OK to close the menu. Do the same in the Recording tab.
- Mac: Click the Apple icon from the Menu Bar and select System Preferences. Click Sound, then select the Duet 3 under the Input and Output tabs.
- If applicable, connect your headphones to the jack on the front.
- Play some music or a video, and slowly turn the main Volume (and headphone) knob up until it’s at your desired listening level.
- Launch your DAW, and select your Duet 3 as the primary playback and recording device.
Connecting iPad and iOS devices
You can also use your Apogee interface with iPads and other iOS devices. For iPad Pros, just use the included USB-C to USB-C/A cable. If you’re using another iOS device, use the USB-C to USB-C/A cable to connect to an official Apple Camera Connection adapter.
Additional resources
Related Articles
When you need help, Sweetwater has the answers!
Our knowledge base contains over 28,000 expertly written tech articles that will give you answers and help you get the most out of your gear. Our pro musicians and gear experts update content daily to keep you informed and on your way. Best of all, it’s totally FREE, and it’s just another reason that you get more at Sweetwater.com.

