
Here at Sweetwater, we get asked whether or not people should upgrade whenever a new OS is released. This is especially true in the world of audio production as upgrading to a new OS may mean software or hardware incompatibility which, in turn, could bring your projects to a screeching halt. And that’s never a good thing, especially if it’s time sensitive!
It’s Been Six Years!
Back in June of 2021, Microsoft announced Windows 11, its latest version of Windows. Unlike Apple, who announces OS upgrades once a year, it has been six (!) years since Windows 10 was initially released, so software and hardware both have advanced quite a bit within that time span. I have always been a Windows user, so I know that, when people hear that there’s an OS upgrade, they get a bit nervous simply because these updates are so few and far between.
What Changed?
Microsoft had workflow and multitasking in mind when designing Windows 11, so some of the significant changes were to the GUI (graphical user interface). It’s very customizable and easy to set up. Under the hood, Microsoft made changes to increase your PC’s performance. While some of these performance changes are geared toward gamers, these same optimizations are just as crucial to audio engineers.
When you first boot up Windows 11, you’ll immediately notice there has been a GUI overhaul. From taskbar icons being pinned to the center to different system icons and ways to access settings (like Device Manager), it will take some getting used to.
One of my favorite changes is the Windows update delivery optimization. Gone are the days of needing to reboot every single time there’s even a minute update. The updates are now 40% smaller, and they can download and install in the background, so your work can be uninterrupted while you’re working on a project.
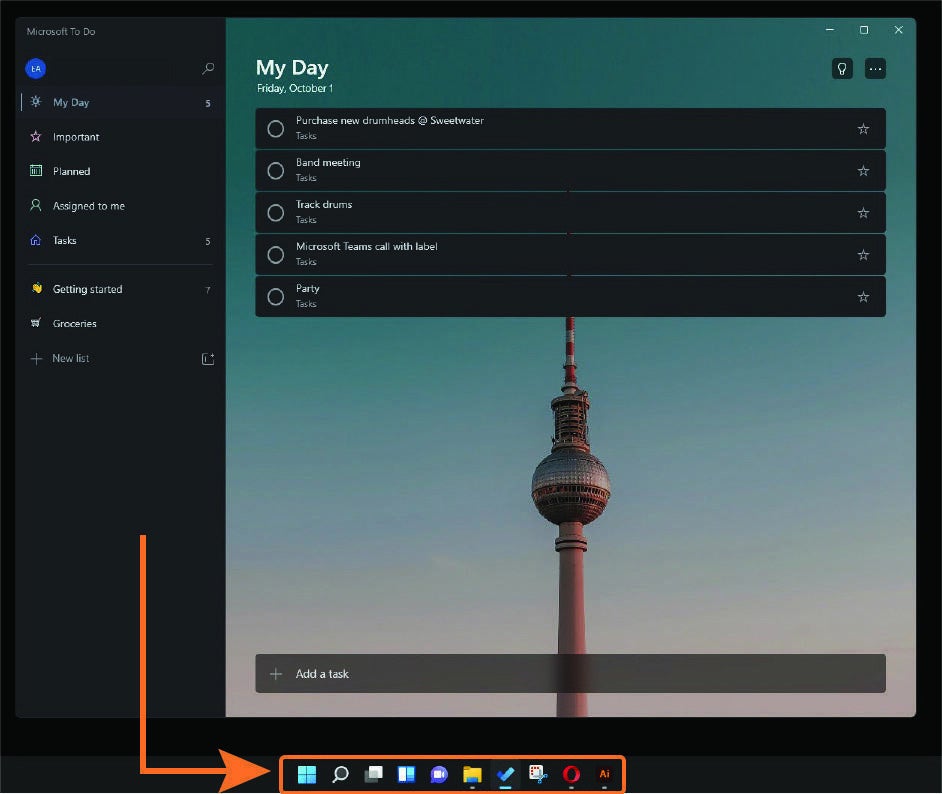
Taskbar
In previous versions of Windows, the shortcut icons were pinned to the left. In Windows 11, they’re pinned to the center, similar to Mac and Chrome OS. If you don’t like the new layout, then there’s good news: you can go back to the classic left-aligned shortcuts by going into the “Taskbar behaviors” section of Windows Settings.
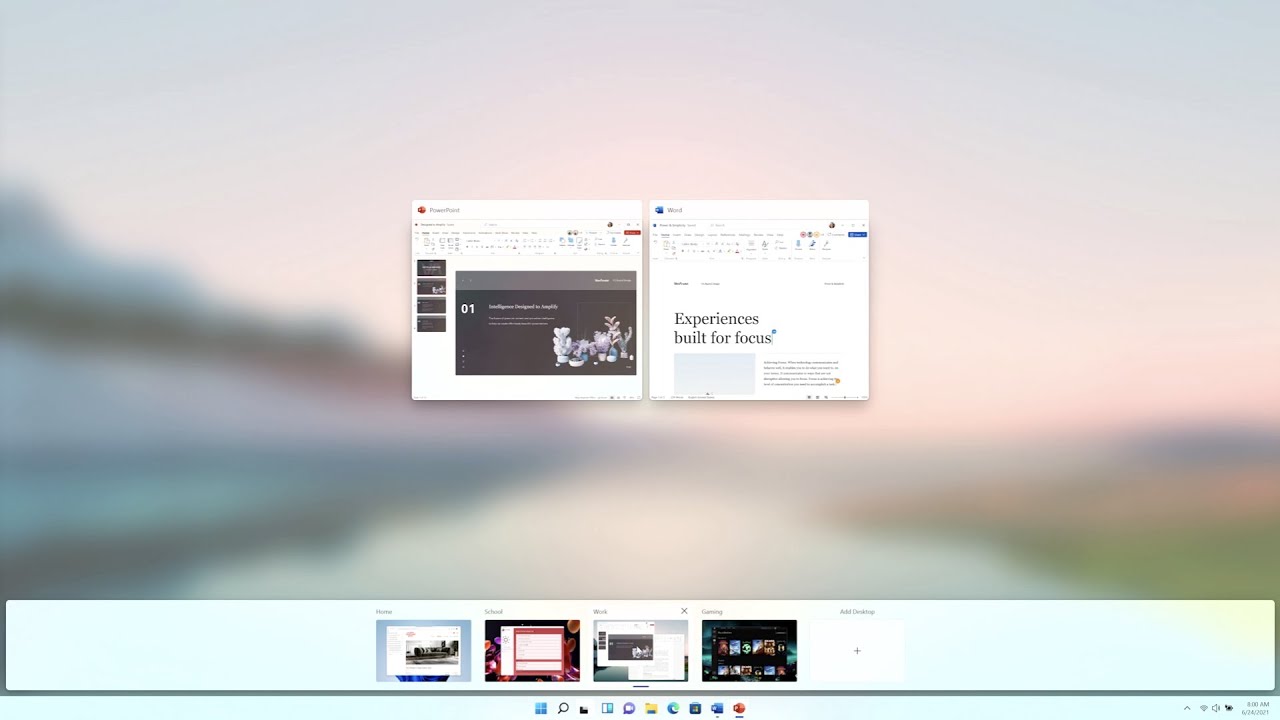
Snap layouts and snap groups
Multitasking is a vital skill in the studio because that can make or break a recording or mixing session. Luckily, many features built into Windows 11 address this and help speed up your workflow. One excellent feature is the snap layouts and groups. These layouts help you navigate between multiple applications without having to minimize one application to view another regularly.
For example, if you’ve just launched a DAW for the first time and you’re learning how to navigate through it, then create a snap group where your DAW takes up the right half of the screen and a SweetCare guide on the left. Now you don’t have to minimize one window just to open another.

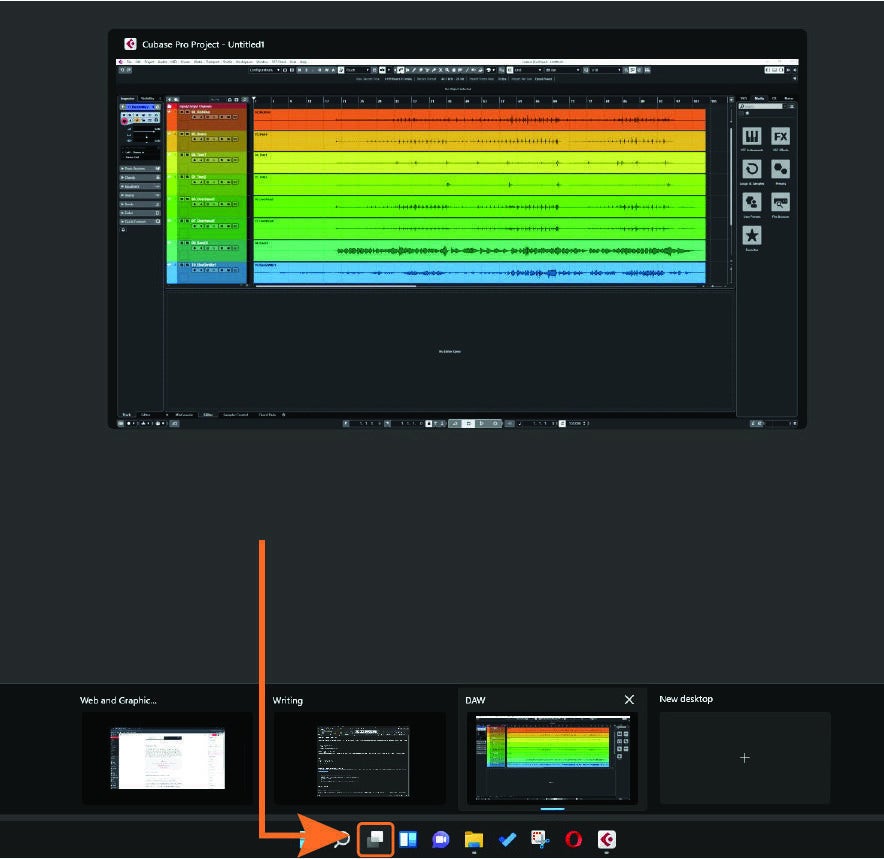
Virtual Desktop
The Virtual Desktop allows you to arrange all of your applications into separate desktops to make your workflow more streamlined. This is something I use quite often as not only does it help organize all of your applications, but it also helps you focus on one particular thing and not get distracted. For example, I have three virtual desktops set up on my studio computer — one for DAWs, one for writing, and one for graphic and web design. While Windows 10 had this feature, Microsoft has made it much easier to access in Windows 11.
Remembering dual-monitor setups
If you use multiple displays or a laptop in Windows 10, then any desktop icons will automatically move to the primary display when you disconnect it. Once you reconnect the monitor/laptop, you have to move everything back over. With Windows 11, you can enable a feature where window and icon locations are saved based on the display connections. If you use your laptop in the studio as an extended display but you need to take it on the road for a little while, then just enable this setting so you don’t have to go through rearranging your desktops once you get back in the studio.

Audio optimizations galore!
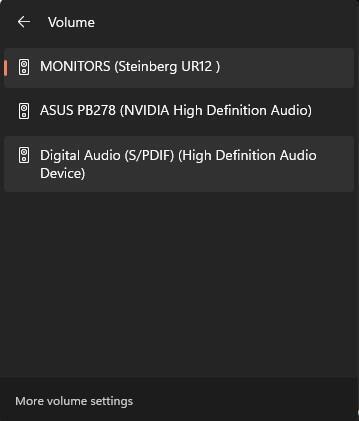
Audio navigation in Windows has always been a bit clunky. Instead of navigating through five different tabs to update settings for just one device, everything is all in one spot now. You can still customize the name of your input and output device, but you can also enable and disable devices straight from that window. This certainly saves time clicking.
One of my favorite features, however, is the ability to change outputs with a single click. This is perfect if you want to use separate outputs for different purposes. For example, I can select my audio interface as the default playback device while using my DAW. But, if I want to use my USB headphones when I start gaming, I can switch the output device to my system sound card without going through multiple menus.
To access this, all you need to do is click the speaker icon at the bottom of the taskbar then click the speaker icon located to the right of the volume slider. You will then see a list of all enabled sound devices. All you need to do is click the respective sound device to set it as the default device.

Windows 11 Snapping and Docking
Windows 11 Desktops

Explore the look and feel of Windows 11
What’s the Catch?
I’ve been working on Windows 11 for the four months it’s been in beta, and I must say that this may become my favorite OS version because of its ease of use and how much it helps my workflow. However, Microsoft set new, stricter minimum requirements. They are very passionate about security, so the new OS now requires computers to use TPM 2.0 (Trusted Platform Module), and it must use Secure Boot. If you aren’t sure what those are, then check out our SweetCare Knowledge Base guide to learn more: “TPM and Secure Boot: What Are They and How Do I Enable Them?“
I use a Sweetwater Creation Station 450 (v6) in the studio and a custom-built machine at home, and, while both met the requirements, it took me a little time to get up and running. This included going into the BIOS to enable the TPM and Secure Boot options, updating system drivers and motherboard firmware, switching the BIOS to UEFI, and converting my boot drive. After all was said and done, it took me about 20 minutes or so to set up everything in preparation for installation.
If your Windows 10 computer was made within the past three or so years (since 2018), then your system will likely be compatible, particularly with the TPM requirement. Also, Windows 11 is based on the Windows 10 architecture, and, while the Windows 11 OS is 64-bit only, you can still run 32-bit applications just as you could on Windows 10. This gives you more flexibility in regard to software compatibility.
Another very important thing to note is that your computer’s Intel or AMD processor must be on Microsoft’s approved list. Even if you have TPM, UEFI, and Secure Boot enabled, it still may not be compatible. Check out Microsoft’s compatibility list below to learn more. If you aren’t sure which processor you have, don’t forget to check out or PC Processor Explained article on the SweetCare Knowledge Base!
It’s a lot of information to take in, but fortunately, Microsoft has made things easy by creating the PC Health Check app. This application will tell you whether or not your PC’s components meet the minimum system requirements. If you’re not sure whether or not your system can run Windows 11, then check out our Windows 11 compatibility guide for more details on hardware and software compatibility!
Should I Take the Leap?
I’ve been a member of Microsoft’s Insider Program for quite some time, so I had access to the beta builds of Windows 11, and I can say that it has been a seamless transition. As a matter of fact, there are quite a few features that have sped up my workflow both at home and in the studio! If you’ve been a longtime PC user and you decide to upgrade, then I highly recommend taking some time to navigate through new menus and get familiar with the layouts because it is quite a big change. Once you customize your workflow, you won’t be disappointed.
When Can I Get It?
Even if you’re as excited as I was about Windows 11 being announced, you may have to wait a little bit to upgrade. Like other Windows upgrades, Windows 11 will be a free upgrade from Windows 10 and will be released starting on October 5, 2021. But, just like every major Windows 10 update, Microsoft will roll it out in phases. Its initial release will be rolled out to owners of the following PCs, and, for others, it will be completely rolled out by mid-2022.
- Acer Swift 5
- Acer Swift X
- Asus Zenbook Flip 13 OLED
- Asus Zenbook 14
- Alienware X15 and X17
- Dell XPS 13
- HP Spectre x360 14
- HP Envy x360 15
- Lenovo Yoga 7 and Yoga Slim 7i Pro
- Samsung Galaxy Book Pro and Galaxy Book Pro 360
- Microsoft Surface Pro 7 and Surface Laptop 4
Do I have to buy Windows 11?
If you already own Windows 10, Windows 11 will be a free upgrade and will install just like any other feature update. However, if you have a computer and need a new Windows license, you will need to purchase it.
I Just Want to Go Back
If you have already upgraded to Windows 11, then there’s both good and not-so-good news. The good news is that, if you’re not entirely sold and you want to roll back to Windows 10, you can. The not-so-good news is that you only have 10 days to roll back. If you’ve missed the 10-day time frame, then you’ll need to reinstall Windows 10 completely.
Doing a complete reinstall of Windows 10 may take quite a bit of time, but our SweetCare articles on rolling back Windows and reinstalling Windows will help guide you through the whole process. I recommend creating a system notification set for nine days after installing Windows 11. This should give you enough time to test-drive everything and have one extra day to roll back if need be.
Do You Have to Get Windows 11? It’s Up to You!
I personally really enjoy what Microsoft did with Windows 11. I haven’t run into any issues at all, even when it was in the beta stage, so I can say that it’s worth it! In the end, though, it’s up to you. If you do decide to take the next step and upgrade, then be sure to check out the SweetCare Knowledge Base to learn everything you need to know about Windows 11!