
Windows 11 Backup: How to Back Up Windows 11
Backing up your files and folders from your computer’s primary hard drive to another source like an external hard drive or the cloud is something you should do on a regular basis. There are different types of backups you can perform on a Windows 11 computer. In this article, we’ll talk about how to perform and recover them. Follow the sections below to get started.
Ways to back up Windows 11
There are two different types of backups on Windows 11: image backups and file backups. Image backups are for backing up your entire hard drive. File backups are for saving individual files and folders. Before we show you how to perform these backups, let’s explain what each type of backup does.
Image backup
NOTE: You cannot transfer image backups to another computer since your Windows key is tied to the original computer.
When performing an image backup on Windows 11, an .ISO file is created for every file, folder, and all software (including your Windows settings) and sent to another storage device. As the name implies, the image backup feature takes a snapshot of everything on your selected hard drive, packs it into one file, then sends it to another location.
File backup
A file backup is pretty self-explanatory. Instead of backing up your entire system all at once, you select those files and folders you wish to back up. File backups do not include Windows settings, however. If you need to recover from a file backup and your system crashes, or if a hard drive begins to fail, then you may need to reinstall Windows.
Back up to an external storage device
While you can back up to an internal hard drive, we strongly recommend backing up to an external device, such as an external hard drive, or upload everything to the cloud. This will make your life much easier, particularly if you have to transfer files to and from separate computers.
We also recommend following the “Rule of Three” (sometimes referred to as the 3-2-1 Rule), which means you make three copies of your files, back up two copies to separate external mediums (hard drive, cloud),and then take one copy offsite.
How to back up Windows 11
Now that you know the types of backups you can perform, you can now make an informed decision about which will best suit your needs. No matter which backup you choose to perform, the process is effortless. Keep this tab open and follow these steps to back up your data.
Image backup
You’ll perform image backups within the Control Panel. If you are backing up to an external hard drive, then you’ll need to reformat the hard drive first. Please note that reformatting a drive will erase any existing data on that hard drive, so we recommend transferring any files on that drive to your computer beforehand. Check out our guide on how to format a hard drive here.
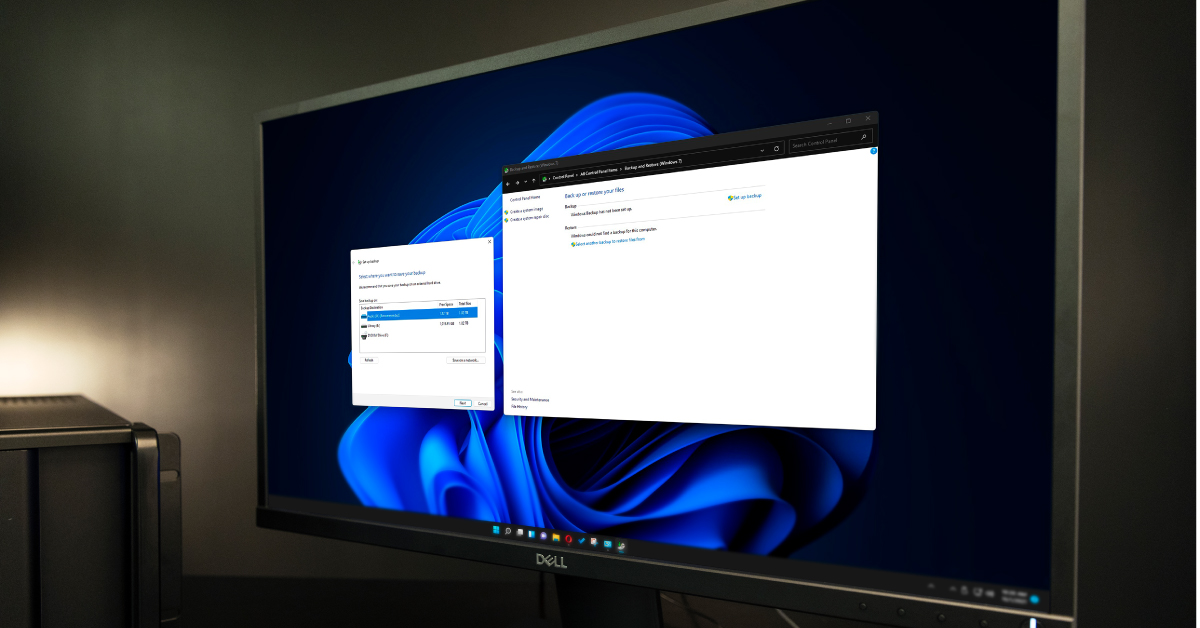
- Go to Control Panel, select Backup and Restore (Windows 7), then click Create a system image.
- Please note that this will not roll back your system to Windows 7!
- In the next window, choose the location you want the image backup to be sent to, then click Next.
- Select any drives you wish to back up, then click Next to begin the backup process.
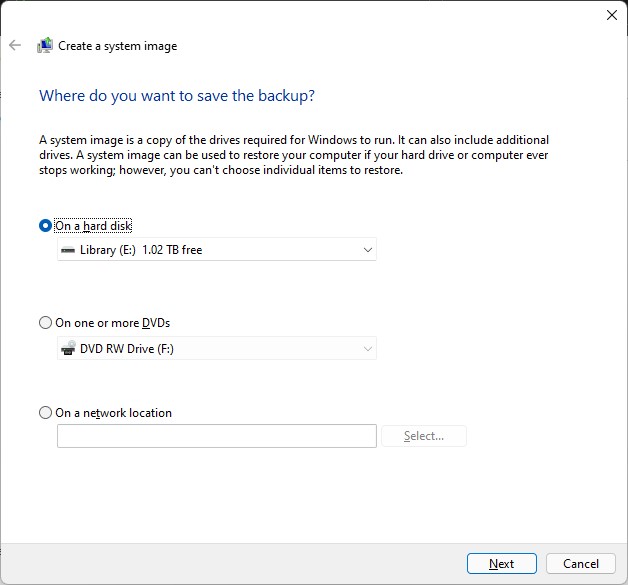
Image backup window
File backup
File backups are great for when you just need to back up content such as DAW projects, photos, videos, or any other important data. Before performing a file backup, make sure that your hard drive is in the correct file format!
Manually transfer
Manually transferring files and folders is probably the most common way to back up your Windows 11 files and folders. This is an excellent way to back up a few files or folders. If you plan to move a large amount of data, then this isn’t the best method, as transferring larger files will take quite some time.
- Connect an external hard drive to your computer, the double-click the This PC icon on your desktop.
- Locate and double-click your external hard drive within the “Devices and drives” section to open it.
- While leaving that window open, use Ctrl+N to open a new File Explorer window.
- Navigate to the file or folder location in the new File Explorer window.
- Select all of the files or folders you wish to back up, then use Ctrl+C to copy them to your clipboard.
- In the external hard drive’s File Explorer window you opened, use Ctrl+V to paste the files or folders.
File History
The File History feature is a great way to back up your data, as Windows 11 will do all of the hard work for you. It works by automatically backing up every folder location you’ve selected regularly. You can change how often your files are saved and the number of saved versions you want to keep. Please note that File History will only back up files and folders located inside C:\Users\<username>.
- Click the Windows icon, then type and select “File History”.
- In the window that appears, select the drive you want the files to be saved to, then click OK. Click Yes when prompted.
- If you have performed the File History backup before on the same drive, then you will need to choose Select an existing backup, as well.
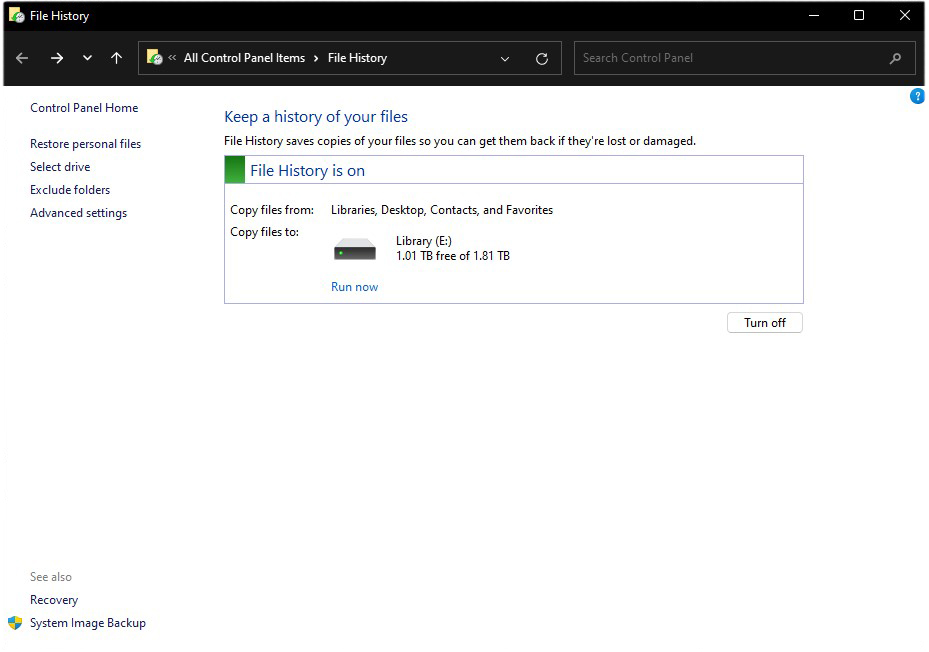
File History window
OneDrive (cloud)
Another way to back up your files and folders is by using OneDrive or another cloud-based storage service. In this guide, we will show you how to back up your files and folders using Microsoft’s OneDrive cloud service; if you’re using another service, then please refer to that service manufacturer’s instructions.
The process is straightforward. All you need to do is locate and select the files or folders you want to back up to OneDrive. Once highlighted, right-click, select OneDrive, then select Move to OneDrive.
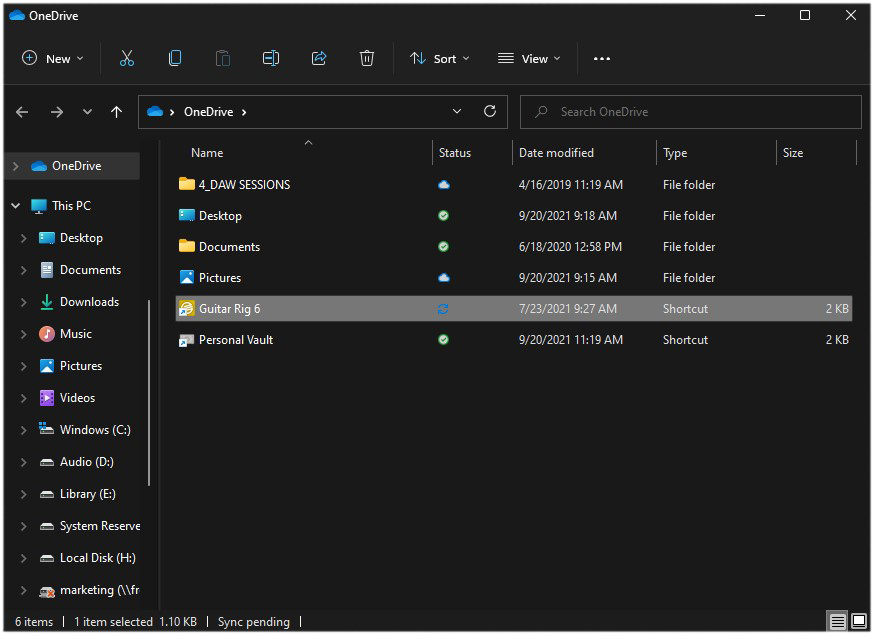
Files and folders being synchronized via Microsoft’s OneDrive
How to recover Windows 11 backups
After you’ve backed up your files, you can recover them at any time. Restoring both image and file backups is pretty straightforward. Depending on how much data you have backed up, it may take some time, so be patient while following these steps to recover your data!
Recovering image backups
Recovering image backups may take a little bit of time, but it’s a very simple process.
- Right-click the Windows icon, then select Settings.
- Scroll down, select Restore, and then choose Restart now.
- Once your computer restarts, click the Troubleshoot icon, then select Advanced options.
- Click See more recovery options and then select System Image Recovery.
- Lastly, click Select a system image, click Next, and follow the on-screen instructions.
Recovering file backups
When recovering file backups, you can do it one of two ways. Depending on how much data you want to recover, one method may be preferable over the other, but both ways are simple.
Manual transfer
If you’re manually transferring each file one by one, then copy the files from your backup storage media, and paste them to the location where you wish to restore them.
File History
When using the File History feature, follow these steps to restore your data.
- Launch Control Panel, select File History, then click Restore personal files.
- Click the Left or Right arrows to scroll through the version history of your files and folders until you see the date of the backup you wish to restore.
- Select the files and folders you want to restore, then:
- Left-click the green refresh button to restore the files to the original location.
- Right-click the green refresh button, then select Restore to to restore it to a new location.

File History window
When you need help, Sweetwater has the answers!
Our knowledge base contains over 28,000 expertly written tech articles that will give you answers and help you get the most out of your gear. Our pro musicians and gear experts update content daily to keep you informed and on your way. Best of all, it’s totally FREE, and it’s just another reason that you get more at Sweetwater.com.

