
Yamaha Montage M Setup Guide

The Yamaha Montage M series is a very powerful workstation in the studio and onstage, so in this guide, you will learn the Yamaha registration process, how to set up and configure the Montage M, and how to navigate through the workstation. Follow the sections below to get started.
- Register the Yamaha Montage M
- Yamaha Montage M Setup and Connections
- Navigating the Yamaha Montage M
- Select a Preset Performance
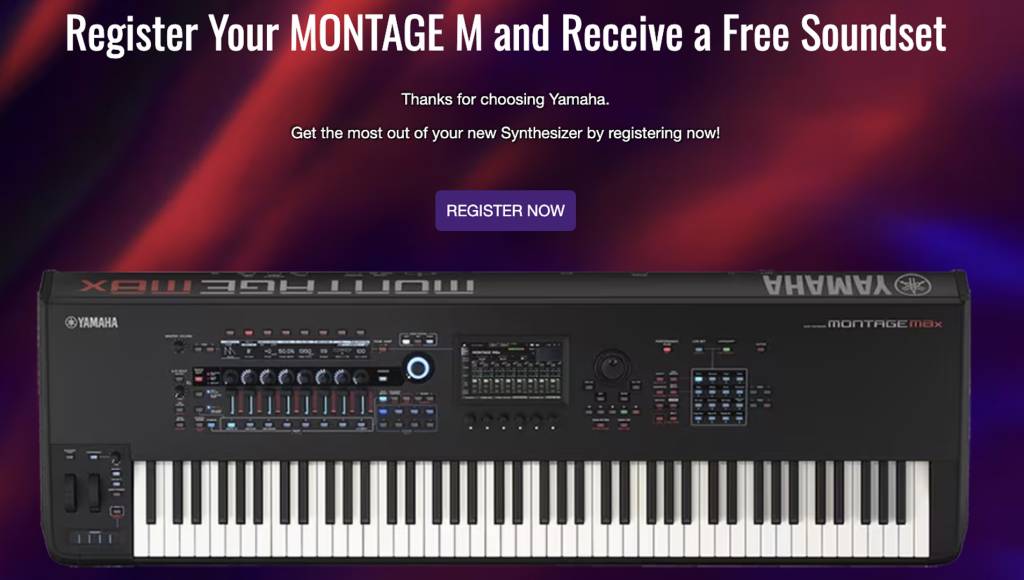
Register the Yamaha Montage M
Before you set up and connect your Yamaha Montage M, you must register the workstation with Yamaha. By registering the Montage M, you’ll access a free Soundset!
- Go to the Montage M registration page and click REGISTER NOW.
- Create a Yamaha account by filling in the required information, then click Sign Up to My Account.
- If you already have a Yamaha account, scroll down and click Click Here to Sign In.
- Enter the Montage M you own in the Product Name field, enter the Serial Number, and click Complete Registration.
Yamaha Montage M Setup and Connections
Your Montage M can be integrated into your live or studio rig in many ways. With just a few cables to connect, you’ll be up and running in no time.
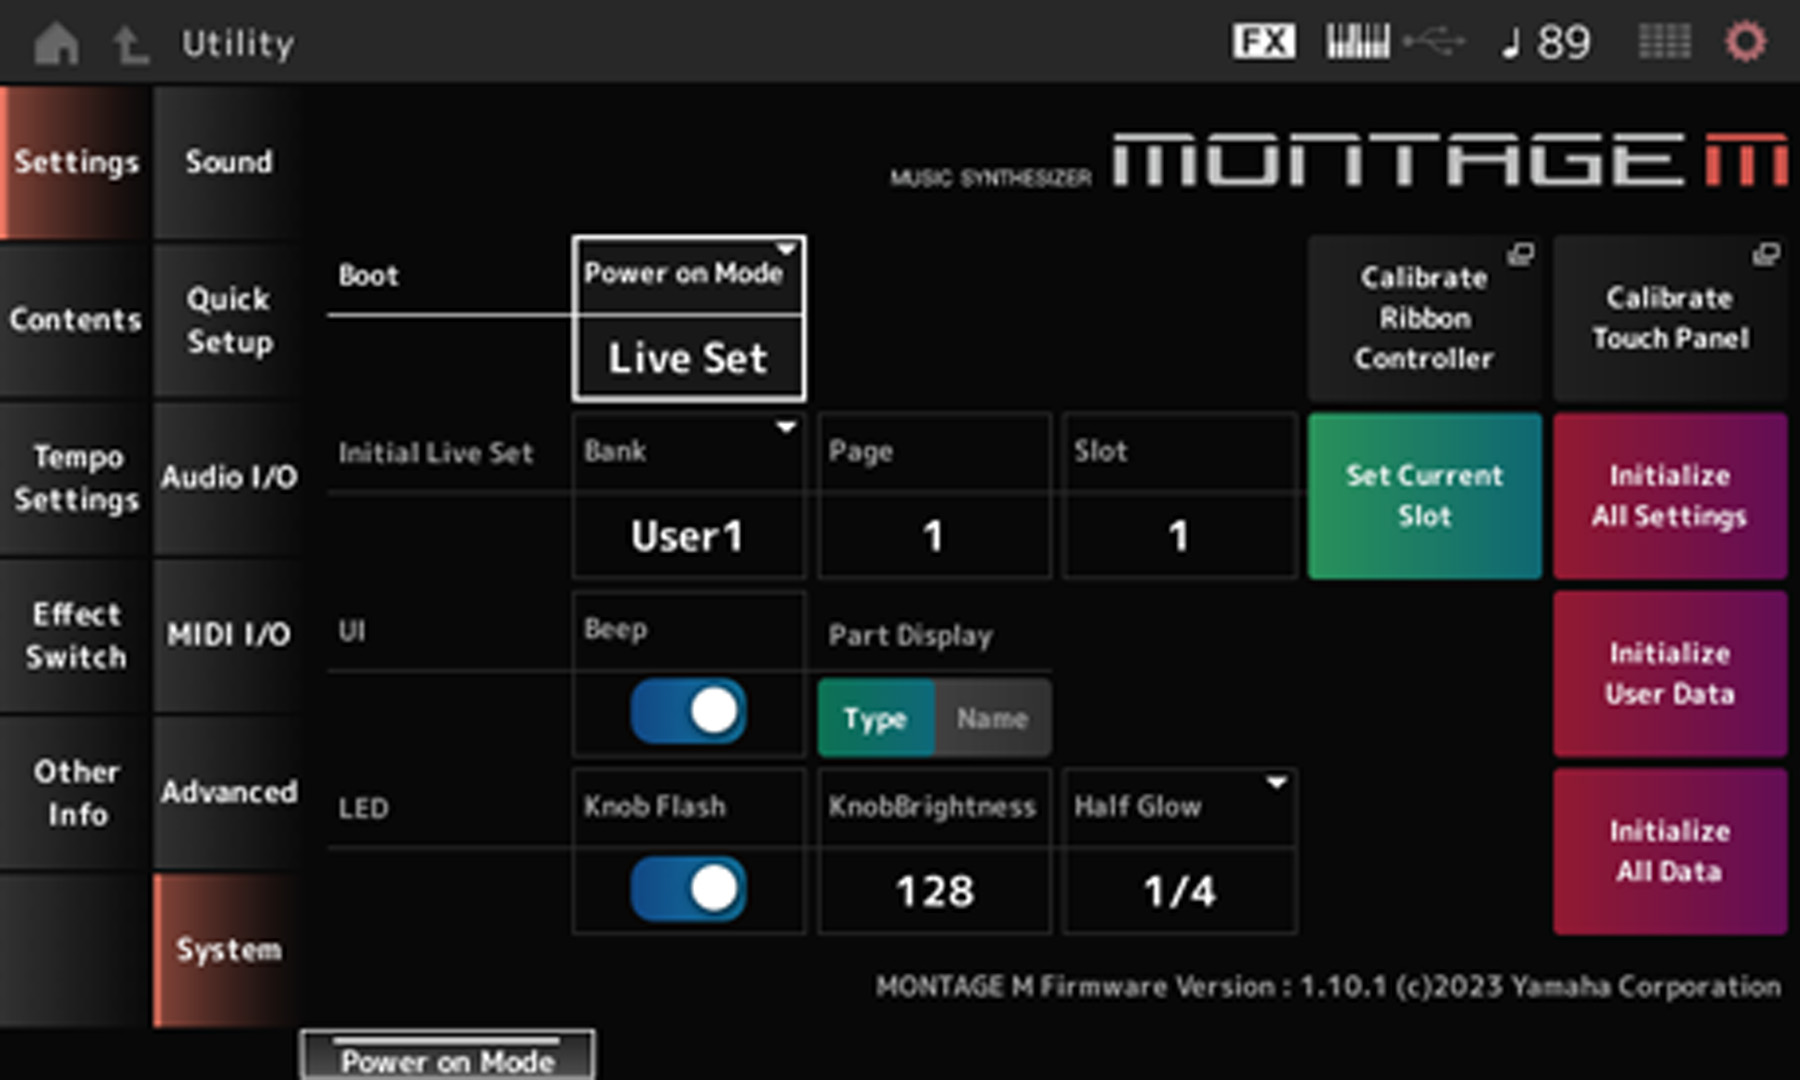
Calibrate the Montage M Touch Panel
The Montage M’s touch panel will work immediately, but you may need to recalibrate it to get the most accurate response. Recalibrating the touch panel will also solve erratic behavior or unresponsiveness.
- Press the Utility button, press Settings, and navigate to System. Once in the System Settings, press Calibrate Touch Panel. The white square will then appear.
- Press ENTER. A white square will then appear.
- Press the center of the white square that appears at the upper-left corner of the display.
- Continue the procedure for the upper-right, the lower-right, and lower-left corners and for the center of the display.
- Return to the System page once the calibration procedure is complete.
Hardware Connections
There are plenty of ways to connect external hardware to your Montage M. When making any connections, make sure the Montage M is powered off and that the gain and master volume are turned down. Neglecting to do so can result in pops that may damage the workstation or speakers.
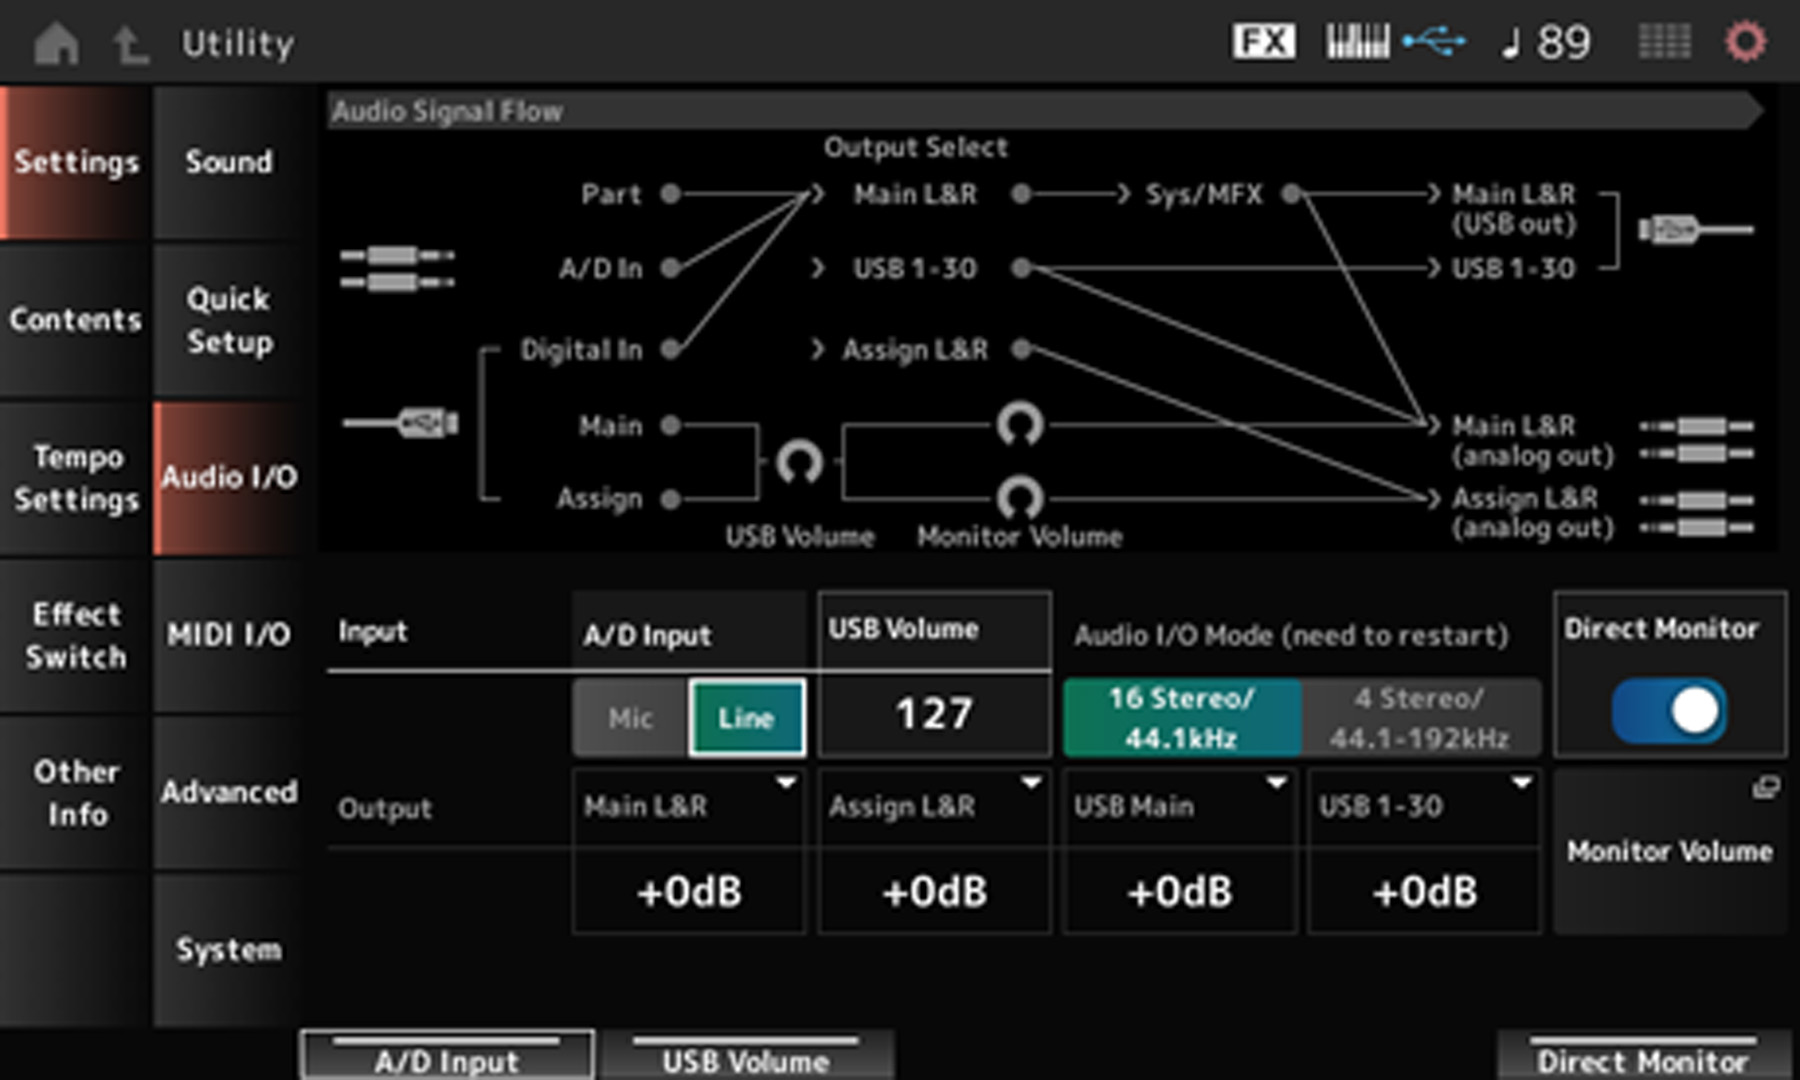
A/D Input
NOTE: You can change theA/D settings on the Audio In page of the Monitor Volume menu.
You can connect external audio equipment like a synthesizer or a CD player using a 1/4-inch TS cable. You can adjust parameters like the input level, panning, and onboard effects when connected. You can also connect a microphone to the A/D L Input to utilize the built-in vocoder!
- Connect your external gear to the A/D input with the power turned off on the Montage M and your external gear.
- Turn on the external gear, then turn on the Montage.
- Press the UTILITY button, navigate to the Settings tab, then press Audio I/O.
- Set the input to either Mic or Line, depending on what’s connected.
- Press the A/D button, then use the Gain knob to adjust the input gain.
Outputs
The Yamaha Montage M has three sets of outputs: Main, Assignable, and USB. The Main outputs are dedicated to speakers, USB outputs, and balanced assignable outputs. The USB and Assignable outputs are separate from the Mains, allowing you to assign specific parts (such as the metronome, parts of a performance, or gear connected via the inputs) to external effects.
Footswitch
NOTE: You must use the Yamaha FC3, FC4, or FC5 for footswitch control and the FC7 for the foot controller.
The Montage M series has four footswitch jacks: two for footswitches and two for foot control. The footswitches are dedicated to sustain and assignable functionality. The Foot Controller jacks let you control various assignable functions (such as tone, pitch, and other aspects of the sound) for Part edits.
- The Assignable jack is for global controls (such as menu navigation). The Foot Controller jack is specifically dedicated to sound.
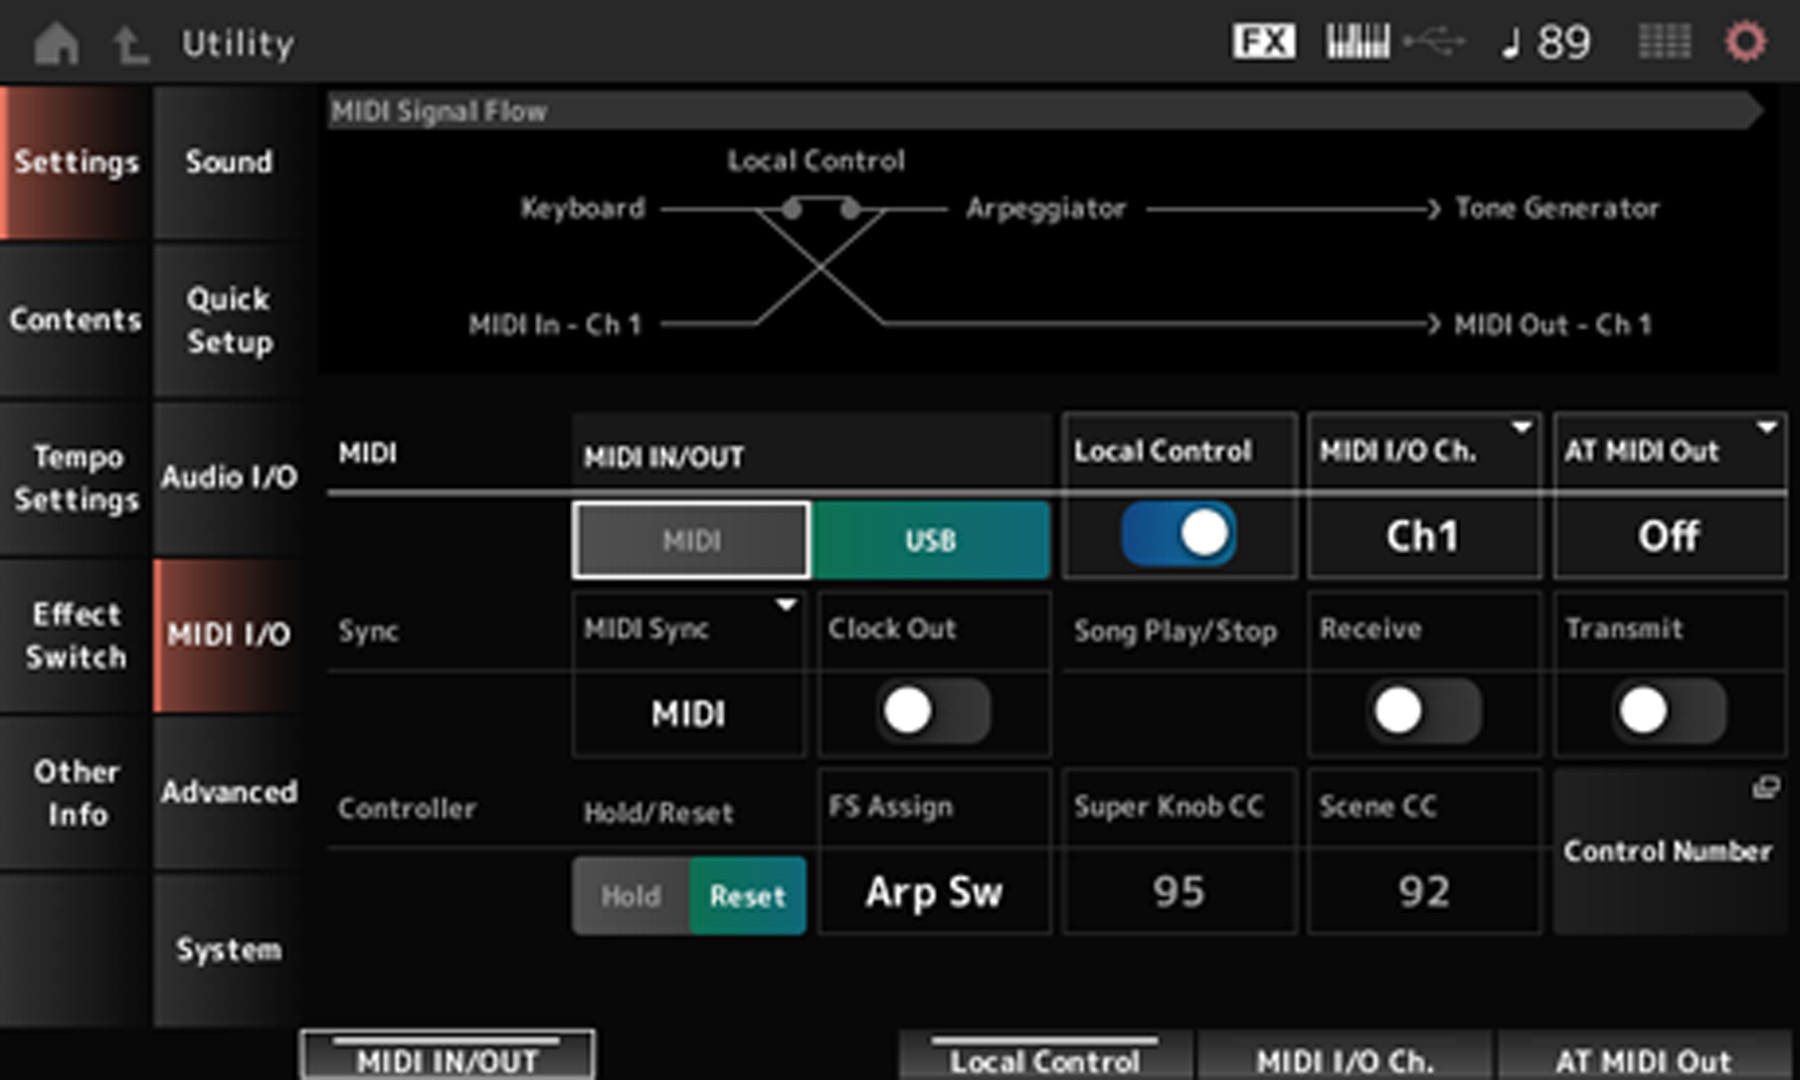
- To assign a footswitch (connected to the Assignable Foot Switch jack) to a specific parameter, Press the UTILITY button, navigate to the Settings tab, and press MIDI I/O. You can then use FS Assign to change the footswitch assignment.
MIDI
You can connect MIDI devices to your Montage M using 5-pin MIDI cables. This allows you to control external MIDI instruments or have them control sounds from the Montage M. You can even split the sound coming from the Montage and external MIDI instrument, which makes sound creation even more customizable. Check out the Operation Manual to learn more about MIDI splitting.
- Make sure the MIDI channel is the same on the external MIDI instrument and the Montage M. If they do not match, it will not work.
- MIDI Transmit and Receive channels are assigned per part. MIDI Transmit and Receive can also be toggled on or off in the MIDI I/O settings.
- Check out the MIDI Implementation Chart for the complete list of MIDI controls.
Montage M Computer Connection
TIP: You can send 32 channels of audio from the Montage M to your DAW and return six channels from your DAW to the Montage M.
You can connect the Yamaha Montage M to your computer with a USB cable for use in your DAW. Once connected, you can utilize the Montage M as an audio interface and MIDI controller! For the workstation to function correctly, you first must download and install the official Yamaha Steinberg driver.
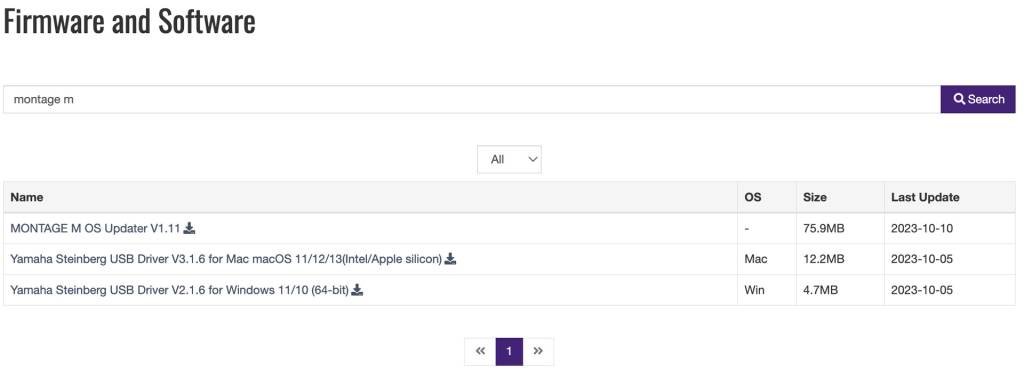
- Go to the Montage M software download page. Select the installer for your OS.
- Navigate to your Downloads folder. Locate and launch the installer file.
- Press Utility, navigate to Settings, and choose MIDI I/O.
- Set the MIDI IN/OUT to USB, then connect the Montage M to your computer.
- Launch your DAW. Set the workstation as the default MIDI Input and Output device.
If you have a Mac with Apple silicon
If you have a Mac with Apple silicon, installing the Yamaha Steinberg USB Driver for macOS requires the extra step of booting into Recovery mode and changing your Mac’s security policy in order to grant permission for a piece of software called a kernel extension.
Follow the instructions in our SweetCare article Enabling Kernel Extensions on Mac with Apple silicon.
Complete the process by following the instructions in the Yamaha document Yamaha Steinberg USB Driver Installation Guide for macOS 11 or later (Intel/Apple silicon).
Montage M iOS Connection
You can seamlessly integrate your Montage M keyboard workstation with iOS recording apps like Cubasis. You can also sync it with Yamaha’s Soundmondo app, which allows you to store any Live Sets and User Presets. Moreover, you can also use the Soundmondo app to download additional user-created sounds that have been uploaded!
- Download the Soundmondo app from the App Store.
- On the Montage M, press the UTILITY button, select Settings, and change the USB Driver Mode to Generic.
- Connect a USB cable from the USB HOST port to an Apple Lightning to USB camera adapter connected to your iOS device.
- Launch the app to sync the workstation with your iOS device.
- If you use a remote-based DAW, please visit its user manual to learn about setup and connections.
Soundmondo
The Soundmondo app is also available for all PC and Mac users. Please note that it is a web-based application and requires Google Chrome or another browser that supports Web MIDI. Check out our Soundmondo guide to learn more!
Navigating the Yamaha Montage M
Not only has Yamaha updated the button layout for the Montage M, but the buttons are now color coded, making it both visually appealing and easy to understand. When the 16 buttons within the box are illuminated blue, you’re working with Live Sets. When they’re green, you’re working with Categories. Any buttons outside the white box will be illuminated red, meaning they control “global” settings.
- Press the Live Set button, then use the 16 buttons within the white box to navigate your Live Sets.
- Press the Category button to use the 16 buttons to search through the different categories available.
- If there is red text beneath a button, this means the button also has a SHIFT button function.
Select a Preset Performance
Thousands of preset sounds (Performances) are available on the Yamaha Montage M. Each factory Performance also has preprogrammed effects and automation that you can alter by adjusting the knobs, the faders, and the Super Knob. Preset Performances are grouped into Categories (e.g., Bass, Strings, Piano).
- Press the CATEGORY button. Alternatively, press the button for the specific Category you want to select (Bass, Strings, Piano) to go directly to that Category.
- You can also select Performances by loading a Live Set.
- Use the Bank and Page buttons to navigate through different Performances.
Related Articles
When you need help, Sweetwater has the answers!
Our knowledge base contains over 28,000 expertly written tech articles that will give you answers and help you get the most out of your gear. Our pro musicians and gear experts update content daily to keep you informed and on your way. Best of all, it’s totally FREE, and it’s just another reason that you get more at Sweetwater.com.

