
Yamaha Montage M Firmware Update Guide
Yamaha will periodically release firmware updates for the Montage M6, M7, and M8x keyboard workstations that add new features and address bugs that are in the current version. So, in this guide, we will show you how to perform a firmware update on your Montage M. Follow the sections below to get started.
- Check the Firmware Version
- Format the USB Thumb Drive
- Back Up Yamaha Montage M6, M7, and M8x User Data
- How to Update the Yamaha Montage M6, M7, and M8x Firmware
Check the Firmware Version
Before updating the firmware (OS) on your Montage M6, M7, or M8x, you must check the version currently installed and match that to the latest version listed on the website.
- Go to the Montage M Firmware and Software download page to see the currently listed OS version.
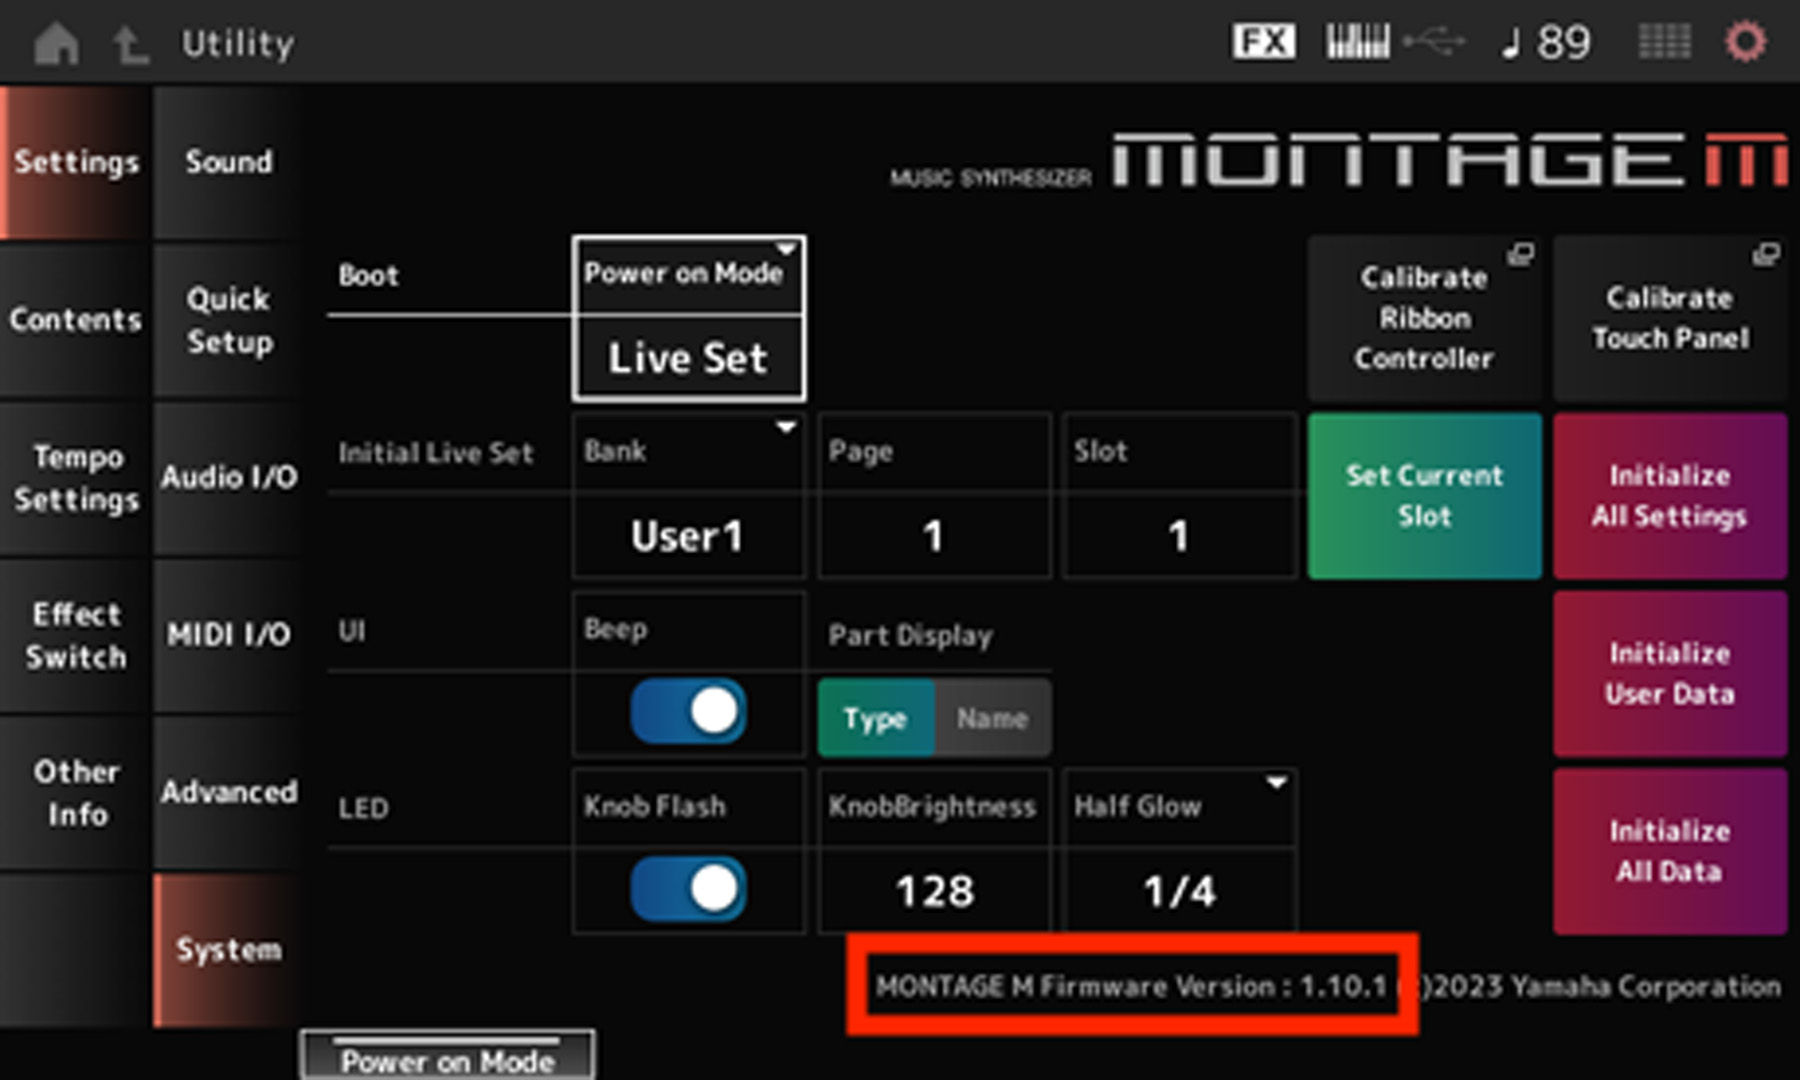
- On the Montage M, press UTILITY, navigate to Settings, and select System. You will see the firmware version on the bottom right of the touchscreen display.
- If the installed version matches the one listed on the website, you’re good to go. If not, continue below to back up your user data.
Format the USB Thumb Drive
IMPORTANT! Formatting a USB thumb drive will erase any stored data, so back up any important files to your computer before completing the formatting process.
You must have a compatible USB thumb drive to update the firmware on your Yamaha Montage M. Before backing up your data and updating the Montage M firmware, you must format your thumb drive directly from the workstation. Before formatting, ensure it’s compatible with your Montage M. Check out Yamaha’s list of compatible USB thumb drives for more information. Please note that user data and firmware files can be large, so it is recommended that you have a USB thumb drive with at least 1GB of storage.
- Insert the USB thumb drive into any USB TO DEVICE port (1 or 2).
- Press the UTILITY button, select Contents, and tap the icon of your thumb drive.
- Press Job on the top-right corner of the display. It will now give you the option to format the thumb drive.
- Select the thumb drive, then press Format.
Back Up Yamaha Montage M6, M7, and M8x User Data
When you update the firmware on your Montage M6, M7, or M8x, any user data stored on the workstation will be erased, so before updating, you must back everything up.
- With your USB thumb drive connected to the Montage M, press the UTILITY button, select Contents, and choose Save.
- Select Backup File from the Content Type dropdown box, then choose the USB thumb drive to save the file.
- Pressthe + button underneath (Save As New File). Enter a unique file name.
- We recommend including the date in the file name (e.g., Montage M User Data 11.7.23). This will make it easier to locate if you ever need to recall the file later.
- Press Done.
- Connect the thumb drive to your computer and move the Backup File to your desktop, as the firmware file can be the only file on the thumb drive during the update process.
Restoring Yamaha Montage M6, M7, and M8x User Data
After completing the firmware update process, you can then transfer the Backup File back to your Montage M.
- Connect the USB thumb drive to your computer. Transfer the Backup File to the thumb drive.
- Safely eject the USB thumb drive to your computer, then connect it to any USB to DEVICE port (1 or 2).
- Press the UTILITY button, select Contents, and choose Load.
- Select Backup File from the Content Type dropdown box. Select the USB thumb drive where you saved your Backup File, then choose the file you want to load.
How to Update the Yamaha Montage M6, M7, and M8x Firmware
IMPORTANT! The firmware file must be the only file on the USB thumb drive.
Now that the USB thumb drive is formatted and you have backed up your user data, it’s time to update the firmware!
- Go to the Montage M Firmware and Software download page. Download the latest OS version listed on the site.
- Navigate to your Downloads folder, unzip the folder, and transfer the .PGM file over to your thumb drive.
- Safely eject the thumb drive from your computer.
- Turn off your Montage M. Connect the USB thumb drive to either USB to DEVICE port (1 or 2).
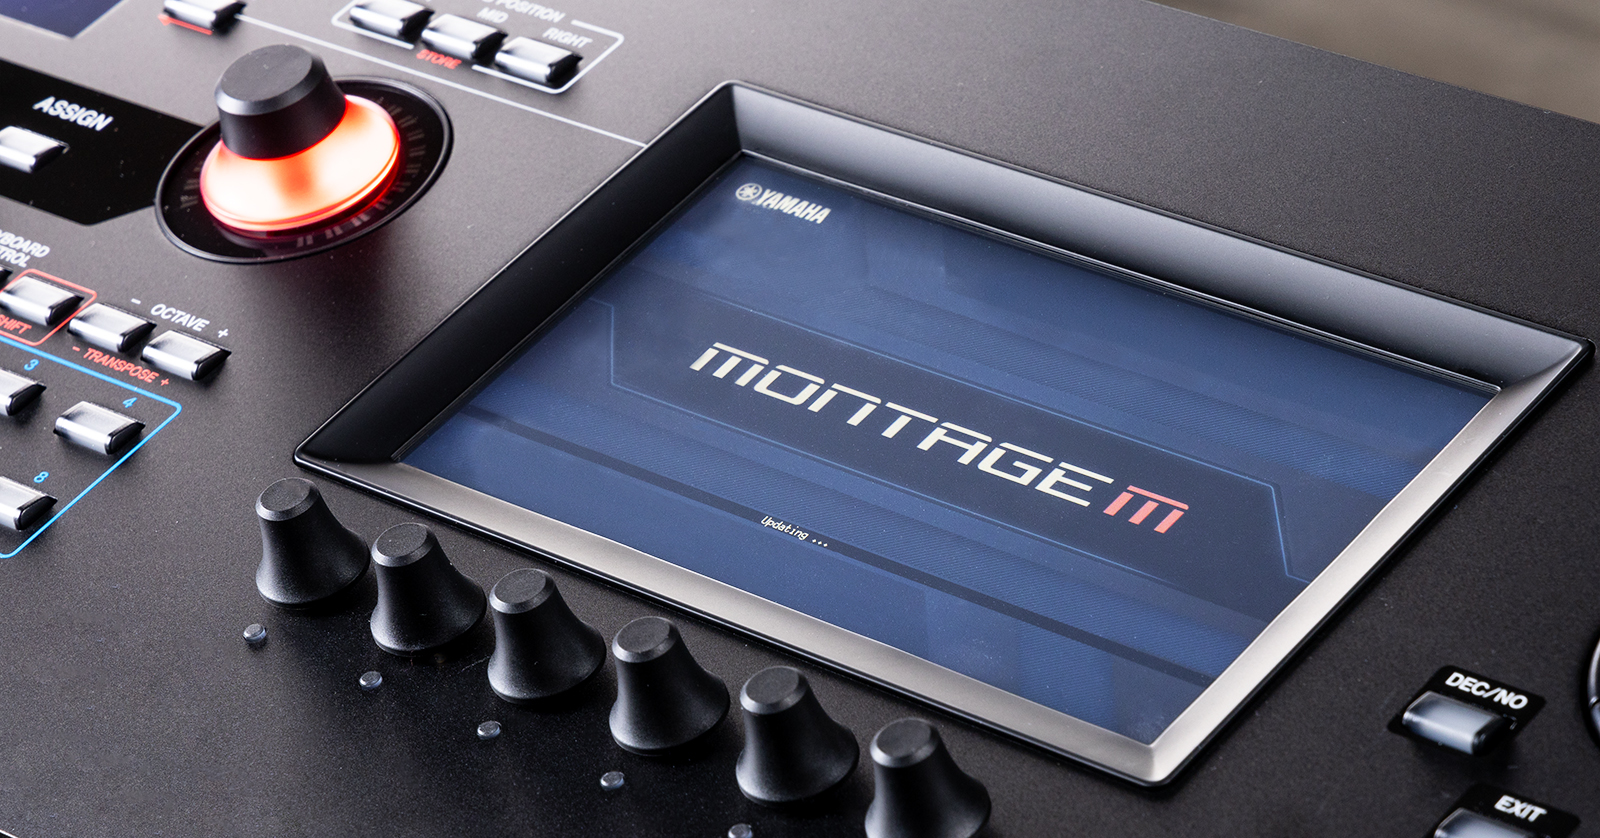
- Press and hold the UTILITY and CURSOR UP buttons while turning the Montage M on. Once the Yamaha logo appears, you can let go.
- The firmware update will then begin. Once you receive an ‘Update completed’ message, turn off the workstation, remove the USB flash drive, and turn it back on.
- Press the UTILITY button, select Settings, and choose System to execute the Initialize All function.
Related Articles
When you need help, Sweetwater has the answers!
Our knowledge base contains over 28,000 expertly written tech articles that will give you answers and help you get the most out of your gear. Our pro musicians and gear experts update content daily to keep you informed and on your way. Best of all, it’s totally FREE, and it’s just another reason that you get more at Sweetwater.com.

