
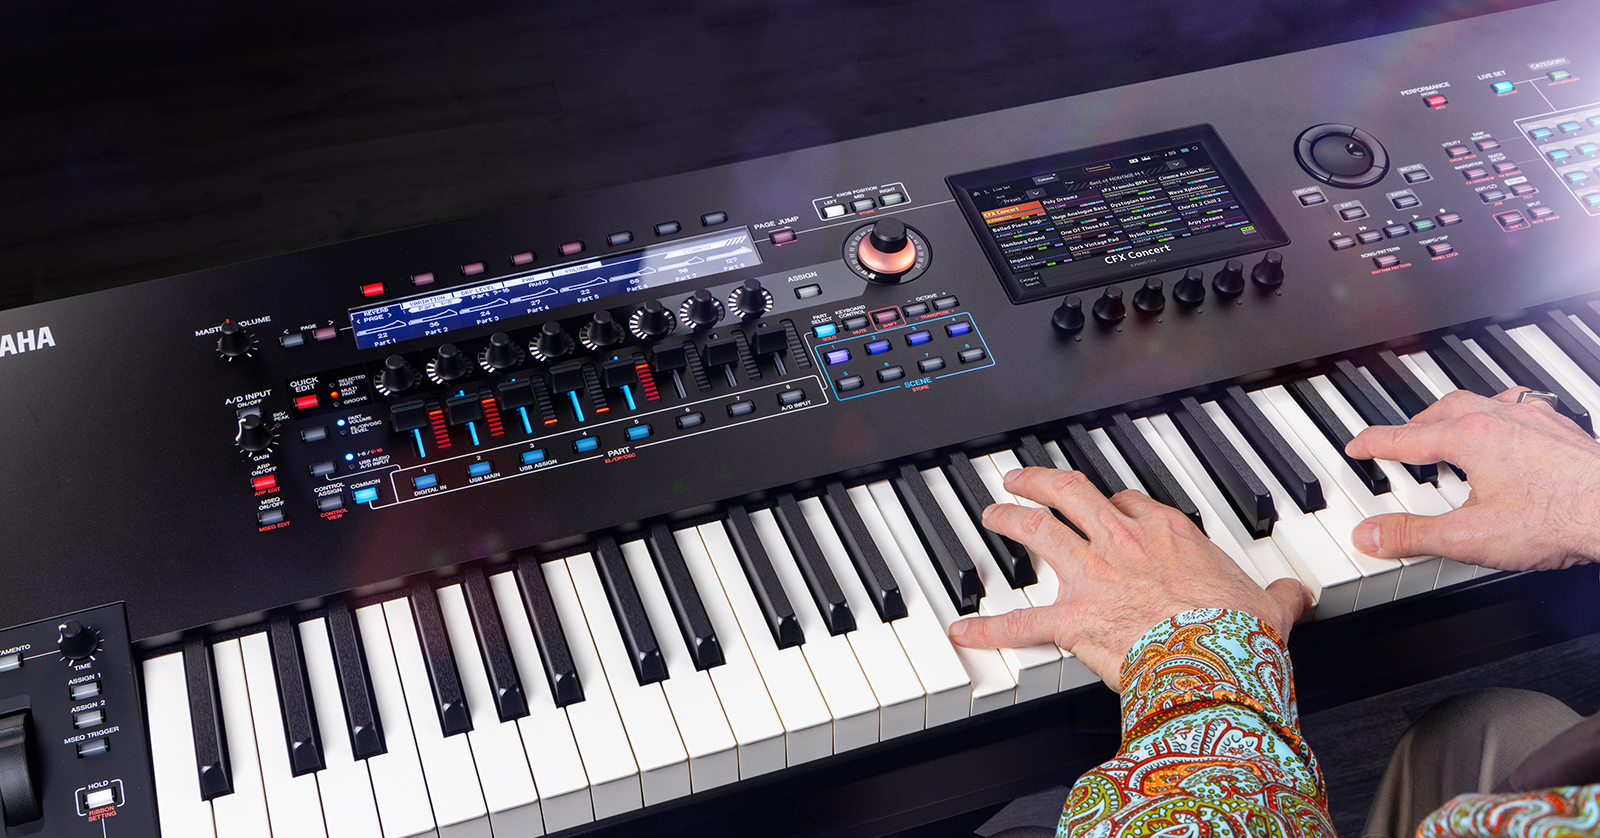
Yamaha Montage M Performances and Live Sets
The Yamaha Montage M6, M7, and M8x have thousands of built-in sounds you can work with, so in this guide, we will show you how to create, save, and load custom sounds. You will also learn how to incorporate those custom sounds in a Performance. Follow the sections below to get started. This article only scratches the surface, so check out the searchable Operation Manual and its PDF counterpart for more information.
- What Are Elements, Parts, Performances, and Live Sets?
- How to Create a Performance
- How to Create a Live Set
What Are Elements, Parts, Performances, and Live Sets?
The Montage M synthesizer is comprised of different layers of sound, but it can be broken down into three things: Elements, Parts, and Performances. The Montage M6, M7, and M8x sound paths can be thought of as layers. Elements make up a Part, and each Part makes a Performance. The Performances can then be added to a Live Set.
- An Element is based on one (or multiple) sound engines: AWM2, FM-X, and AN-X. Check out the Montage M Operation Manual to learn more about the sound engines and how they work.
- AWM2: Uses waveforms containing sample wave data that you can modify using filters and envelope generators. For drum parts, you can use up to 73 keys to assign percussion sound waveforms to each key.
- FM–X: Based on FM synthesis, this sound engine uses oscillators (Operators) to change the frequency of the sound wave generated.
- AN–X: This sound engine digitally emulates an analog synthesizer and provides a lot of flexibility and functionality.
- Each Part can have up to 128 AWM2 elements, 8 FM-X Operators, 3 AN-X Oscillators, and 1 Noise tone.
- There are 3,400 Performances available, and you can store 16 Performances per Live Set.

Yamaha Montage M sound path
How to Create a Performance
Now that you know the fundamentals of the Montage M’s “signal flow,” let’s create a Performance.
- Press the CATEGORY button to open the Category Search screen.
- Use the filters on the left side of the screen to filter what type of sound you want (e.g., Piano, Syn Lead, Brass).
- If you want to create a blank Performance, press Init in the Filters section, and select what type of Part you’d like to add (AWM2, FM-X, AN-X, Noise).
- Repeat these steps until you’re happy with the sound.
- Press EXIT to return to the Performance Edit window.
Montage M Tips | Using Buttons & Knobs To Navigate Category Search
Montage M Tips | How to use the Category Search
Importing Custom Samples
You can import your custom samples stored on a USB thumb drive to make your Performances sound unique! However, before importing a sample, you need to ensure it’s in FAT format. Check out our guide on formatting external storage devices for more information!
- Format the USB thumb drive and transfer the audio file(s) to your thumb drive.
- Safely eject the USB thumb drive from your computer. Connect it to one of the USB TO HOST ports on your Montage M6, M7, or M8x.
- Create an INIT part (as outlined above).
- Press the part’s name, choose Edit, and select the Element Number where you want to load it.
- Press Select Waveform and choose the audio file you want to add. After loading the audio sample, go back to the Element Edit screen. Press ON to turn on the Element.
Montage M Tips | Working with Favourites within the Category Search
How to Create a Live Set
Think of Live Sets as set lists. Live Sets allow you to group up to 16 Performances in one spot. This is perfect in live situations when you use multiple Performances for one song. You can toggle through Live Sets utilizing the touchscreen display and the navigation buttons, or if you have a Yamaha FC5 pedal, you can assign it to toggle between them so you can keep both hands on the keys.
- Select a Performance from the Performance screen.
- Press and hold SHIFT and press the LIVE SET button to open a blank Live Set.
- Choose a slot where you want to load a Performance, select the Performance you want to add, and follow the on-screen prompts.
Loading Custom Audio to a Live Set
The Montage M allows you to upload custom audio and songs and assign them to a Live Set.
- Press the LIVE SET button, go to the User Bank, and press Edit.
- Choose the slot and slot type to which you want to add the audio.
- Select the audio file you want to add, then press Done.
Set Up a Footswitch to Change Live Set Slots
As mentioned, you can connect a footswitch to toggle between Live Sets. You must go into the Montage M’s MIDI I/O settings to assign it.
- Connect a Yamaha FC4 or FC5 to the Assignable Footswitch port.
- Press the UTILITY button, choose Settings, and navigate to MIDI I/O.
- Change the FS Assign to either Live Set + or Live Set –.
Montage M Tips | How to set a dedicated Live Set when Powering On
Montage M Tips | Performance to Live Set Assignment + Re-Organization
Additional Resources
Synth Tips | Montage M Playlist
Related Articles
When you need help, Sweetwater has the answers!
Our knowledge base contains over 28,000 expertly written tech articles that will give you answers and help you get the most out of your gear. Our pro musicians and gear experts update content daily to keep you informed and on your way. Best of all, it’s totally FREE, and it’s just another reason that you get more at Sweetwater.com.

