
External Hard Drive Setup and Formatting
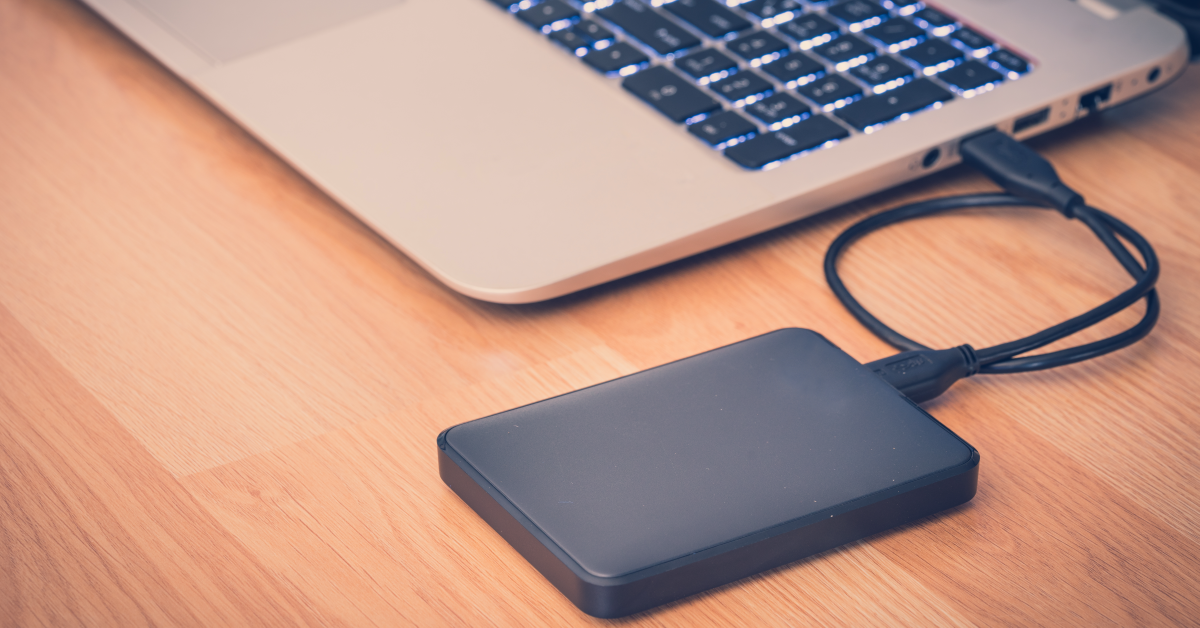
Getting started with External Hard Drives
In this guide, we will talk about setting up an external hard drive. We’ll explain the types of hard drives, how to properly connect and format them, and also file management. Follow the sections below to get started.
What is an external hard drive?
Hard drives are storage devices that hold programs, folders, and media like music or pictures. There are two different types; solid state and spinning disk. All hard drives serve the same purpose, but there are a few differences between the two types.
Sweetwater carries a variety of external hard drives that are perfect for every OS, so make sure you stop by and check out what we have to offer!
Shop All External Hard Drives 💾
Spinning disk drive
- Use magnets and plates to write data onto the disk. They work like a record player.
- Have moving mechanical parts that can result in delay, and slower read and write speeds.
- Cost-effective and have a higher storage capacity than SSD’s.
- Requires more CPU to read and write data.
Solid state drive
- No mechanical parts like a spinning disk drive.
- Uses memory chips instead of mechanical parts which makes it faster to read and write data.
- Requires much less CPU to read and write data
Bandwidth vs. data transfer
Bandwidth and data transfer rate describe how fast files are sent and received. However, they are frequently confused with one another. Bandwidth is the maximum speed a hard drive can send and receive data. However, data transfer rate is the actual speed it is sent and received. Think of bandwidth like the top speed of your car, while the data transfer rate is the speed limit on the road. The data transfer rate will depend on factors such as programs running in the background, the size of the file(s) being transferred, and even the port the hard drive is connected to. For the best performance possible, keep background activity on the computer to a minimum.
Hard drive connections
Connecting a hard drive to a computer is simple. Just plug it in, then turn the hard drive and computer on. USB and Thunderbolt connections are the most typical connections for external hard drives. There may be some that have FireWire or eSATA, but those are becoming obsolete. Here are some tips when connecting your external hard drive.
- Use a powered USB hub if your computer doesn’t have enough ports. Passive hubs may not provide enough power to the hard drive.
- If you have a USB 3.0 or Thunderbolt 3 hard drive, connect it to the 3.0 port.
- If the external hard drive comes with a dedicated power supply, use that. Larger hard drives require more power, which bus power may not be able to provide.
- You can daisy-chain multiple hard drives via FireWire or Thunderbolt. They must be the same connection, though. For example, if you connect one hard drive to another via Thunderbolt, the primary drive must be connected to the computer via Thunderbolt as well.


Formatting an external hard drive
Before using an external hard drive, you need to prepare it for use with your operating system by formatting it. When formatting, you create partitions where the folders and files can be read and written to. For detailed instructions on how to format your new external hard drive, visit our guides for PC and Mac below.
Format external hard drives on a PC
Some external hard drives come with their own setup software. Others require you to format and initialize the disk. This is done through Windows Disk Management tool. While some external drives include formatting software, using Disk Management is the most common method. Learn more about Disk Management and detailed instructions on how to format external hard drives below.
- Go to Disk Management, right-click the hard drive you need to format and click Initialize Disk.
- Select the partition layout:
- GPT for hard drives with a capacity larger than 2 TB.
- MBR for hard drives with a capacity of less than 2 TB.
- Right-click the space that says Unallocated, select New Simple Volume…, and then follow the on-screen prompts.
- Select the Format, Volume Label (drive name), and partition size, and then click Next.
- Select the drive letter using the dropdown box, and then click Finish.
How to format an external hard drive on Windows 10.
Format external hard drives on a Mac
Some external hard drives are already formatted for Mac or have their own setup software. While external drives might include their own software for getting started, Macs use Disk Utility to format and manage your hard drives. Follow the instructions below to format your drive. For more in-depth instructions, visit our guide on how to format external hard drives on Mac.
- Connect the hard drive to your computer, power it on and launch Finder.
- Bus powered hard drives: connect either directly to your computer to an active hub (has power supply).
- Click the Go menu and select Utilities. In the window that appears, double-click the Disk Utility app.
- Select the external hard drive (left; sorted Internal, External, and Disk Images) and click the Erase button.
- (optional) Select a single volume to keep the drive format and only erase that volume’s data.
- Enter a Name, select the Format and Scheme, and click Erase.
- For PC and Mac compatibility, select ExFAT (format) and Master Boot Record (scheme).
Which file system should I use?
The “right” file system for your hard drive depends on how it’s being used. For instance, if you’re using the drive on multiple computers, exFAT is compatible on Mac and Windows. It also works for most USB thumb drives and larger externals. If you’re only using Windows computers though, you’ll format it as NTFS.
File management
Once the hard drive is formatted, the last thing to learn is proper file management. The main internal hard drive in your computer will have your OS installed on it. The system files and folders can add up over time. External hard drives give you the capability of organizing in such a way where everything can easily be located.
When you need help, Sweetwater has the answers!
Our knowledge base contains over 28,000 expertly written tech articles that will give you answers and help you get the most out of your gear. Our pro musicians and gear experts update content daily to keep you informed and on your way. Best of all, it’s totally FREE, and it’s just another reason that you get more at Sweetwater.com.

