
Universal Audio Apollo e1x Preamp with Dante Quickstart Guide
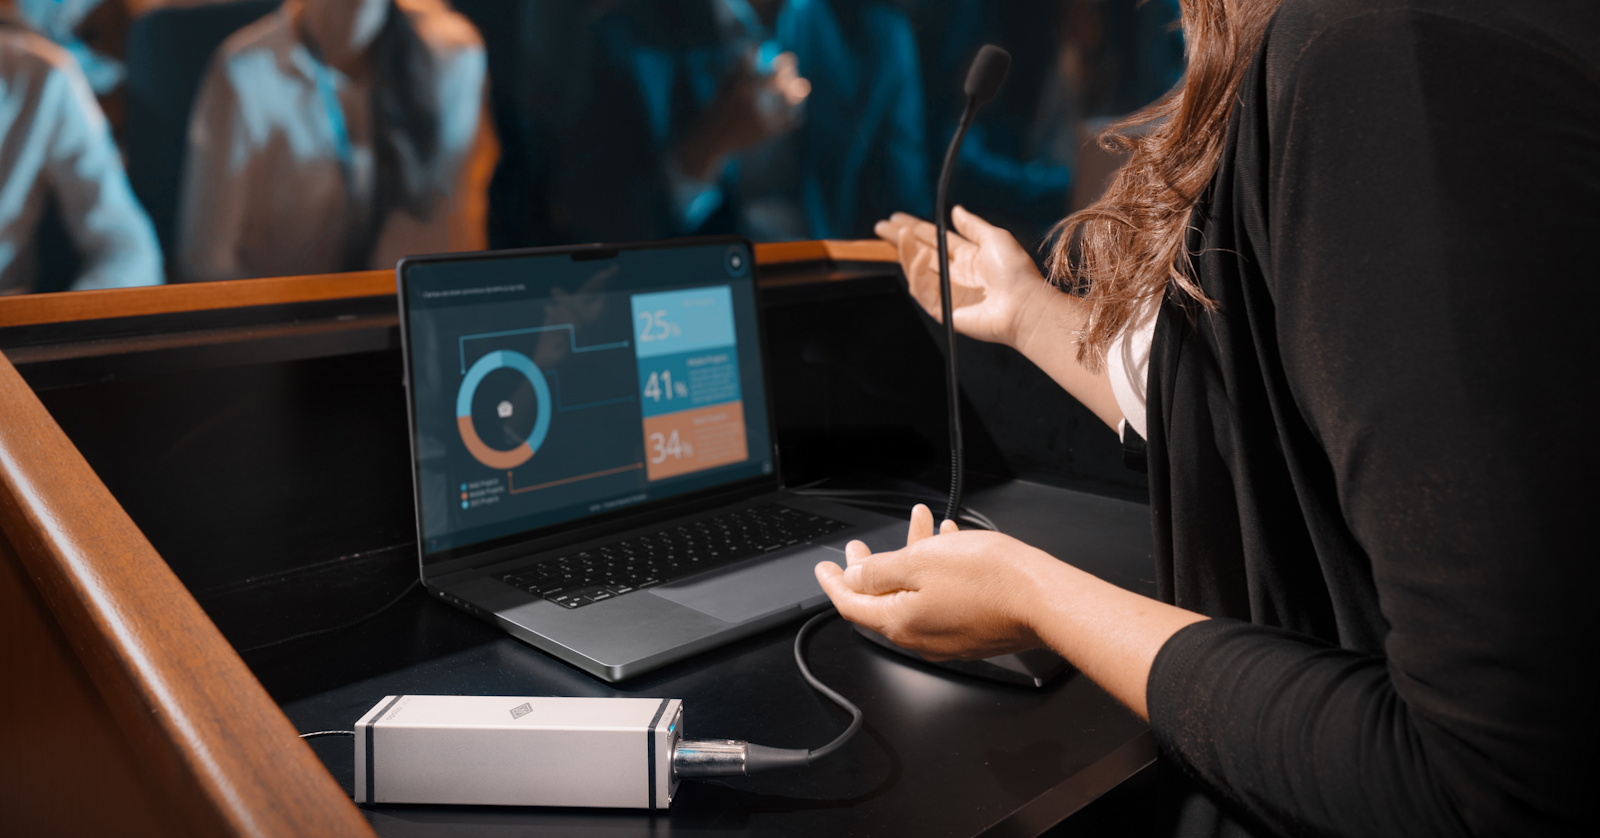
The Apollo e1x preamp provides you with an input anywhere you need to set it up on a Dante audio network, whether you’re in the studio or onstage. When used in conjunction with a Universal Audio Apollo x16D processor, the e1x can function as a Unison preamp. You can also use it standalone. You’ll need an Ethernet switch with Power Over Ethernet (PoE), the Universal Audio UAD Console app, and the Dante Controller app to get set up. Let’s get started.
- Register Your Purchase and Download the Universal Audio Software
- Install Dante Controller from Audinate
- Register Your Apollo e1x and Update the Firmware
- Apollo e1x Connections
- Setting Up the Apollo e1x
- Universal Audio Support Resources
Register Your Purchase and Download the Universal Audio Software
Connect Your Hardware Before You Start
Before you get started, you must have a functioning Dante network set up.
Using a Cat 5e or Cat 6 cable, connect your e1x to a network switch with PoE (Power over Ethernet). If your network switch does not provide PoE, you can connect your e1x to an Ethernet power injector that is then connected to your network switch.
Download UA Connect
If you have a Universal Audio Apollo x16D, then you’ve already installed UA Connect, UAD Software, and UAD Console. Otherwise, install the Universal Audio software as follows.
Before you can use your Apollo e1x, you must create a user account with Universal Audio. Next, download and install the UA Connect app. In this app, register your hardware, and then you will be presented with the UA software you’ll need to use the e1x.
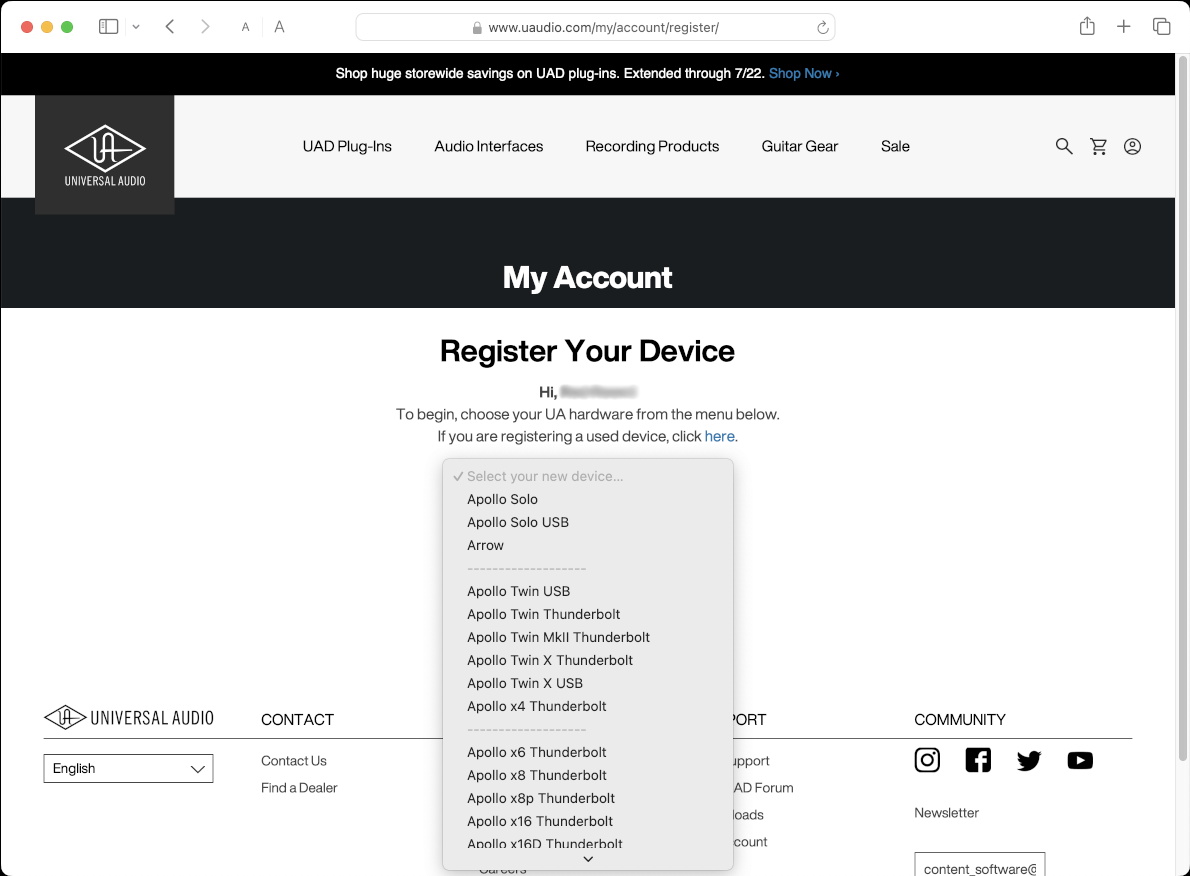
Your UA account’s device-registration page
On your computer, go to the Universal Audio registration page. Create a new account or log in with your existing account.
On the Register Your Device page, pull down the menu to select your model. Click Begin.
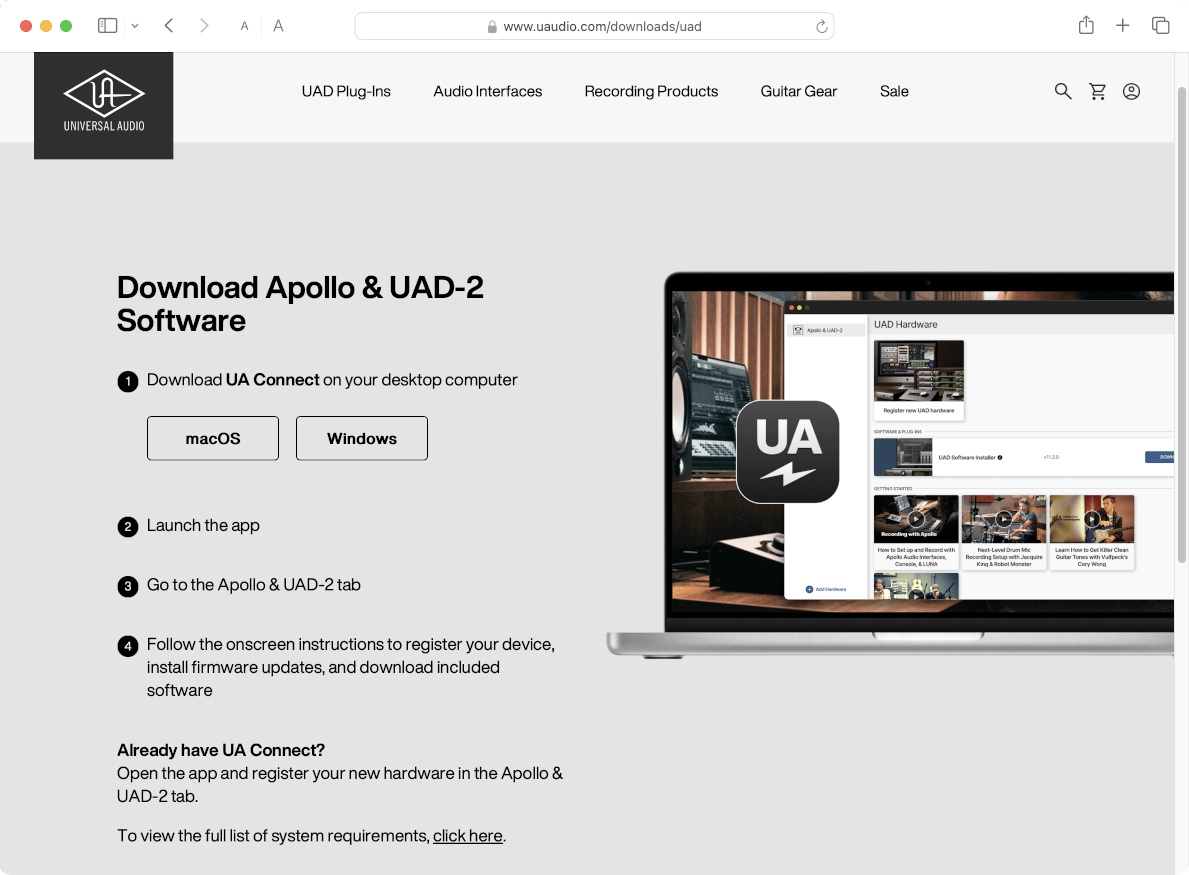
Download the UA Connect app from the Downloads page.
On the Downloads page, under Download UA Connect, click the button for macOS or Windows.
Go to your Downloads folder. Run the installer and follow the prompts.
Bookmark the Apollo e1x User Manual
The user manuals are provided online.
Bookmark the Apollo e1x Remote-Controllable Unison Preamp Manual and the UAD Console Manual.
UAD Console is the app you run on your Mac or Windows PC to configure and operate the e1x and the Apollo x16D. You will need to reference information about using Dante in the Apollo x16D Networked Audio chapter.
Install UAD Software and UAD Console
Connect your e1x to your Dante network Ethernet switch using a Cat 5e or Cat 6 network cable. Confirm that it’s receiving power.
Connect your Mac or your Windows PC to your Ethernet network switch.
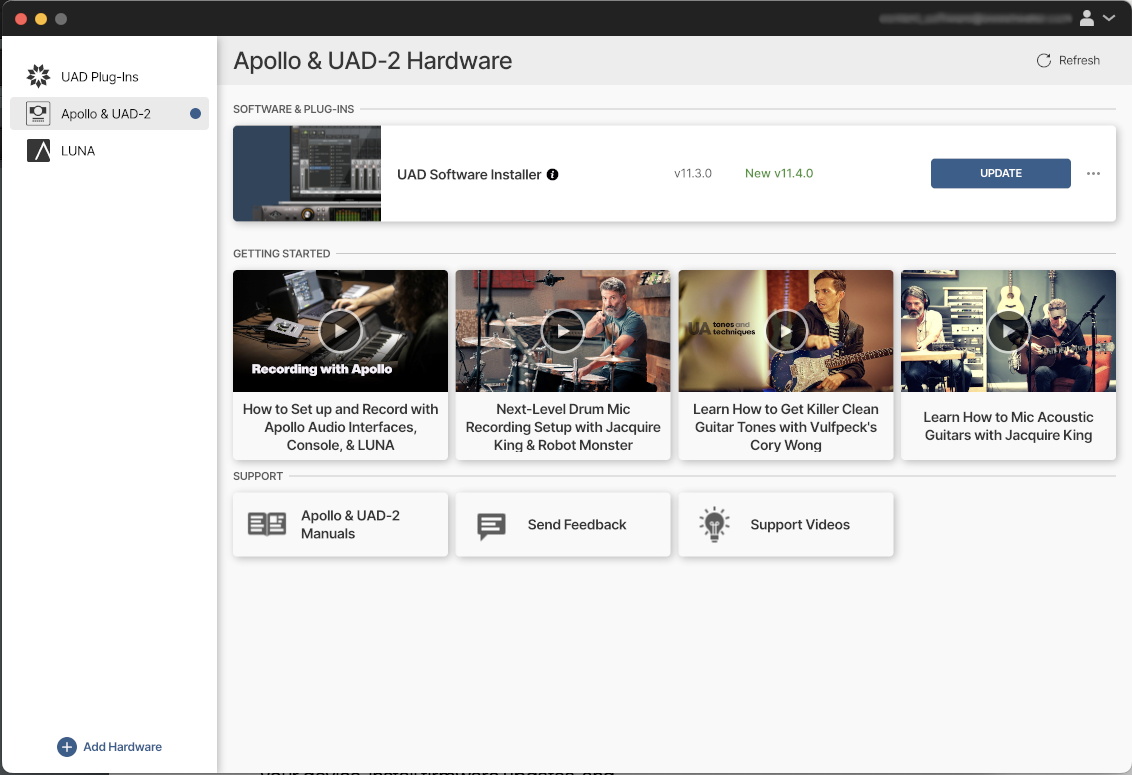
Find the UAD Software Installer in the UA Connect app.
Launch the UA Connect app.
- Log in to the app using your UA account email address and password. Select Remember Me, then click Log In.
- Click the Apollo & UAD-2 tab.
- In the pane on the right, you will see the UAD Software Installer. Click Download to install the software package. Be patient, as it’s a large download. Follow all prompts until your installation is complete.
On macOS, you will receive prompts that you need to open System Settings and grant permission in the Privacy & Security section to allow the new software to function. Learn more in Sweetwater’s Universal Audio Apollo, Satellite, and UAD-2 PCIe Thunderbolt Mac Setup guide.
Install Dante Controller from Audinate
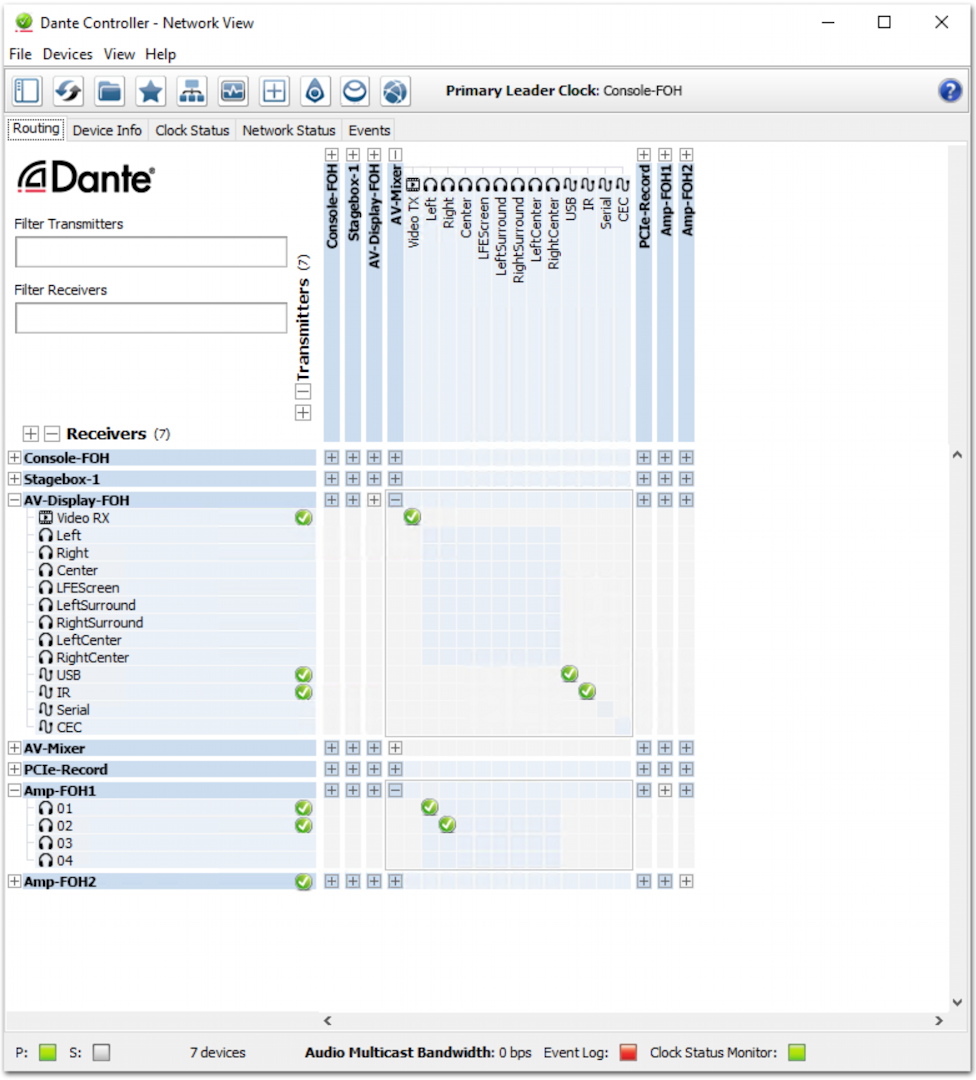
Dante Controller
You need to run both the Dante Controller app and the UAD Console app on your computer to handle signal routing and configuration for the Apollo e1x.
Dante Controller is provided by the Audinate company, the makers of Dante. To install Dante Controller for your Mac or your Windows PC, go to the Log in page on the Audinate website.
Log in with your Audinate account credentials or create a new account.
Once you’re logged in, go to the Support tab. Select Download Software, then download Dante Controller for macOS or Windows. Follow the installation instructions.
Register Your Apollo e1x and Update the Firmware
Register Your Apollo e1x with UA Connect
Open UA Connect.
- Under the Apollo section, click the Apollo E Series tab.
- In the pane on the left, at the bottom, you will see Add Apollo Hardware.
- In the Set Up Your Hardware dialog, choose the network port to which your e1x is connected.
- Click Scan for Devices.
- Select the device detected and click Identify.
- On the next screen, click Register.
- When registration is complete, click Finish.
Update the Universal Audio Firmware
With the e1x, you update the firmware using the UA Connect app.
In UA Connect, under the Apollo item, select your Apollo E Series device.
In the Firmware area, you will see a notification if there is a new firmware version. Click Update. Follow the instructions to complete the firmware update.
Apollo e1x Connections

Apollo e1x
You can place the e1x on a tabletop or mount it on a mic stand. On the underside is a 5/8-inch threaded mounting socket.
Each e1x unit includes a coupling bracket in the box. Using the included 2mm hex screws, you can mount several e1x units together using these brackets. To prevent overheating, don’t connect more than eight units.
As we explained above, the e1x is powered over Ethernet. Connect your e1x to your Dante network using a Cat 5e or Cat 6 cable.
Connect a line-level signal or microphone to the combi jack on the front of the e1x. It can accept a cable with a 1/4-inch TRS or TS plug or a 3-pin XLR cable.
The three LEDs on the front indicate when the unit is receiving power over Ethernet (PoE), when 48V phantom power is engaged, and the input signal strength, shading from green to amber to red.
If you have multiple e1x units in your rig, you can identify a particular one from within the UAD Console app. Select a unit with the Identify command, and that unit’s PoE LED will blink.
When your e1x is connected to your Dante network and your Mac via Ethernet, UAD Console will automatically select the mic or line input according to the cable that is connected. The pad settings and 48V phantom power are only available when you use the XLR connection.
Learn more in the Universal Audio e1x Manual > Configuring Apollo e1x.
Setting Up the Apollo e1x
Configuring Signal Routing in Dante Controller
The e1x can be configured for either Dante or AES67 compatibility within Dante Controller.
On the Dante network, Apollo e1x provides a single-channel, two-flow transmitter. You can route the audio from the e1x to up to two receiver channels. As with all audio signals on a Dante network, you establish the routing (called a subscription) using the Dante Controller app.
There are two use cases: with an Apollo x16D and without.
Using the e1x With Apollo x16D
When your x16D runs the appropriate Universal Audio plug-in, your e1x can be used as a Unison preamp. Configure the preamp settings in the UAD Console app.
Learn more in the Universal Audio Apollo e1x Manual > Using Apollo e1x with Apollo x16D and UAD Console.
Using the e1x Without an Apollo x16D
Without an Apollo x16D, you can use UAD Console to configure your e1x for the basic settings of 48V phantom power, pad, polarity, and low cut.
Learn more in the Universal Audio Apollo e1x Manual > Configuring Apollo e1x > Apollo E window in UAD Console (Apollo e1x without an Apollo x16D).
Here’s our demo video.
Universal Audio Support Resources
Learn more in these guides provided by Universal Audio:
- Universal Audio Support: Apollo x16D, Apollo e1x and e2m: Dante Network Switch & Cable Information
- Universal Audio Support: FAQ: Apollo E Series (Apollo e1x, e2m)
- Universal Audio Support: Dante for Dummies
Related Articles
When you need help, Sweetwater has the answers!
Our knowledge base contains over 28,000 expertly written tech articles that will give you answers and help you get the most out of your gear. Our pro musicians and gear experts update content daily to keep you informed and on your way. Best of all, it’s totally FREE, and it’s just another reason that you get more at Sweetwater.com.

