
Strymon Iridium Setup Guide
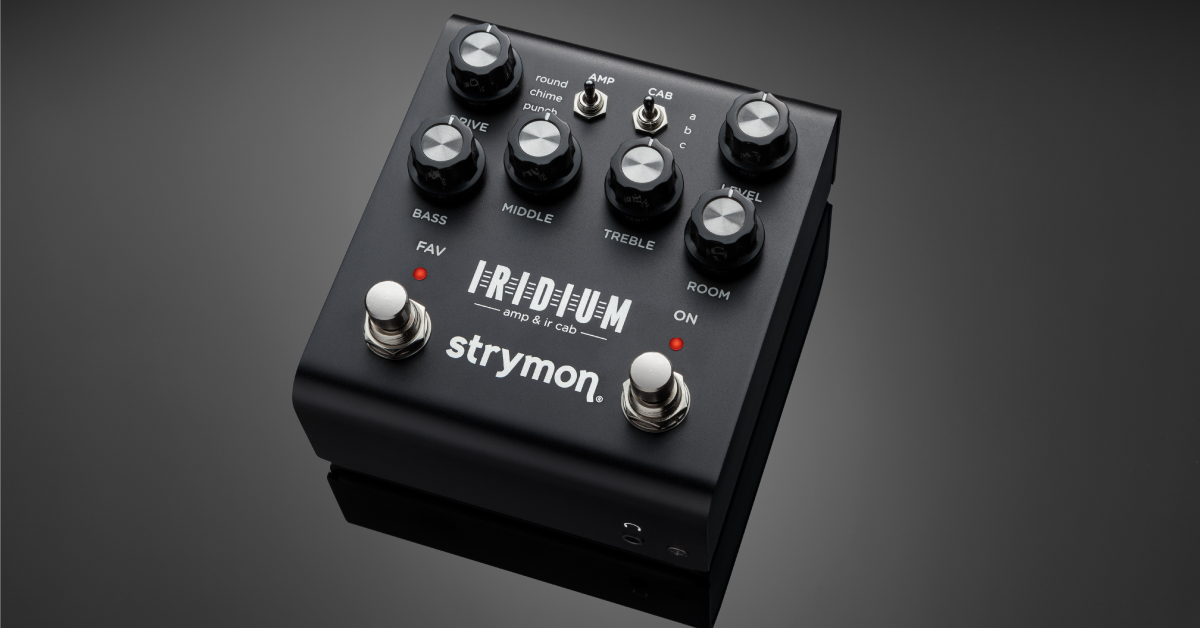
The Strymon Iridium amp and IR cab pedal is a great addition to your guitar effects pedalboard. There’s so much to do with the Iridium, so in this guide we will show you how to set up and use the Iridum for the first time. Follow the sections below to get started.
- How to set up and connect the Strymon Iridium
- Iridium power up modes
- How to use Strymon Impulse Manager
How to set up and connect the Strymon Iridium
TIP: Have the Iridium at the end of your signal chain, so the entire pedalboard connected to the amp is simulated. Place it at the front of time-based effects for a unique tonal character.
The Iridium is a guitar pedal that’s very versatile in its connections. Depending on your application, you may want to connect it one way over the other, but no matter how you connect, it’s straightforward.
- Connect your guitar to the IN jack with a standard TS instrument cable.
- If you have an incoming stereo signal, you’ll need a ¼” stereo splitter cable.
- Set the switch to select the audio input.
- MONO: Used for mono signals.
- STEREO: Used for Stereo output signal.
- SUM: Used when you want a stereo input to be summed down to a mono output (connect to the OUT L jack when set to SUM.)
- Connect the pedal to a powered full-range speaker.
- If you’re connecting it to the main PA system, connect the Iridium to a DI box, then the DI box to the PA system.
- If you want to record your guitar using the Iridium pedal, use a standard TS instrument cable to connect from the pedal’s output to the input of your audio interface.
Power up modes
While the Iridium may look like just another typical guitar pedal, there’s a lot under the hood that requires you to navigate through some menus. You’d think it’d be a little complicated since there’s no display, but it’s surprisingly easy at how you can update settings. There are quite a few different menus available, but in this guide, we’ll focus on three important ones: the level, output level, and expression pedal. To learn about all of the modes, check out the user manual for more information!
- To enter any power up mode, the Iridium must be powered off beforehand.
Input level
The input level menu lets you switch between instrument and line level signal. By default, it’s set to instrument level signal (guitars and basses). To switch it to line level signal, follow these steps.
- Press and hold the FAV switch while powering the Iridium on. Once both LEDs begin flashing, you can let go of it.
- Turn the DRIVE knob, so the knob’s notch is in the red.
- Press either footswitch to exit and store the input level.
Output level
The Output level menu is where you will change how the output signal will be routed. You can bypass the amp and room, bypass the cab and room, or leave all processing active.
- Press and hold the ON switch while powering the Iridium on. Once both LEDs begin flashing, you can let go of it.
- Turn the DRIVE to set it to the mode you’d like:
- Green LED (Amp bypass mode): Amp simulation processing is disabled, but the cab and room processing is active.
- Yellow LED (Cab bypass mode): The amp and room processing is active, but the cab simulation processing is disabled.
- RED LED (Normal): Room, cab, and amp simulation processing are all active.
- Press either footswitch to exit and store the output level.
How to set up an expression pedal with the Iridium
TIP: Expression pedal settings are saved per preset. This means you can have the pedal control the post signal volume on one preset and use it as an expression pedal on another preset.
There are three different ways to program an expression pedal with the Strymon Iridium: Expression, Volume PRE, and Volume POST. You’ll need to enter the mode while powering on and then switch to the respective setting you wish to change.
- With the Iridium powered off, connect an expression pedal to the EXP jack.
- Press and hold the FAV footswitch and power the Iridium on. After you see the FAV and ON LEDs flash, let go of the FAV footswitch.
- Use the LEVEL knob to switch between functions:
- Green LED: Expression
- Yellow LED: Volume PRE
- Red LED: Volume POST
- Press either ON or FAV footswitch to exit. You’re now ready to update your expression pedal settings.
- Press and hold both footswitches until both LEDs flash green.
- Put the expression pedal to the HEEL position. The FAV LED should be flashing green.
- Set the knob (or knobs) of the settings you wish to control while in the HEEL position of the pedal. The FAV LED should now flash red.
- Place the expression pedal to the TOE position. The ON LED will flash green.
- Repeat step 7, then press the ON or FAV footswitch to exit and store the newly programmed expression setup.
How to use the Strymon Impulse Manager
NOTE: For the best sound possible, IR’s should be 24-bit 96kHz WAV files that are up to 500ms.
The Strymon Iridium can store up to 9 presets at once. If you want to load different imports, you’ll use the Strymon Impulse Manager. You can also name, save, create a custom collection, and update the left and right channel levels and EQs. Check out Strymon’s video to learn more about how to use Strymon Impulse Manager!
Click the image to download the Strymon Impulse Manager
Strymon Impulse Manager for Iridium
Additional resources
Click the image to view the Strymon Iridium user manual
In-Depth Tour with Sound Designer Pete Celi
Strymon Iridium playlist
Related Articles
When you need help, Sweetwater has the answers!
Our knowledge base contains over 28,000 expertly written tech articles that will give you answers and help you get the most out of your gear. Our pro musicians and gear experts update content daily to keep you informed and on your way. Best of all, it’s totally FREE, and it’s just another reason that you get more at Sweetwater.com.


Offer applies only to single-receipt qualifying purchases. Select manufacturers may require that only the manufacturer’s products qualify towards the minimum purchase amount needed to be eligible for promotional financing. Otherwise, an invoice that meets the minimum purchase amount and contains at least one qualifying manufacturer product is eligible for promotional financing. No interest will be charged on promo purchase balance, and equal monthly payments are required on promo purchase until it is paid in full. The payments equal the amount financed divided by the number of months in the promo period, rounded up to the next whole dollar. These payments may be higher than the payments that would be required if this purchase was a non-promo purchase. During the last month(s) of the promo period the required monthly payment may be reduced due to the prior months’ rounding. Regular account terms apply to non-promo purchases. New Accounts as of 07/31/2025: Purchase APR is 34.99%. Penalty APR is 39.99%. Min Interest Charge is $2. Existing cardholders: See your credit card agreement terms. Subject to credit approval.
Offer applies only to single-receipt qualifying purchases. No interest will be charged on the promo balance if you pay it off, in full, within the promo period. If you do not, interest will be charged on the promo balance from the purchase date. The required minimum monthly payments may or may not pay off the promo balance before the end of the promo period, depending on purchase amount, promo length and payment allocation. Regular account terms apply to non-promo purchases and, after promo period ends, to the promo balance. New Accounts as of 07/31/2025: Purchase APR is 34.99%. Penalty APR is 39.99%. Min Interest Charge is $2. Existing cardholders: See your credit card agreement terms. Subject to credit approval.
The estimated required monthly payment shown which excludes taxes and delivery equals the amount financed divided by the number of months in the promo period, rounded up to the next cent. During the last month(s) of the promo period the required monthly payment may be reduced due to this rounding. These payments apply only with the financing offer shown. If you make these payments by the due date each month, you should pay off this amount financed within the promo period, if it is the only balance you are paying off. If you have other balances on your account, this payment will be added to any other minimum monthly payments.
Applies only to select items from this manufacturer. Ask your Sweetwater Sales Engineer for more details.