
Hotone Verbera Convolution Reverb Quickstart Guide
The Hotone Verbera convolution reverb pedal is the first in the Hotone NeonGLow series. It provides both convolution and algorithmic reverbs and even lets you capture the sounds of your favorite reverb pedals and hardware using the Verbera’s onboard Clone function. With the Neon Collector app on your computer, you can import your own impulse response (IR) files and easily manage presets. Let’s get started.
- Download the Owner’s Manual
- Install the Neon Collector App & Update the Firmware
- How Does the Hotone Verbera Work?
- Verbera Connections
- Verbera Controls
- Cloning Reverb Effects & Creating Impulse Responses
- Hotone Verbera Tutorial Video
Download the Owner’s Manual
Go to the Hotone Support page. Under Support > User Manual > NeonGLow > Verbera > English, you’ll see an entry with a name similar to “Verbera User Manual (Compatible with Firmware V1.0.6)” (The firmware version may change over time). Download the manual; you will need it for reference.
Install the Neon Collector App & Update the Firmware

Hotone Neon Collector app for the Verbera
From time to time, Hotone will provide a free firmware update that fixes bugs and may add additional features to the Verbera. The first time you use the Verbera, check to see if it needs to be updated. You do this through the Neon Collector app on your Mac or Windows PC.
The app is also used to store a library of your presets and back them up to your computer. You can also import impulse response (IR) files from your computer and upload them to the Verbera.
On the Hotone Support page, under Software > NeonGLow > Verbera, click on the link that indicates the newest version of the software for Mac or Windows.
Download the installer and use it to install the Neon Collector app, following the prompts.
Connect the Verbera directly to your computer using a USB-C data cable, with adapter if necessary.
Launch the Neon Collector app and wait for it to detect the Verbera.
- In the app, click the “Setting” tab at the top then the “Firmware” tab on the left pane.
- Underneath the Verbera logo, you’ll see the current firmware version.
- Click the “Check update” button.
- If there’s a new version, then follow the prompts to install it.
Be patient during the update process. Don’t quit the app, disconnect the USB cable, or turn off the power on the Verbera.
How Does the Hotone Verbera Work?
Verbera uses two types of digital reverb in each preset.
The first is the convolution reverb, which processes your signal using an impulse response (IR). An IR can be measured from a real-world space, such as a concert hall, but an IR can also be created by sending a test signal through an electronic device such as a vintage plate reverb or even a preset from another digital reverb unit.
The output from the Verbera’s convolution reverb is sent to the algorithmic reverb, which Hotone calls the “extra reverb” or “XR.” The XR is used to add sounds and modulations not achievable with convolution reverb. The XR also provides a Freeze sustain function.
The input, mono or stereo, is split into two paths, preserving your “dry” sound, which you can mix with the “wet” signal processed by the two reverb effects.
The Verbera contains a large library of IRs that you can use in presets you create. Using the Neon Collector app on your computer, you can upload third-party IRs to the Verbera.
You can also use the Clone function on the Verbera to capture your own IRs from your hardware.
Verbera Connections
You can configure Verbera for stereo or mono input and output with the right cables. You can also control Verbera using an expression pedal and MIDI.

Hotone Verbera connections
9V Power
Power the unit with the included 9-volt power supply.
In
Connect a 1/4-inch TS instrument cable for monaural input or a 1/4-inch TRS cable for stereo input. In Menu > Input, select “Mono,” “Stereo,” or “Auto.”
Out L/Stereo
For mono output, connect a 1/4-inch TS instrument cable.
For stereo output, connect a 1/4-inch TRS cable.
Out R
You can also get stereo output by connecting a 1/4-inch TS instrument cable to this port along with another TS cable connected to the Out L/Stereo port.
You’ll need the right kind of insert cable (or “Y-cable” as they are sometimes incorrectly called) for your input and output connections, depending on your signal path.
Learn more in the Verbera User Manual > Panel Introduction > Connection Guide.
USB-C
Connect a USB-C data cable to your Mac or Windows PC to use the Neon Collector app to upload your own IRs, manage a library of presets, and update the firmware. You can also transmit MIDI control data over the USB connection.
It’s possible to power the pedal over the USB-C connection instead of using the included 9-volt power supply. You can do this from your computer or a wall charger.
Note that the Verbera’s USB-C connection does not transmit or receive digital audio. To record the output of your Verbera, connect the analog audio outputs to an audio interface.
MIDI In/EXP
This connection, with its 1/8-inch TRS port, can serve one of two functions:
- Transmitting and receiving MIDI data
- Using an external expression pedal (not included) such as the Hotone Ampero II Press
Configure the connection in Menu > CTRL. Select “MIDI” or “EXP.”
For the MIDI connection, you will need to supply the right kind of adapter or breakout cable to connect to your MIDI gear, either TRS or the traditional 5-pin DIN connection.
There’s a table showing how to control the parameters of the Verbera with MIDI commands in the Verbera User Manual > Expression and MIDI > MIDI Setting.
For an expression pedal, you’ll need a cable with a 1/8-inch TRS plug to connect to the Verbera and a 1/4-inch TRS plug on the other end to connect to your expression pedal. A headphone adapter plug will work.
For each preset on the Verbera, you can program the parameters affected by the expression pedal.
Learn more in the Verbera User Manual > Expression and MIDI > EXP Setting.
MIDI Thru
Connect a 1/8-inch TRS cable to pass MIDI signals through to another device.
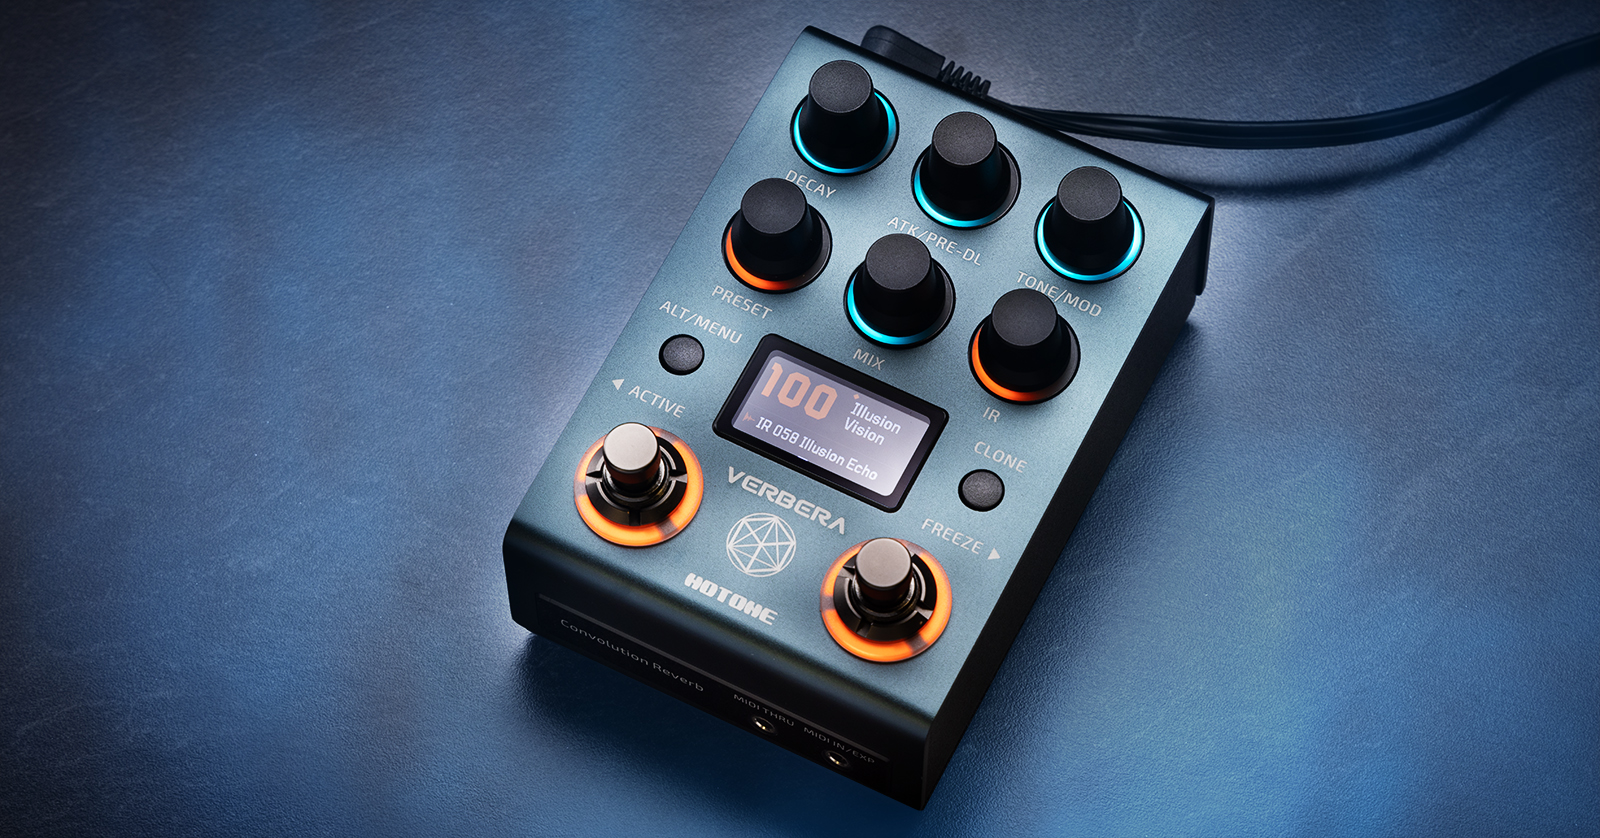
Verbera Controls

Hotone Verbera controls
Preset
Turn the Preset knob to scroll through the presets. Tap the knob to save the preset, selecting a new slot in which to store it. Press again, and you can name the new preset. Tap the Clone button to go back.
IR
Turn the IR knob to scroll through the library of impulse responses, which can be assigned to any preset.
You can sort the list of IRs according to name, length, smoothness, degree of diffusion, brightness, and attack. Tap the knob to move between these categories then turn the knob to see the sorted list.
Orange Mode and Blue Mode
The panel has two states, indicated by the halos around the Decay, Atk/Pre-DL, Tone/Mod, and Mix knobs.
Orange mode provides controls for the convolution reverb.
Blue mode provides controls for the XR algorithmic reverb.
Tap the Alt/Menu button to toggle between the two modes.
Turn each knob, and the display screen will indicate the parameter and its value.
Menu Settings
Press and hold the Alt/Menu button to enter the menu mode, where you can configure inputs and outputs, USB and MIDI settings, and more. Turn the Preset knob to scroll between settings. Tap the Clone button to return to the main screen.
Footswitches
In Preset mode, the two footswitches have orange halos. Tapping the left footswitch moves backward through the list of presets while the right footswitch moves forward.
Enter Control mode by tapping both footswitches together. In this mode, the left footswitch has an orange halo. Tap it to turn on a preset or bypass the effect. The right footswitch has a blue halo. Tap it to activate Freeze mode.
Cloning Reverb Effects & Creating Impulse Responses
Verbera can take an “audio snapshot” of the sound of an electronic reverb device you hook up to it and create an impulse response that you can use in your presets. Verbera cannot capture an effect that involves “shimmer” or other advanced modulation effects.
The Verbera can clone a monaural reverb effect with a maximum reverb time of 20 seconds. For a stereo effect, the maximum is 10 seconds.
Here’s how to connect the Verbera to an external reverb effects device and create an IR.
- Before connecting any cables, press and hold the Clone button to put the Verbera into Clone Prep mode. This will prevent a feedback loop.
- Connect a TS cable from the Out L/Stereo jack on the Verbera to the input of the target device you want to clone.
- To make a clone of a monaural effect, take the mono output from your reverb device and connect it to the In jack on the Verbera using a TS cable.
- To make a clone of a stereo effect, use a TRS-to-dual-TS insert cable. Connect the left and right outputs from the target effect using the dual TS connectors. Connect the TRS plug to the In jack on the Verbera. Check the Menu settings on the Verbera and confirm that input is set to stereo.
- On your target effect, set the mix to 100% (only the reverb effect, without the dry signal). Turn off any modulation parameters since the Verbera cannot make the clone successfully if they are enabled.
- On the Verbera’s display, you’ll see “Start.” Tap the Clone button to begin the capture process. This will take a few seconds.
The Verbera will give a name to your newly captured IR. Rename it if you wish.
Use the Save feature to save the IR to the Verbera’s memory.
Learn more in the Verbera User Manual > Clone Function.
Hotone Verbera Tutorial Video
Here’s a brief walk-through from Hotone.
Hotone Verbera: Step-by-Step Tutorial
When you need help, Sweetwater has the answers!
Our knowledge base contains over 28,000 expertly written tech articles that will give you answers and help you get the most out of your gear. Our pro musicians and gear experts update content daily to keep you informed and on your way. Best of all, it’s totally FREE, and it’s just another reason that you get more at Sweetwater.com.


Offer applies only to single-receipt qualifying purchases. Select manufacturers may require that only the manufacturer’s products qualify towards the minimum purchase amount needed to be eligible for promotional financing. Otherwise, an invoice that meets the minimum purchase amount and contains at least one qualifying manufacturer product is eligible for promotional financing. No interest will be charged on promo purchase balance, and equal monthly payments are required on promo purchase until it is paid in full. The payments equal the amount financed divided by the number of months in the promo period, rounded up to the next whole dollar. These payments may be higher than the payments that would be required if this purchase was a non-promo purchase. During the last month(s) of the promo period the required monthly payment may be reduced due to the prior months’ rounding. Regular account terms apply to non-promo purchases. New Accounts as of 07/31/2025: Purchase APR is 34.99%. Penalty APR is 39.99%. Min Interest Charge is $2. Existing cardholders: See your credit card agreement terms. Subject to credit approval.
Offer applies only to single-receipt qualifying purchases. No interest will be charged on the promo balance if you pay it off, in full, within the promo period. If you do not, interest will be charged on the promo balance from the purchase date. The required minimum monthly payments may or may not pay off the promo balance before the end of the promo period, depending on purchase amount, promo length and payment allocation. Regular account terms apply to non-promo purchases and, after promo period ends, to the promo balance. New Accounts as of 07/31/2025: Purchase APR is 34.99%. Penalty APR is 39.99%. Min Interest Charge is $2. Existing cardholders: See your credit card agreement terms. Subject to credit approval.
The estimated required monthly payment shown which excludes taxes and delivery equals the amount financed divided by the number of months in the promo period, rounded up to the next cent. During the last month(s) of the promo period the required monthly payment may be reduced due to this rounding. These payments apply only with the financing offer shown. If you make these payments by the due date each month, you should pay off this amount financed within the promo period, if it is the only balance you are paying off. If you have other balances on your account, this payment will be added to any other minimum monthly payments.
Applies only to select items from this manufacturer. Ask your Sweetwater Sales Engineer for more details.