
PreSonus Quantum Series Quickstart Guide
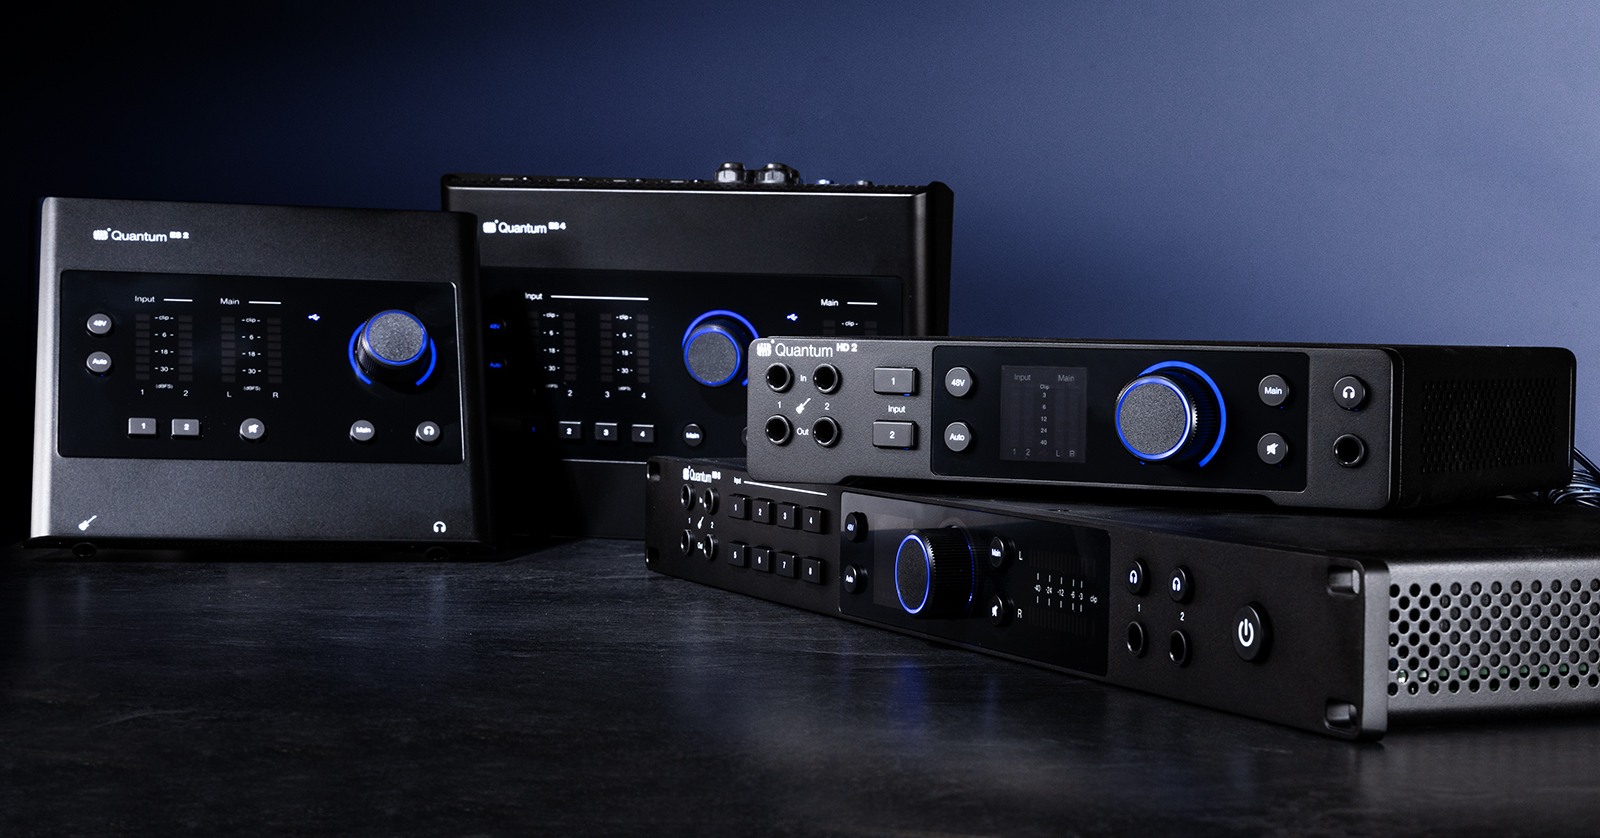
The PreSonus Quantum line of interfaces is the perfect addition to your home studio, so in this guide, we will show you how to register, set up, and connect them for the first time. This guide covers all interfaces in the Quantum ES and HD series, so be sure to check out the product-specific user guides for more information! Follow the sections below to get started.
Register Your Interface
Before setting up and connecting your Quantum audio interface, you must register it with PreSonus. Upon registration, you’ll receive a free six-month subscription to Studio One+ and gain access to Universal Control, drivers, and documentation.
- Log in to your PreSonus account. If you haven’t created one yet, do so now.
- Click Register Products, choose Hardware, and enter the date of purchase and the serial number, which is located on the bottom of the interface.
- Click Register.

Click the image to register your PreSonus Quantum series audio interface.
Download and Install Universal Control
Universal Control is the standalone software needed for setting up and configuring your PreSonus audio interface to unlock its full potential and update its firmware. Before setting up your Quantum series interface, you must download and install Universal Control.
- Go to the Universal Control download page, select your OS from the dropdown box, and click Download Now.
- If you want to download Universal Control for a different OS, click Show (OS) downloads. This will provide you with the latest installer for that OS.
- Navigate to your Downloads folder, locate the installer, and launch it. Follow the on-screen instructions to complete the process.
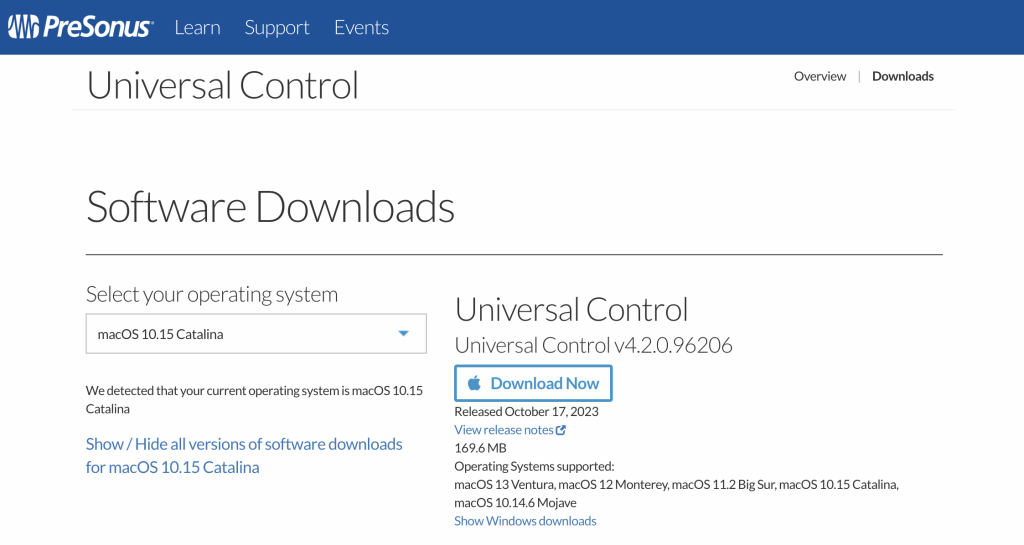
Click the image to download PreSonus Universal Control.
PreSonus Quantum Series Setup and Connections
Now that you’ve registered your interface and installed the software, it’s time to get set up. Setting up the Quantum ES and Quantum HD is simple. With a few simple connections, you’ll be up and running in no time.
- Connect the included USB cable from the Quantum interface to your computer.
- Turn on the interface, making sure all output connections are turned down. If a new firmware update is available, you will be prompted install it.
- Connect your guitar to the 1/4-inch jack on the front inputs. If you’re recording vocals or a stereo instrument, use the input connections on the back.
- Connect condenser microphones before pressing the 48V button (enabling phantom power). Disconnect the microphone after turning off 48V.
- Connect your monitor speakers to the Main L and R. If you have a Quantum ES 4, HD 2, or HD 8, connect your secondary monitor speakers to the Line Output 3 and 4 jacks.
- Once everything is connected, adjust your levels as needed. To make your life simple, you can use the Auto Gain feature to get the perfect level no matter what instrument you’re recording!
MIDI Connections
PreSonus Quantum series interfaces don’t have standard 5-pin MIDI connectors. The Quantum ES interfaces use 3.5mm to MIDI cables, and the Quantum HD interfaces use a proprietary DB-9 to MIDI cable that also serves as an S/PDIF cable.
Quantum HD Digital Connections
The PreSonus Quantum HD interfaces have digital connections that allow you to expand your setup even further. They also come with a proprietary DB-9 cable that serves as a MIDI and S/PDIF connection. Check out our guide on digital clocking to learn more!
Auto Gain
Auto Gain is an excellent feature if you’re having trouble finding the correct level at which to set an input. It “learns” the strength of the input and will adjust the level accordingly so you can set a clean and consistent level.
NOTE: Auto Gain will detect 10 seconds’ worth of signal. You must restart the process if no signal is detected within those 10 seconds.
- Press the button for the channel on which you wish to use Auto Gain, then press the Auto Gain button so it enters “listening” mode.
- If you’re setting Auto Gain for multiple channels, press their associated channel buttons at the same time.
- Begin playing at performance level until you see the encoder flash green three times.
- Pressing the 48V button will not have an effect until after the Auto Gain process is complete.
- If Auto Gain can’t determine the best level, the encoder will flash red and return to the last known gain-level position.
- Press the Main or Headphone button to cancel Auto Gain detection.
Monitor Switching (Quantum ES 4, HD 2, and HD 8 Only)
A great feature included on PreSonus Quantum ES 4, HD 2, and HD 8 interfaces is Monitor Switching. This allows you to connect two pairs of monitors to compare mixes between the two. Connect your main monitor speakers to the Main L and R and your secondary pair to Line Outputs 3 and 4.
Speaker Switching is straightforward. You just need to press the Main button to switch between the two. When the Main button is blue, the main monitors are active. When it is purple, the secondary monitors are active. In Speaker Switching mode, cue mixes aren’t possible and will be automatically deactivated from Universal Control.
Additional Setup Tips
Here are a few quick tips and tricks for setting up your Quantum series interface.
- Connecting a piece of gear to the input on the front panel will disable the corresponding jack on the back.
- Channel 1 for the ES 2 and Channels 1 and 2 for the ES 4
- The headphone output audio source can be changed inside either Universal Control or Studio One.
- Make sure to use the factory-supplied USB cable! The interface may not work correctly if you use a third-party USB cable.
- If you’re using the Quantum ES with a mobile device, you must connect it via the AUX USB-C port to a 5VDC USB-C wall adapter or a battery bank.
- If you see the USB Sync light flashing red, there’s not enough power to transfer to the Quantum. If this is the case, you must use the Aux Power port.
How To Set Up Your New Quantum ES or HD Audio Interface
Re-amping on the Quantum HD
NOTE: The re-amp outputs are channels 11 and 12 in your DAW.
Quantum HD interfaces have dedicated hardware inputs that allow you to re-amp audio signals. Re-amping is the process of recording a dry track and then rerecording by sending the signal through an amp or an effects chain. This is great for recording just one performance while playing around with mic placement, amps, pedals, and effects units without affecting the printed track!
- Connect the guitar amp’s INPUT to the bottom output jacks located underneath the front guitar input jacks.
- Set the output of the track to Outputs 11 and 12, solo the dry track, and begin playback.
- Adjust the sound settings on your amp, effects, or pedal rig. Once you’re happy, press Record in your DAW to record the new signal.
Related Articles
When you need help, Sweetwater has the answers!
Our knowledge base contains over 28,000 expertly written tech articles that will give you answers and help you get the most out of your gear. Our pro musicians and gear experts update content daily to keep you informed and on your way. Best of all, it’s totally FREE, and it’s just another reason that you get more at Sweetwater.com.

