
MOTU 16A Quickstart Guide
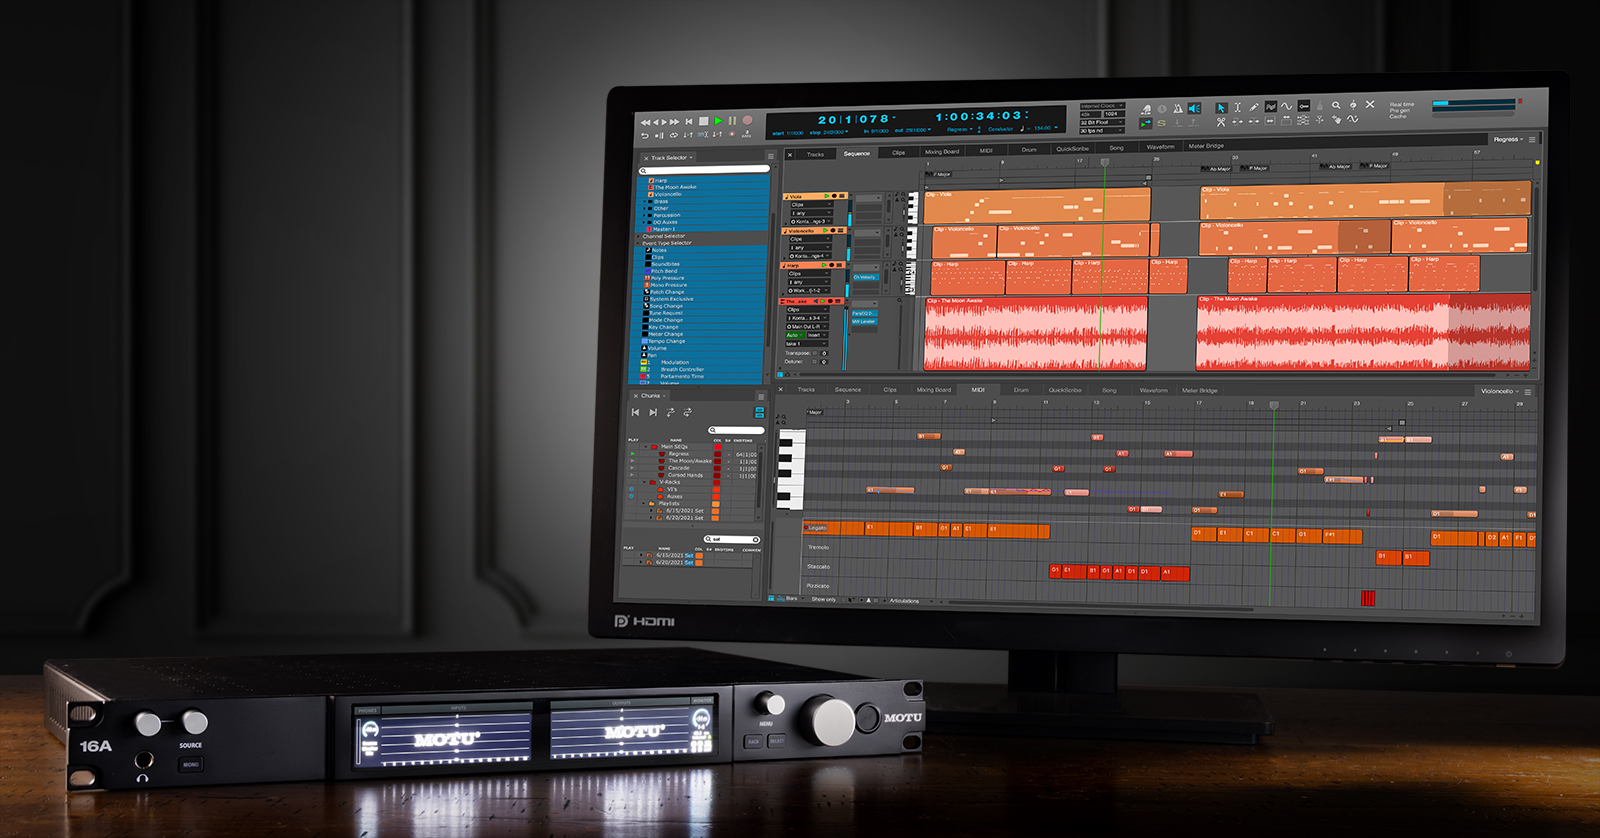
The MOTU 16A is a powerful, high-speed Thunderbolt 4/USB4 audio interface with AVB connectivity, making it the perfect center for your studio. In this guide, we will show you how to register, set up, and connect the 16A for the first time. Follow the sections below to learn more.
Register the MOTU 16A
Before starting, you’ll want to register the 16A interface with MOTU. Upon registration, you’ll receive access to free software, the necessary firmware updater, and additional product information to get you up and running.
- Go to MOTU’s Log In page and enter your MOTU account credentials. If you don’t have an account, then click CREATE MY ACCOUNT and enter the necessary information.
- Go to your account’s Registrations page and click Register a Product.
- Enter your interface’s serial number, complete the form, and click Save.
- Find the serial number on the bottom of the device or on the side of its box.
- Click the links under Included software and loops to download the driver, the firmware update software, CueMix Pro, and the bundled loops and sounds.
- You must download the firmware update software, CueMix Pro, and the driver. The other software is optional.
- You can download the driver from your account page or from the MOTU 16A Download Center page.

Click the image to register your MOTU 16A audio interface.
MOTU 16A Setup
Once your MOTU 16A is registered, you must download its driver and connect it to your computer. Before getting connected, here are some helpful tips to simplify the setup process.
- If you connect the interface to a computer or a mobile iOS device via USB-C, then you must use the included USB-C cable. If you connect the interface via USB-A, then purchase a brand-name USB3-C to USB3-A cable.
- Connect any mobile or iOS device to the Device Thunderbolt (left port). Connect the interface to your computer using the Computer port (right port).
- If you are using Thunderbolt (Thunderbolt 3), then you must use the USB-C connector. DisplayPort jacks used for legacy Thunderbolt 1 and 2 devices will not work. Check out our Thunderbolt connections guide to learn more.
- USB-C to USB-A adapters will not work.
- The Device Thunderbolt (left port) outputs 15 volts of power, which you can use as bus power for other USB or Thunderbolt devices.
- The interface prioritizes performance when connected. You will see TB on the interface display if it detects a Thunderbolt or USB-4 connection. If it detects a USB-2 or USB-3 connection, then you will see a 2 or a 3. Learn more about Host statuses in the MOTU 16A User Guide.
Windows PC Setup
Setting up your 16A on a Windows PC is straightforward. Make your connections, install the driver, and you’re all set!
- Download and install the MOTU 16A driver, then connect the interface to your Windows PC.
- Launch CueMix Pro and click the 16A to enable it.
- Right-click the speakericon on the taskbar, click Sound Settings, and set the MOTU as your default input and output device.
MOTU 16A Windows Users: Start Here
Mac Setup
When setting up your MOTU 16A on Mac, you must download and install the driver, as well as adjust some system settings for it to be recognized. Follow these steps to install the Mac driver.
- Download and install the MOTU 16A driver, then connect the interface to your Mac.
- Launch CueMix Pro. When you launch the software for the first time, you will receive a prompt asking permission to open it. Click OPEN.
- Once CueMix Pro opens, you will receive a notification asking permission to find devices on local networks. Click Allow.
- After you have allowed the 16A to access local networks, click INSTALL in the Driver section of the application.
- When you see the notification asking permission to use a new driver extension, click Open System Settings.
- Navigate to Login Items & Extensions, followed by Extensions, and then Driver Extensions.
- Enable CueMix Pro in the Driver Extensions window, enter your Mac system password, click OK, click Done, and close the System Settings window.
- Click 16A in CueMix Pro to enable and access all the interface channels and features.
Mac privacy and security settings
Learn more about macOS Privacy & Security settings in our guide.
MOTU 16A Mac Users: Start Here
Connecting Your Gear
IMPORTANT! Make sure that your speakers are powered off and that the main level is turned down when you connect them to your computer. Connecting monitors that are powered on may cause a loud pop that could result in damage.
After the interface is connected to your computer, it’s time to hook up your gear. Connections are straightforward, so here are a few tips to get you up and running.
- Outputs 1 and 2 are for the main monitors. Outputs 3 through 16 are for other outboard gear, such as mixers and alternate monitors. They are DC coupled, which means you can use them for CV (Control Voltage)output.
- Inputs 1 through 16 are for line-level gear and require 1/4-inch TRS cables.
- The knob located directly above the headphone jack (on the front of the unit) controls the headphone level. The knob to the right of it controls the source the audio streams from (mains or alternates).
- The two Optical connections provide 16 ADAT channels of digital I/O at 44.1kHz or 48kHz or eight channels at 88.6kHz or 96kHz.
- The optical connections are disabled at 174.4kHz and 192kHz.
- The Network connections are used for AVB (Audio Video Bridging)gear. If you aren’t using the network connections for AVB, then you can connect to an Ethernet switch or a Wi-Fi router, which will allow you to control the 16A from a different computer or an iOS device.
MOTU 16A: Basic Connections and Monitoring
Related Articles
When you need help, Sweetwater has the answers!
Our knowledge base contains over 28,000 expertly written tech articles that will give you answers and help you get the most out of your gear. Our pro musicians and gear experts update content daily to keep you informed and on your way. Best of all, it’s totally FREE, and it’s just another reason that you get more at Sweetwater.com.


Offer applies only to single-receipt qualifying purchases. Select manufacturers may require that only the manufacturer’s products qualify towards the minimum purchase amount needed to be eligible for promotional financing. Otherwise, an invoice that meets the minimum purchase amount and contains at least one qualifying manufacturer product is eligible for promotional financing. No interest will be charged on promo purchase balance, and equal monthly payments are required on promo purchase until it is paid in full. The payments equal the amount financed divided by the number of months in the promo period, rounded up to the next whole dollar. These payments may be higher than the payments that would be required if this purchase was a non-promo purchase. During the last month(s) of the promo period the required monthly payment may be reduced due to the prior months’ rounding. Regular account terms apply to non-promo purchases. New Accounts as of 07/31/2025: Purchase APR is 34.99%. Penalty APR is 39.99%. Min Interest Charge is $2. Existing cardholders: See your credit card agreement terms. Subject to credit approval.
Offer applies only to single-receipt qualifying purchases. No interest will be charged on the promo balance if you pay it off, in full, within the promo period. If you do not, interest will be charged on the promo balance from the purchase date. The required minimum monthly payments may or may not pay off the promo balance before the end of the promo period, depending on purchase amount, promo length and payment allocation. Regular account terms apply to non-promo purchases and, after promo period ends, to the promo balance. New Accounts as of 07/31/2025: Purchase APR is 34.99%. Penalty APR is 39.99%. Min Interest Charge is $2. Existing cardholders: See your credit card agreement terms. Subject to credit approval.
The estimated required monthly payment shown which excludes taxes and delivery equals the amount financed divided by the number of months in the promo period, rounded up to the next cent. During the last month(s) of the promo period the required monthly payment may be reduced due to this rounding. These payments apply only with the financing offer shown. If you make these payments by the due date each month, you should pay off this amount financed within the promo period, if it is the only balance you are paying off. If you have other balances on your account, this payment will be added to any other minimum monthly payments.
Applies only to select items from this manufacturer. Ask your Sweetwater Sales Engineer for more details.