
macOS 13 Ventura: Operating System Downgrade Guide
IMPORTANT: Apple released macOS 13 Ventura on October 24, 2022. We will revise and update this article based on our experience with the release version of macOS 13 Ventura.
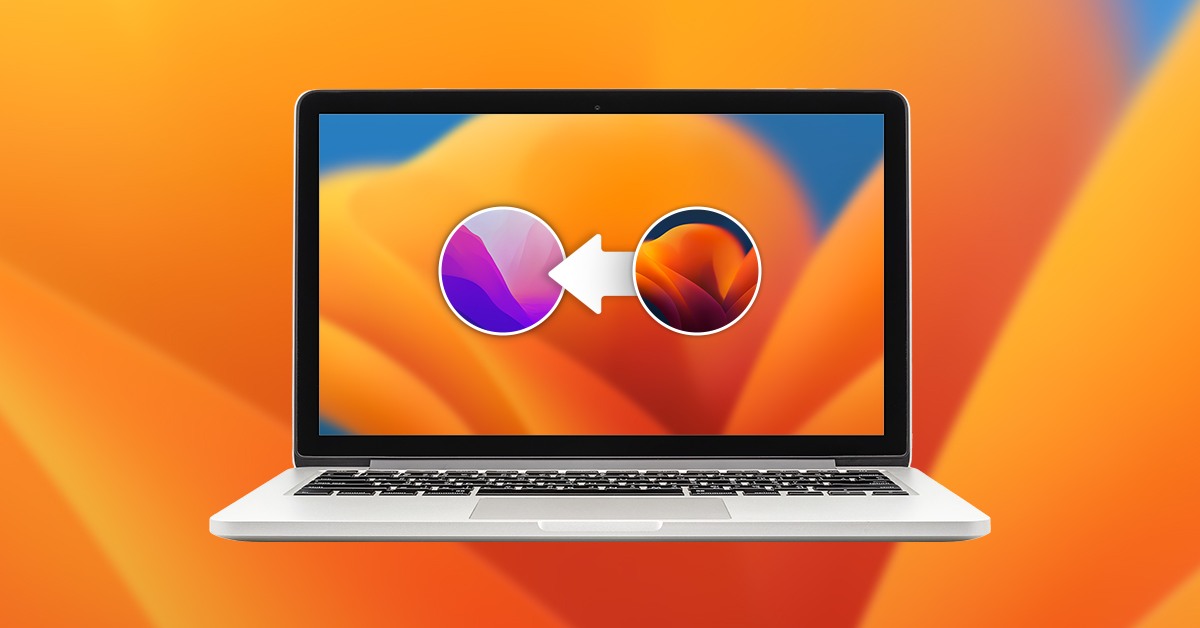
In this guide we will show you how to downgrade your Mac’s operating system from macOS 13 Ventura to a previous version.
Follow the steps below to:
- use Time Machine on macOS to back up all your data to an external hard drive
- use the Recovery app and Disk Utility to erase your Mac’s startup disk partition and install a previous version of macOS
- use Migration Assistant to restore your data and apps from your Time Machine backup to your Mac.
TIP: Read through all the instructions before you start. Print out these instructions for easy reference.
TIP: If you get stuck in a place where you cannot restore your Mac, contact Apple’s tech support at https://support.apple.com/
- Should I downgrade from macOS 13 Ventura?
- What you need to know before downgrading macOS 13 Ventura
- Downgrade from macOS 13 Ventura
Should I downgrade from macOS 13 Ventura?
You may have recently upgraded your Mac to macOS 13 Ventura only to discover that you have third-party music and audio software or hardware that no longer function correctly. Don’t panic — it may not be necessary to downgrade. First, check with the developers of the software that is problematic to find out if they have new versions available that are macOS 13 Ventura-compatible. Installing the updates may fix your problems.
Visit Sweetwater’s macOS 13 Ventura Compatibility Guide, with updated information from over 150 developers and manufacturers, and links to their support pages.
If the developers of the software you need don’t have new versions yet, the best choice is to downgrade (revert or roll back) to the previous version of macOS you were running before. That way you can get back to work making music.
What you need to know before downgrading macOS 13 Ventura
If your Mac is a new model that shipped with macOS 13 Ventura, it is not possible to downgrade to an earlier version of macOS.
If your Mac came with an earlier version of macOS and you upgraded it to macOS 13 Ventura, you can downgrade. It’s easy if you have already created a Time Machine backup of your data to an external hard drive. But don’t worry: if you haven’t got a Time Machine backup, you can create one now.
TIP: Use Apple’s Support Resources!
Here at Sweetwater our techs have been through the process a few times. Downgrading requires quite a few steps. In addition to our guide, we recommend that you reference Apple’s support pages, which we will link to as we go.
What you will need
- Your Mac
- Your administrator username and password that you use to log in to your Mac. Better write it down.
- Your Apple ID, the email address and password. This is your account with Apple and is not the same as the username and password above.
- An external hard drive, preferably at least double the size of your Mac’s startup disk, to create a Time Machine backup
- A reliable internet connection with no interruptions. (The download to reinstall macOS is over 12GB in size.)
- Connecting your Mac to your router with an Ethernet cable is preferred.
- If you use Wi-Fi, you need to know the network name and password to log in from your Mac after you have started the downgrade process.
TIP: If you do not have a MacBook, but have a desktop Mac, you need a wired keyboard and mouse connected to your Mac to use Recovery mode. Working with a Bluetooth or other kind of wireless keyboard and mouse connection is difficult to set up. If you have an Apple Magic Keyboard, you can connect it to your Mac using the USB-C-to-Lightning cable that came with it.
Downgrade from macOS 13 Ventura
Step One – Make a Backup using Apple Time Machine
IMPORTANT: Do not downgrade your Mac without first making a complete Time Machine backup on an external hard drive. Downgrading requires completely erasing your startup disk. Without the backup, you will lose all your data, not to mention having to reinstall all your apps separately.
TIP: Software licenses, authorization and activation
Your third-party DAW, plug-ins and audio apps may require license authorization or activation to your startup disk. After you downgrade macOS, these apps may see your new installation as a whole new computer, and you may need to reactivate each app. Before you downgrade, you should find out if you can first deactivate or deauthorize each piece of software so you can use the license code to reactivate the software after your downgrade. Visit the developers’ support pages for instructions.
Follow Sweetwater’s macOS 13 Ventura: Time Machine Backup Guide.
After you have created a backup, return to this article and continue.
IMPORTANT: Unplug the external hard drive with the Time Machine backup from your computer. During the Recovery procedure, you don’t want to risk erasing it by mistake. You will reconnect it after you downgrade and use it to restore your data and your apps.
Step Two – macOS Recovery Mode
TIP: The exact steps in the following procedure will vary slightly depending upon the version of macOS that shipped with your Mac.
If you have a MacBook, make sure its power adapter is plugged in.
To begin the downgrade:
On an Intel-based Mac
- If you have an Ethernet connection to your Mac, make sure it is connected.
- Shut down your Mac.
- Press the Power button and immediately press and hold Option-Shift-Command-R. This starts up your Mac from its Recovery partition and selects the option to reinstall the original, older version of macOS that shipped with your Mac, or the closest version that is still available.
- If you have multiple volumes or disk drives attached to the Mac, select the startup disk. It’s named Macintosh HD by default.
- If requested, choose an Administrator account, click Next, enter the account’s password, then click Continue.
- If you are using Wi-Fi, click the Wi-Fi menu icon, then choose Turn Wi-Fi On. Choose a network, and type the network’s password to join it.
- You will see a spinning globe and the message “Starting Internet Recovery. This may take awhile.” The system will begin downloading recovery materials.
- The macOS Utilities or Recovery app will load. Select Disk Utility and click Continue.
Disk Utility
In Disk Utility
- Select your Mac’s internal hard drive (usually named Macintosh HD) in the pane on the left.
- Click Erase in the pane on the right.
- Choose GUID Partition Map (if prompted) and APFS as the format.
- Click Erase and follow the prompts.
- Quit Disk Utility to return you to macOS Utilities or Recovery.
Reinstall macOS
In macOS Utilities or Recovery:
- Select Reinstall macOS. Click Continue, and follow the prompts.
- Your system will download and install the older version of macOS. This can take half an hour to several hours depending on your internet connection speed and other factors. Leave your Mac connected to its power source and do not shut it down.
Proceed to the section below, Step Three – Restore Your Data from Time Machine.
For further details, consult Apple Support: Use macOS Recovery on an Intel-based Mac
On an Apple Silicon Mac
- Shut down your Mac.
- Press and hold the power button until you see “Loading startup options.”
- Click Options, then click Continue.
- Enter the password for an administrator account.
- In the Recovery app, select Disk Utility and click Continue.
Disk Utility
- In Disk Utility, select your startup volume, usually named Macintosh HD.
- In the toolbar at the top of the window, click on Erase. Follow the prompts.
Recovery Assistant
- After the erasure, Recovery Assistant will prompt you to Activate Mac and select a Wi-Fi network or attach an Ethernet connection.
- If you are using Wi-Fi, click the Wi-Fi menu icon, then choose Turn Wi-Fi On. Join a network by selecting it and typing in its password.
- When you see the message Your Mac is activated, click Exit to Recovery.
Install macOS
- In the next dialog you should see a new option, Reinstall macOS Monterey (or Reinstall macOS Big Sur). Select it and click Continue. If there is more than one disk volume listed, select your startup disk, usually named Macintosh HD. Click Continue and follow the onscreen instructions.
- Recovery will download and install macOS. This can take half an hour to several hours depending on the speed of your internet connection and other factors. Leave your Mac connected to its power source and do not shut it down.
For further details, consult Apple Support: Use macOS Recovery on a Mac with Apple silicon.
Step Three – Restore Your Data from Time Machine
On macOS’s first boot, you will come up to the Migration Assistant screen.
Migration Assistant
- Under “How do you want to transfer your information?” select “From a Mac, Time Machine Backup or Startup disk.” Click Continue.
- Connect your Time Machine backup disk to your Mac. In the next screen, click on the Time Machine backup disk volume to select it, and click Continue.
- If your Time Machine disk is password-protected, enter the password and click Unlock. Follow the instructions on screen.
- In the Transfer information to this Mac screen, select the most recent backup set on your Time Machine disk. Click Continue.
- In the Select the information to transfer screen, check the boxes for every item and click Continue.
- Wait until the Time Machine restoration is complete.
For more information, consult Apple Support: Restore your Mac from a backup.
Large transfers may take several hours to complete.
Your Mac should now reboot and start up in the earlier version of macOS, with all your data and apps restored.
When you log in, go to System Preferences, click on Apple ID, and make sure that you are logged in there. Enter your Apple ID and password.
TIP: You can continue to use your Time Machine backup disk to make incremental backups of your data from this point forward. But you need to disable Time Machine backups while recording and mixing audio. Learn more in Sweetwater’s macOS 13 Ventura: Audio Optimization Guide.
Check your Licenses and Activations
With regard to music and audio software, you may find that you need to reactivate or transfer licenses for your DAW, plug-ins and apps. Log in to your accounts at the developers’ websites, follow their activation instructions, and contact their tech support if necessary.
macOS 13 Ventura Support Resources
Apple launched macOS 13 Ventura on October 24, 2022. Sweetwater has created a comprehensive series of support pages about macOS 13 Ventura to make sure our customers and the community have access to all the information required before upgrading. Not all software or hardware manufacturers will have versions of their products that are Ventura-compatible right away, but rest assured that they are hard at work testing and developing. After you confirm that all your products can be upgraded to compatible versions, that’s the time to upgrade. Bookmark this page and check back for the latest updates!
When you need help, Sweetwater has the answers!
Our knowledge base contains over 28,000 expertly written tech articles that will give you answers and help you get the most out of your gear. Our pro musicians and gear experts update content daily to keep you informed and on your way. Best of all, it’s totally FREE, and it’s just another reason that you get more at Sweetwater.com.

