

How To Test RAM for Windows PC
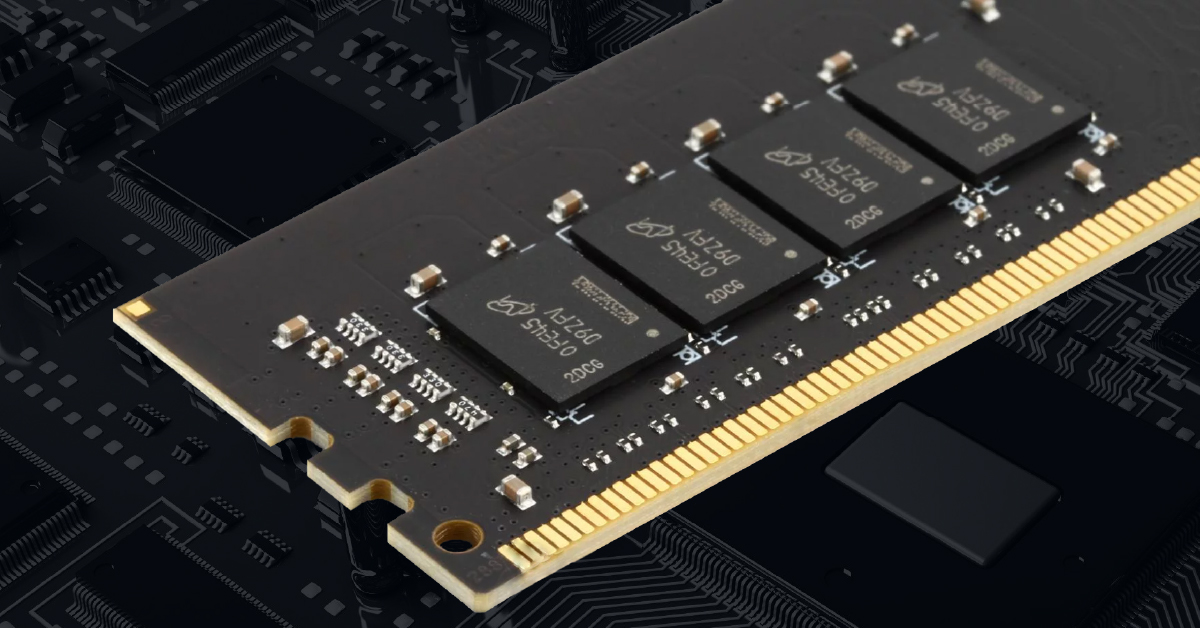
Sometimes issues arise that aren’t caused by faulty software but computer hardware instead. Having even just one bad RAM stick can cause major system-wide problems. This guide will show you how to test for bad RAM. Follow the sections below to get started.
How do I know if I have bad RAM?
If you have bad RAM, there are some symptomatic indicators you may not think of. Some of them are easily noticeable, but there are other issues that you may not be aware are caused by bad RAM. Some of the issues include:
- Random BSOD (Blue Screen of Death)
- Corrupt files or software you open frequently
- Programs fail to install
- The amount of RAM listed in About This PC is different from the amount that’s installed.
- Video card fails to load
- NOTE: Perform a clean install of the latest version of your graphics driver before assuming it’s bad RAM.
- Beep codes (sequences of beeps) when you turn on your computer.
- Each motherboard will have a unique set of beep codes, so check your motherboard manufacturer’s Owner’s Manual to determine the code.
A note on overclocking
Some PC users like to overclock (increase the clock rate of) their computers to increase their PC’s performance. A corresponding voltage increase is usually used to accommodate operational stability, but if the overclocking/voltage increase is too great, it may damage your RAM sticks and/or motherboard. So, when performing the following tests, we recommend disabling any overclocking.
How to test for bad RAM
If you’ve run commands like CHKDSK and SFC but you’re still having issues like the ones we previously mentioned, there’s something else that could be causing your problems: bad RAM. Luckily, there are a few ways you can test for bad RAM without needing to open up your computer. Windows has a built-in test tool called Windows Memory Diagnostic, and then there’s a third-party tool called memtest86+.
What is Windows Memory Diagnostic?
Windows has a powerful tool that’s easy to use and can help determine whether or not your RAM is bad. This application is Memory Diagnostic Scheduler, and it runs memory tests to detect any failures. If it does detect any issues, then you may be looking at replacing your RAM.
How to use Windows Memory Diagnostic
A NOTE ON TEST MODES: There are three different test modes to select from: Basic, Standard, and Extended. The test automatically begins in Standard mode. To switch between the three, press the F1 key as soon as the test starts.
Using Windows Memory Diagnostic is a three-step process. You first launch the application, reboot the computer to begin the scan, then after the scan is complete, you’ll check the test result in Event Viewer.
- Click the Windows icon on the toolbar, type memory, then click Windows Memory Diagnostic.
- Click Restart now and check for problems to begin the test.
- When your computer restarts, the test will begin in Standard mode.
- If you want a quicker scan, press the F1 key and switch to Basic.
- Press the F1 key and switch to Extended if you want a more in-depth scan. We recommend this option for the most accurate results.
- It will take quite a bit of time, especially when running the Extended test, so feel free to walk away while the test is running. Once the test is complete, your computer will shut down.
- When you’re fully booted back into Windows again, click the Windows icon, begin typing event, then click Event Viewer.
- If the computer passes the test, you’ll typically see a notification on the right side of the taskbar saying no errors were found.
- On the left side of the window, click the Windows log dropdown box, right-click System, then select Find.
- Type MemoryDiagnostics-Results, click Find Next, then close out of the search box. You will then see the test result.
- If you do receive an error, we recommend running the test once more, but this time, run it in Extended mode to confirm your suspicion.
- If there is an error, sometimes the test will even provide you with the faulty module, making it easier to figure out which RAM module to replace.
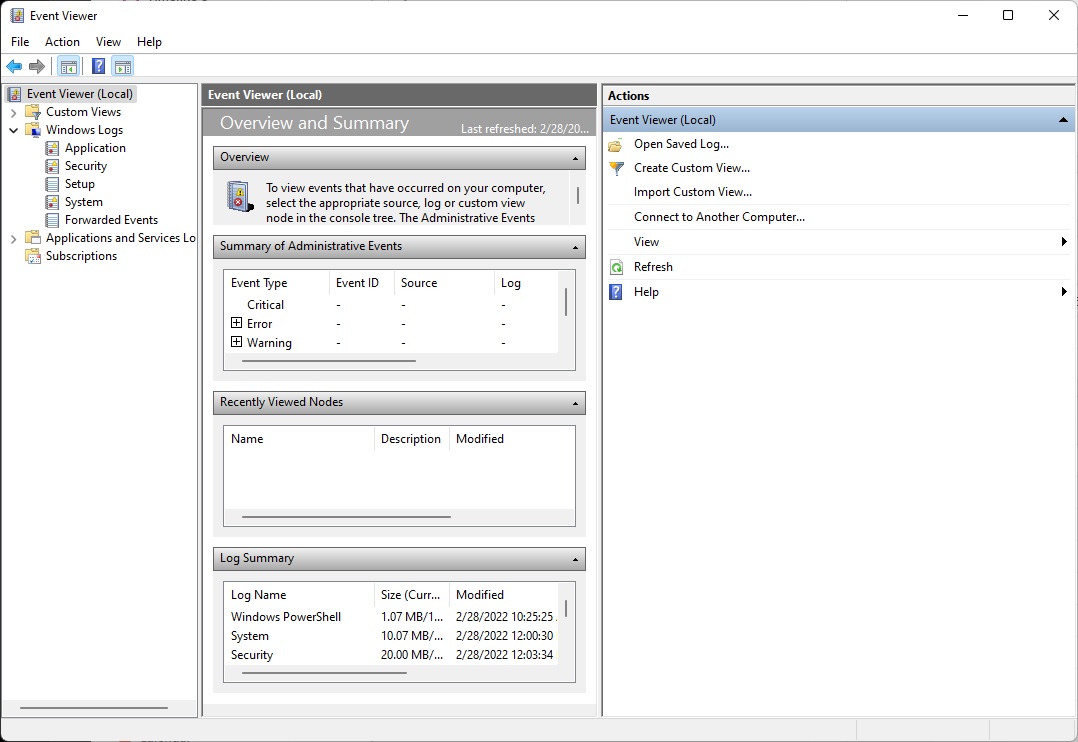
Windows Event Viewer
Memtest
Memtest is a very popular third-party application that tests for bad RAM. The main difference between memtest and the Windows Memory Diagnostic tool is that memtest will bypass any issue present in the OS, which means that it tests the RAM sticks uninterrupted. The memtest utility runs on a USB thumb drive, so be sure you have one available.
- Go to the Passmark Memtest download page to get the latest version of memtest.
- Navigate to your Downloads folder, locate then extract the memtest folder.
- Connect the USB thumb drive to your computer, then open imageUSB located in the newly extracted memtest folder.
- Click the checkbox next to the thumb drive you just connected, double-check the settings, and click Write.
- Reboot your computer and enter the BIOS.
- Depending on your system, you will press either the F2, F8, F10, or DEL key.
- Change the boot order, so the USB thumb drive is set to first, then exit the BIOS.
- Be sure to check your computer’s Owner’s Manual if you’re unsure how to change the boot order.
- When the memtest window appears, click Config, then choose (S)tart Test.
- Let the test run until it finds errors or until the test is complete. If there aren’t any errors, there’s no need to continue.
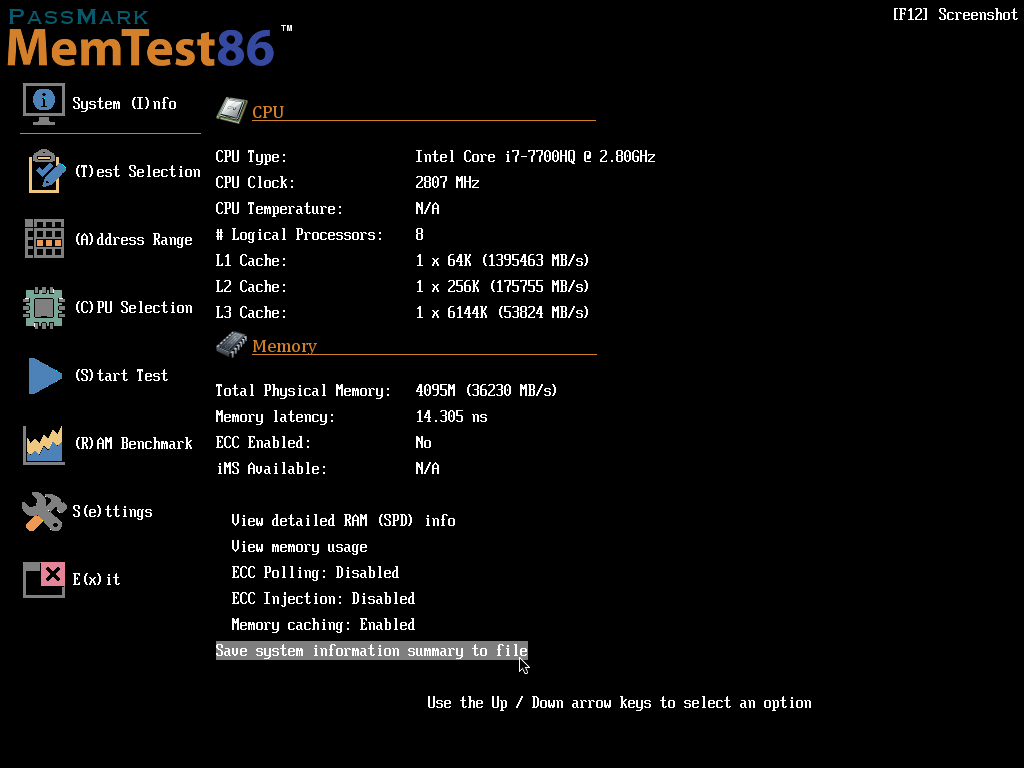
Memtest menu page
Physical RAM tests
Before we begin
The following tests require you to open the computer and handle internal components. Please follow these procedures. Improper installation, mishandling, or negligence will void any warranty. If you don’t feel comfortable with this, please take it to a professional.
- Work in a clean environment.
- Handle the RAM sticks carefully (hold them by the edges).
- Be sure everything is turned off, disconnected, and that you’re grounded.
- Be very gentle when removing and inserting RAM sticks. Don’t force anything!
TIP: Physically testing RAM gives you the perfect opportunity to clean out any dust, build-up, and grime that has collected in and around your computer’s internal components. A clean computer can help reduce overheating!
If you’ve confirmed the RAM itself is the root of the issue, you’ll need to start physically testing the RAM sticks one at a time. By doing so, you will determine the source of the problem. When physically testing RAM, you will need to test each RAM slot, one RAM stick at a time.
- If you have the same issues when testing the RAM stick in each slot, the RAM stick is bad.
- If the RAM stick is confirmed as good but has a problem with a specific slot, the RAM slot is bad.
Check out our guide to learn more about how to reseat RAM! Please note that the guide shows how to reseat RAM on a Creation Station, but the same concept applies to your computer.
Push the tab down then gently remove the RAM stick.
Related Articles
When you need help, Sweetwater has the answers!
Our knowledge base contains over 28,000 expertly written tech articles that will give you answers and help you get the most out of your gear. Our pro musicians and gear experts update content daily to keep you informed and on your way. Best of all, it’s totally FREE, and it’s just another reason that you get more at Sweetwater.com.


Offer applies only to single-receipt qualifying purchases. Select manufacturers may require that only the manufacturer’s products qualify towards the minimum purchase amount needed to be eligible for promotional financing. Otherwise, an invoice that meets the minimum purchase amount and contains at least one qualifying manufacturer product is eligible for promotional financing. No interest will be charged on promo purchase balance, and equal monthly payments are required on promo purchase until it is paid in full. The payments equal the amount financed divided by the number of months in the promo period, rounded up to the next whole dollar. These payments may be higher than the payments that would be required if this purchase was a non-promo purchase. During the last month(s) of the promo period the required monthly payment may be reduced due to the prior months’ rounding. Regular account terms apply to non-promo purchases. New Accounts as of 07/31/2025: Purchase APR is 34.99%. Penalty APR is 39.99%. Min Interest Charge is $2. Existing cardholders: See your credit card agreement terms. Subject to credit approval.
Offer applies only to single-receipt qualifying purchases. No interest will be charged on the promo balance if you pay it off, in full, within the promo period. If you do not, interest will be charged on the promo balance from the purchase date. The required minimum monthly payments may or may not pay off the promo balance before the end of the promo period, depending on purchase amount, promo length and payment allocation. Regular account terms apply to non-promo purchases and, after promo period ends, to the promo balance. New Accounts as of 07/31/2025: Purchase APR is 34.99%. Penalty APR is 39.99%. Min Interest Charge is $2. Existing cardholders: See your credit card agreement terms. Subject to credit approval.
The estimated required monthly payment shown which excludes taxes and delivery equals the amount financed divided by the number of months in the promo period, rounded up to the next cent. During the last month(s) of the promo period the required monthly payment may be reduced due to this rounding. These payments apply only with the financing offer shown. If you make these payments by the due date each month, you should pay off this amount financed within the promo period, if it is the only balance you are paying off. If you have other balances on your account, this payment will be added to any other minimum monthly payments.
Applies only to select items from this manufacturer. Ask your Sweetwater Sales Engineer for more details.