
Getting Started With Your nanobox | fireball
The Nanobox Fireball is a polyphonic wavetable synth that’s great to work with, so in this guide we will show you how to set up, connect, and use a Nanobox Fireball for the first time. Follow the sections below to get started.
Setup and connections
One of the great things about the Nanobox Fireball is how simple the setup is. There aren’t many connections, and with it being pocket-sized, this makes it a true portable synth. There are four types of connections available: USB, MIDI (IN and OUT), Clock, and Line (IN and OUT). It also comes with a 32GB microSD that stores all the sounds and the firmware. Since the connections are straightforward, here are a few tips when using the Fireball.
- The Nanobox Fireball can be powered by connecting it to your computer. It can also be powered by a 5v USB power source, such as a USB charger.
- Both TRS MIDI type A and type B are supported.
- You must have the microSD card inserted for the Fireball to work.
- The Nanobox Fireball expects a relatively hot Line IN signal, so if what you’re connecting is quiet, you may need to boost it before connecting. It will be able to handle Eurorack levels without clipping, however.
nanobox | fireball firmware updates
IMPORTANT: You’ll need an SD Card reader, such as the SIIG USB Multi Card Reader, to transfer the firmware file from your computer to the SD card.
1010music releases firmware regularly, which adds new features and addresses potential bugs that are in the current version. You can see which firmware version is installed when the unit initially turns on and also when you press the LEFT button while on the homepage. If your Nanobox Fireball firmware version matches that of the latest listed on the website, skip this section and continue to Navigating the synth.
- Log in to your 1010music account. If you don’t have one, you can create it here.
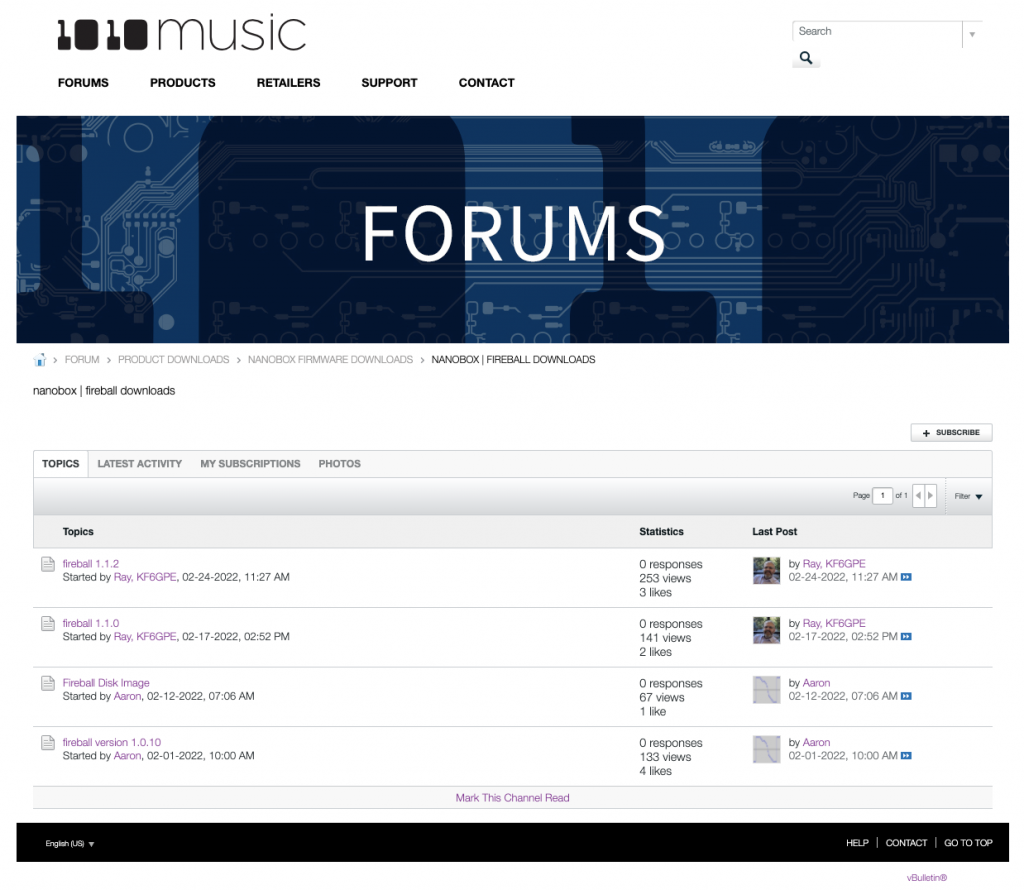
- Go to the Nanobox Fireball download page.
- Check the current firmware version and compare it to the latest one listed on the website.
- Download the firmware .zip file, go to your Downloads folder, then extract the NANOFIRE.BIN file.
- Remove the microSD card from the device, insert it into an SD card reader, then connect the reader to your computer.
- Drag and drop the NANOFIRE.BIN file into the SD card reader (My PC on Windows, Finder on macOS), safely eject the SD card reader, then reboot your Fireball.
Navigating the synth
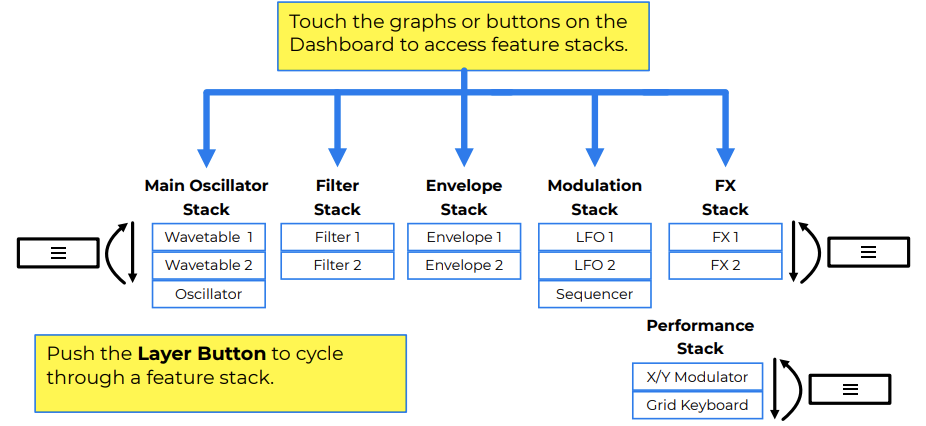
With its compact size, 1010music has made the Nanobox Fireball easy to navigate, with everything at the touch of a finger! You’ll only need to dive into a few menus, and even then, it’s straightforward to get a great sound! Each sound is made up of Stacks, and each Stack is built in Layers.
It’s always fun to tinker with the settings to get a unique sound, so let’s navigate through some menus to get you up and running. To learn more about the details of the Fireball settings, be sure to check out its User Guide!
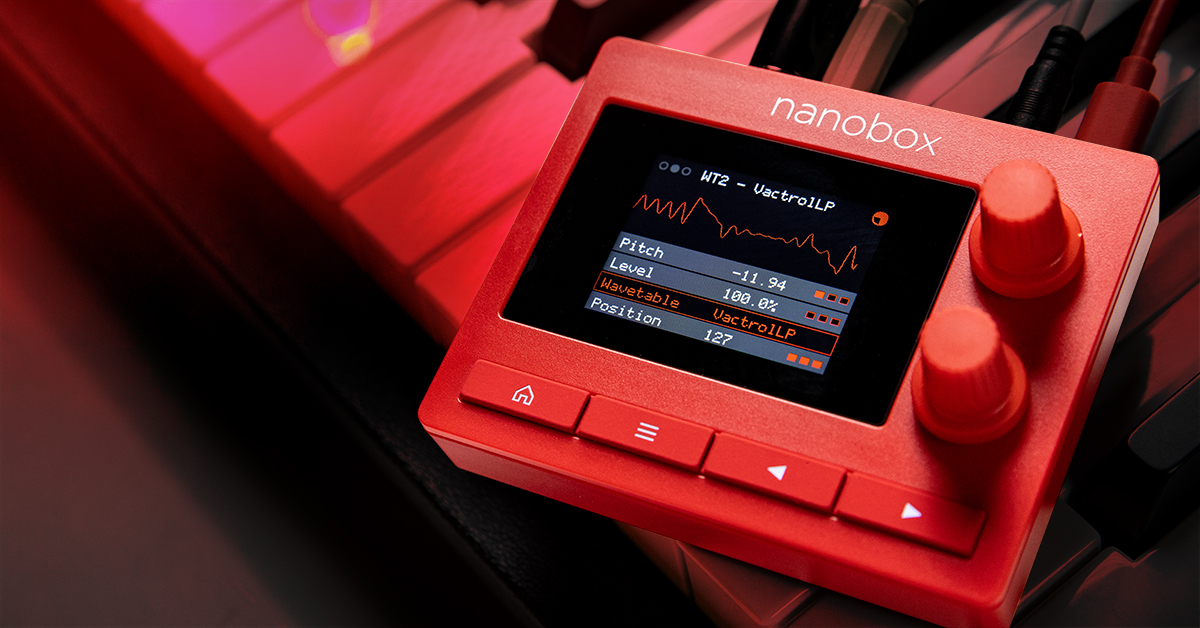
- Tap one of the waveforms to edit the three following parameters: Wavetable 1 (WT1), Wavetable 2 (WT2), and the Oscillator (OSC).
- Press the LAYER (three vertical lines) button to switch between the three.
- Use the top encoder to select the parameter you wish to edit, then use the bottom encoder to edit the selected parameter.
- Press the filter (FILT), envelope (ENV), LFO and sequencer (LFO/SEQ), or effects (FX) to edit their respective settings.
- Press the LAYER buttons to change between Stacks.
- While you’re on the Home page, press the LAYER button to play with the X-Y Modulator. Press it once more to play using the built-in keyboard.
- Using the built-in keyboard is especially useful when you want to preview sounds and don’t have a MIDI controller connected.
- Press the RIGHT arrow button to configure the preset settings such as the BPM and bend range.
- Once you’re happy with the sound, tap the preset’s name at the top of the screen, tap File, and select SaveAs. From here, you can then rename your preset.
When you need help, Sweetwater has the answers!
Our knowledge base contains over 28,000 expertly written tech articles that will give you answers and help you get the most out of your gear. Our pro musicians and gear experts update content daily to keep you informed and on your way. Best of all, it’s totally FREE, and it’s just another reason that you get more at Sweetwater.com.


Offer applies only to single-receipt qualifying purchases. Select manufacturers may require that only the manufacturer’s products qualify towards the minimum purchase amount needed to be eligible for promotional financing. Otherwise, an invoice that meets the minimum purchase amount and contains at least one qualifying manufacturer product is eligible for promotional financing. No interest will be charged on promo purchase balance, and equal monthly payments are required on promo purchase until it is paid in full. The payments equal the amount financed divided by the number of months in the promo period, rounded up to the next whole dollar. These payments may be higher than the payments that would be required if this purchase was a non-promo purchase. During the last month(s) of the promo period the required monthly payment may be reduced due to the prior months’ rounding. Regular account terms apply to non-promo purchases. New Accounts as of 07/31/2025: Purchase APR is 34.99%. Penalty APR is 39.99%. Min Interest Charge is $2. Existing cardholders: See your credit card agreement terms. Subject to credit approval.
Offer applies only to single-receipt qualifying purchases. No interest will be charged on the promo balance if you pay it off, in full, within the promo period. If you do not, interest will be charged on the promo balance from the purchase date. The required minimum monthly payments may or may not pay off the promo balance before the end of the promo period, depending on purchase amount, promo length and payment allocation. Regular account terms apply to non-promo purchases and, after promo period ends, to the promo balance. New Accounts as of 07/31/2025: Purchase APR is 34.99%. Penalty APR is 39.99%. Min Interest Charge is $2. Existing cardholders: See your credit card agreement terms. Subject to credit approval.
The estimated required monthly payment shown which excludes taxes and delivery equals the amount financed divided by the number of months in the promo period, rounded up to the next cent. During the last month(s) of the promo period the required monthly payment may be reduced due to this rounding. These payments apply only with the financing offer shown. If you make these payments by the due date each month, you should pay off this amount financed within the promo period, if it is the only balance you are paying off. If you have other balances on your account, this payment will be added to any other minimum monthly payments.
Applies only to select items from this manufacturer. Ask your Sweetwater Sales Engineer for more details.